I have been looking forward to writing this post for a while now and I am so glad that I am finally able to share it with you! Today, I am going to share with you my entire listing process for Poshmark and also a few tips that are helpful for other platforms!! There’s a lot to get through so let’s get started!!
An Overview: My Typical Listing Process
In order to make everything manageable when it comes to listing, I like to break up my tasks. Below is my typical listing process:
Day 1– Remove tags off of all of my items and wash everything! I will usually photograph the brand, size, and style tags before washing.
Day 1 or 2– Create drafts on Poshmark for all of the items that I just bought. I use the tags that I photographed previously to find stock photos and style names for all of the new items.
Day 3– I photograph all of my items at once and edit them using photo apps.
Day 4– Once all of the photos are edited, I add them to the previously created listings and list them on my Poshmark closet. After everything has been added to Poshmark, I then go and crosslist them to other reselling platforms.
Step #1: Create Draft Listings and Find Stock Photos
The very first step in my listing process is to create new listings on the Poshmark app for all of the items that I need to add to my closet. (I will add these same items to other platforms in a later step.) I prefer to start with the Poshmark app as it is the easiest to add the initial information to and makes crosslisting go much quicker later on. To keep all of my listings uniform, I usually fill in all of the information in a similar manner.
An example of how I fill out a listing for Poshmark can be seen below:
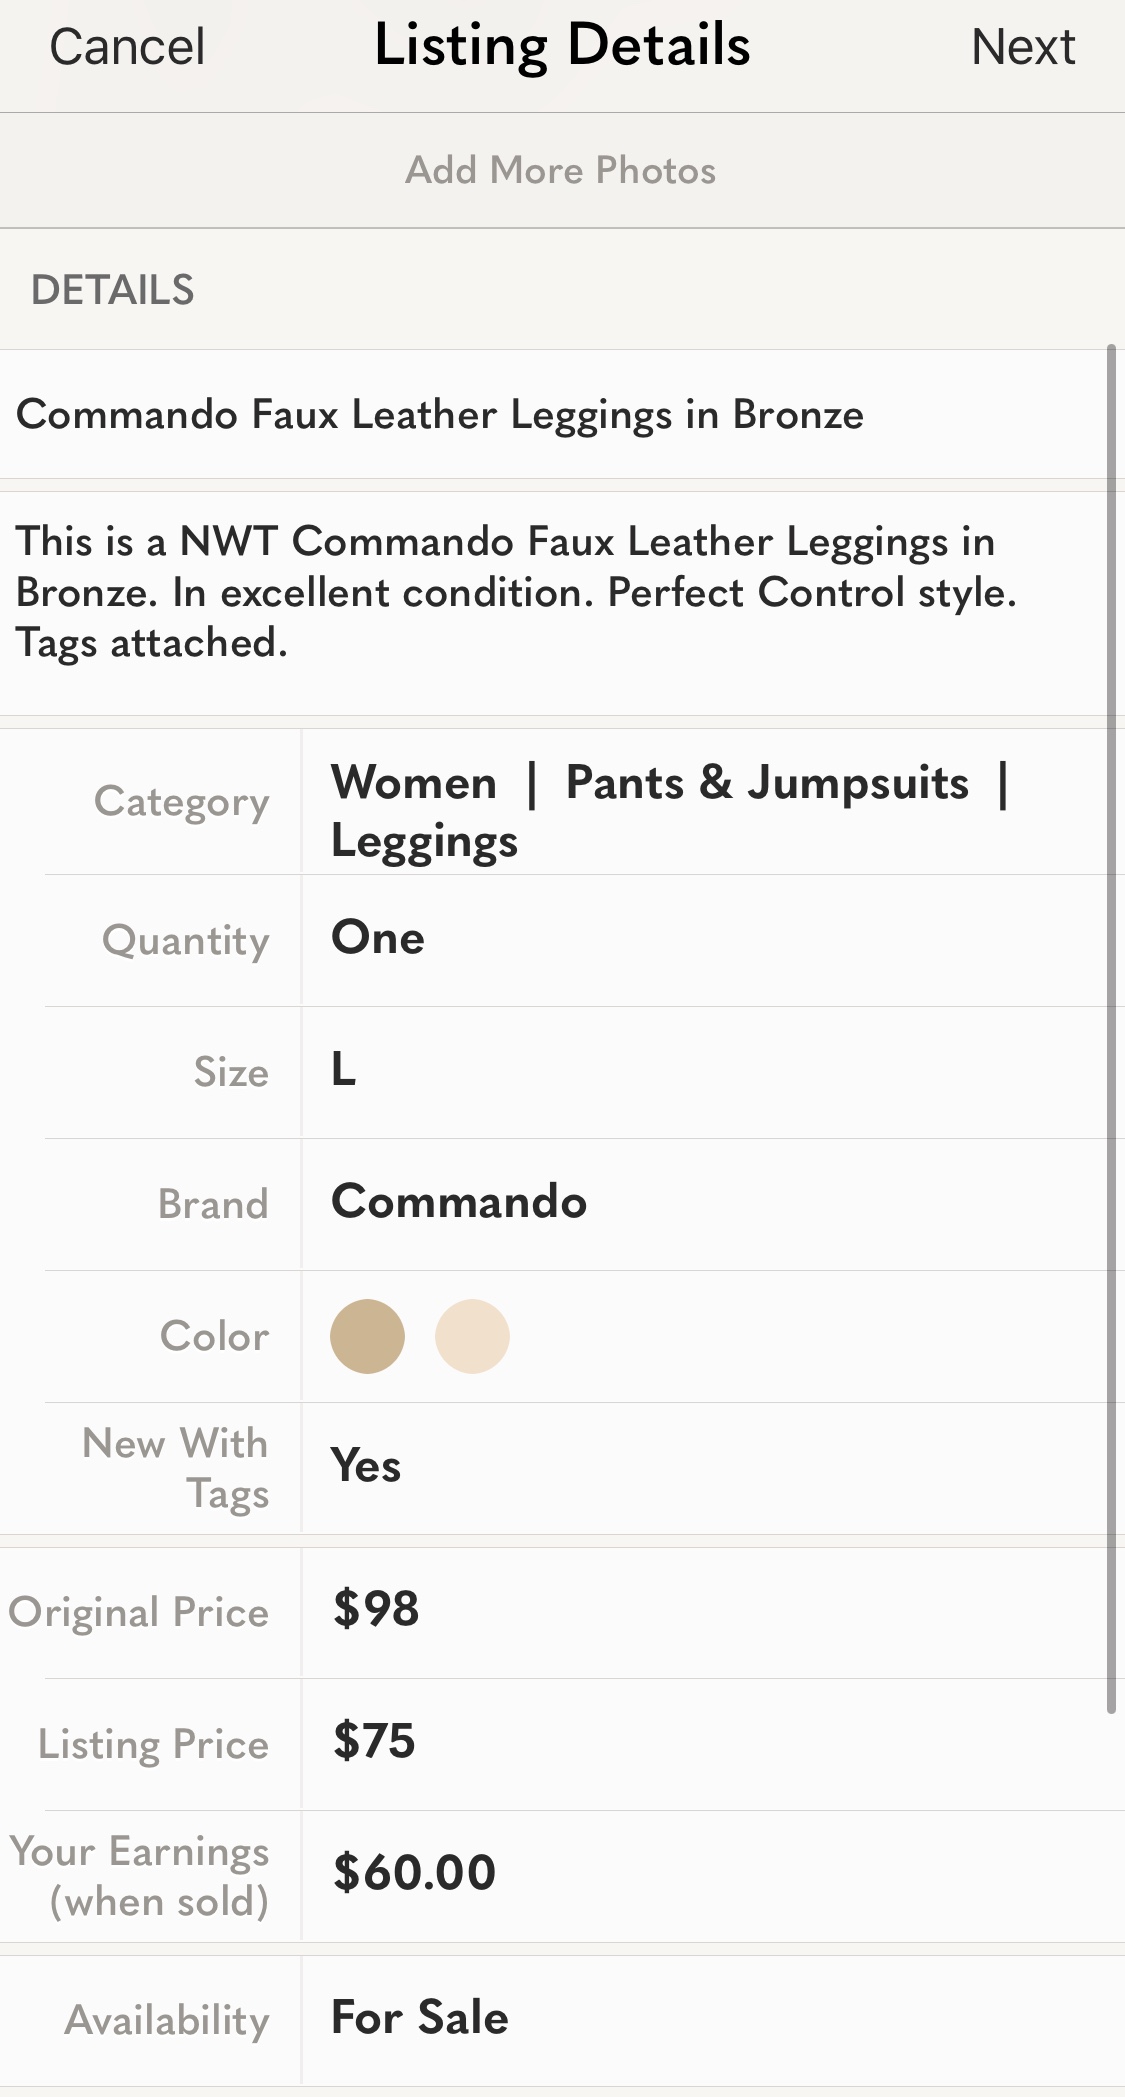
This is actually a draft that I currently have sitting on my phone right now.
Notice how every section is filled out thoroughly.
I would be sure to pay particular attention to the details section, especially when it comes to providing details on the item.
Be sure to include key words such as: the brand, a detailed item name, the color of the item, the style name, the item’s condition, if the item is NWT or gently used, and/or measurements (optional).
Once the initial information has been filled into the draft, I will then start looking for the item’s stock photo. This can be done one of three ways:
Option #1– Run a Quick Google Search
I would go this route if either I had the full style name of the item that I am looking for and/or could provide extremely detailed keywords in my search. When doing a Google search, try to be as descriptive as possible. The more keywords that you are able to use the better!
Using the same listing as above, let me show you what would happen if you did a Google search of “Commando Faux Leather Leggings in Bronze”:
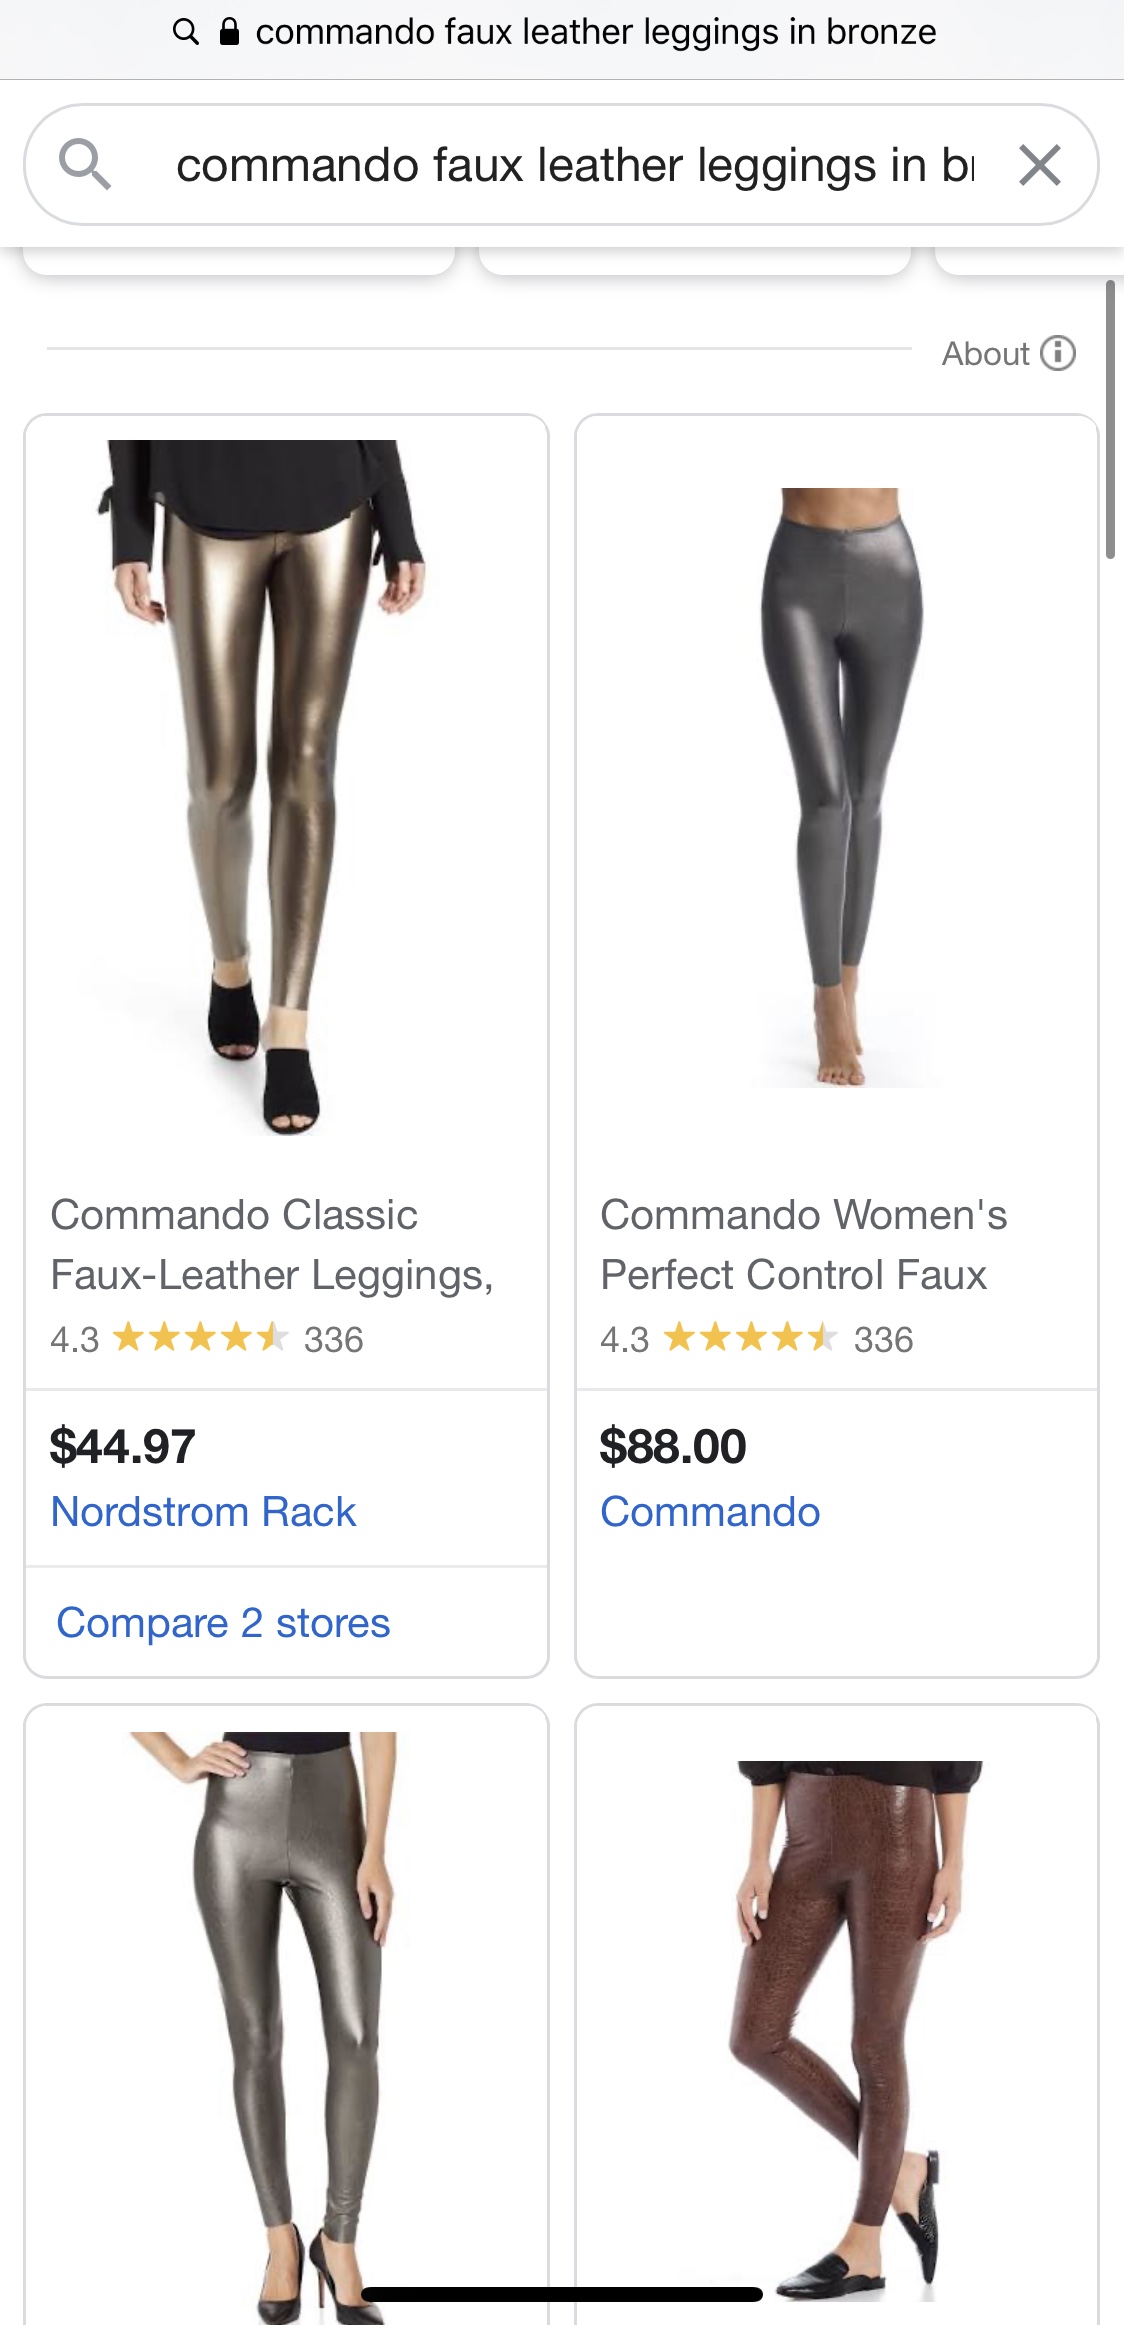
Once the search was complete, the first item to pop up was a pair of leggings from Nordstrom Rack.
Upon clicking on the image, you should be able to find stock photos for the item.
I would suggest sharing a photo with a model wearing the item that you are trying to sell.
Option #2- Use Google Photos
This is the option that I use when I am unable to find stock photos in a Google search and have flat lay images of the item already photographed. This can also be used if you need to find the item’s style name but only have a stock photo. Either way, it can be a great help! It is super simple to use and all you have to do is download the app!!
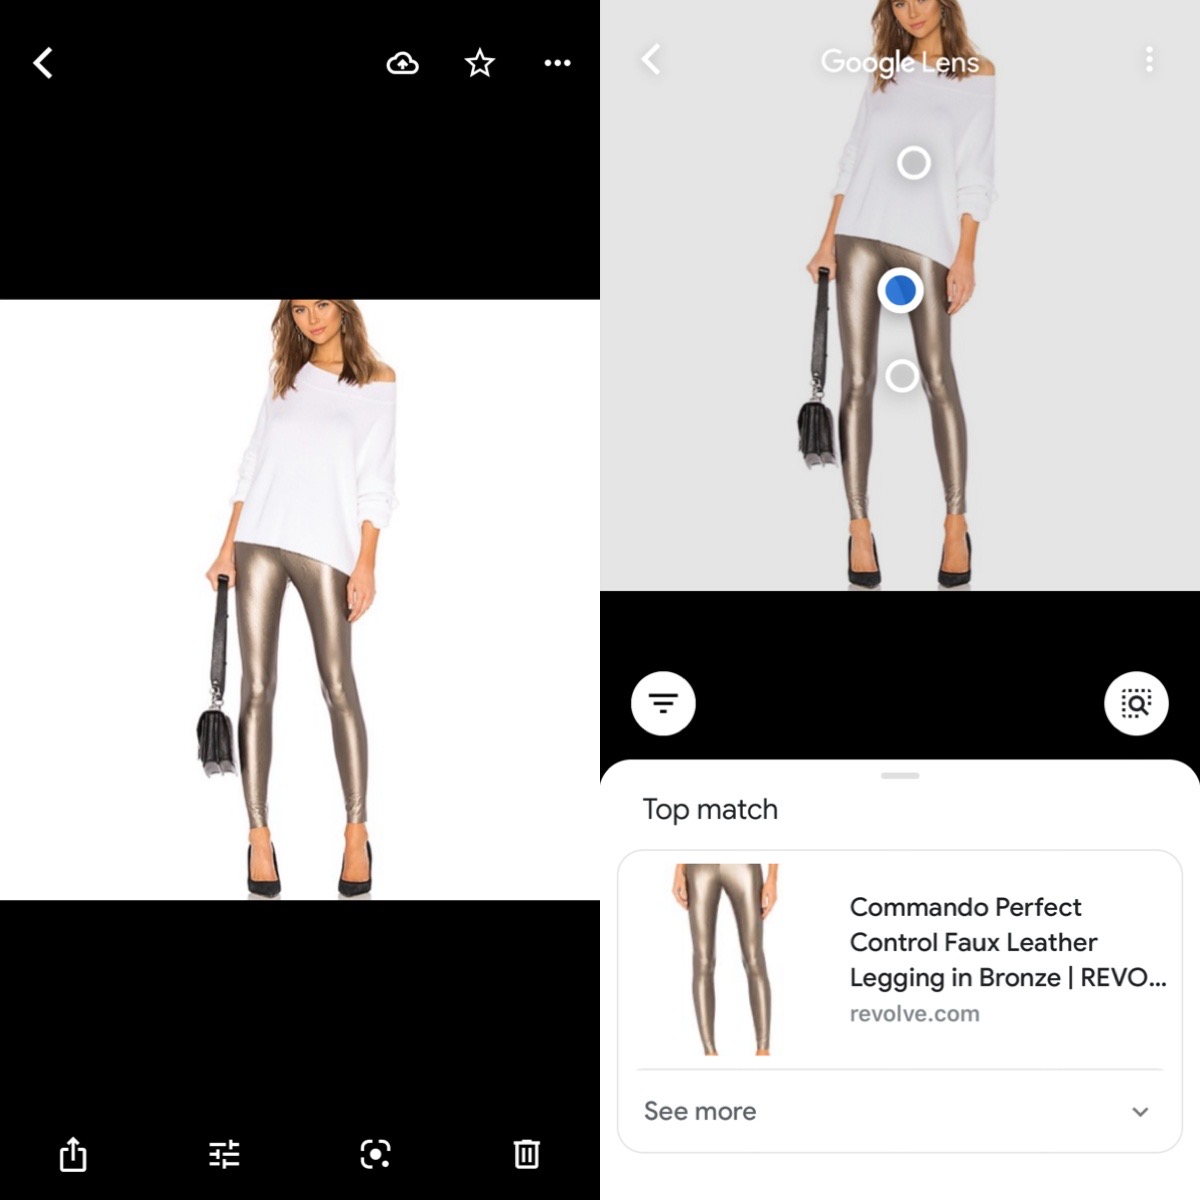
The above example is how to find an item’s style name using a stock photo.
All that you have to do is download the app and then open it. Once it is open, it will then bring you to a screen with all of your phone’s photos.
Next, click onto the image that you would like to learn more about and it should bring you into something that looks like the first screen.
Click on the third image along the bottom (it looks like a dot with a fragmented box around it) and it will initiate Google Lens.
Google Lens should then open and provide you with the style name of the item along with a link to view it on a website.
The same process can be used to find an item’s stock photo.
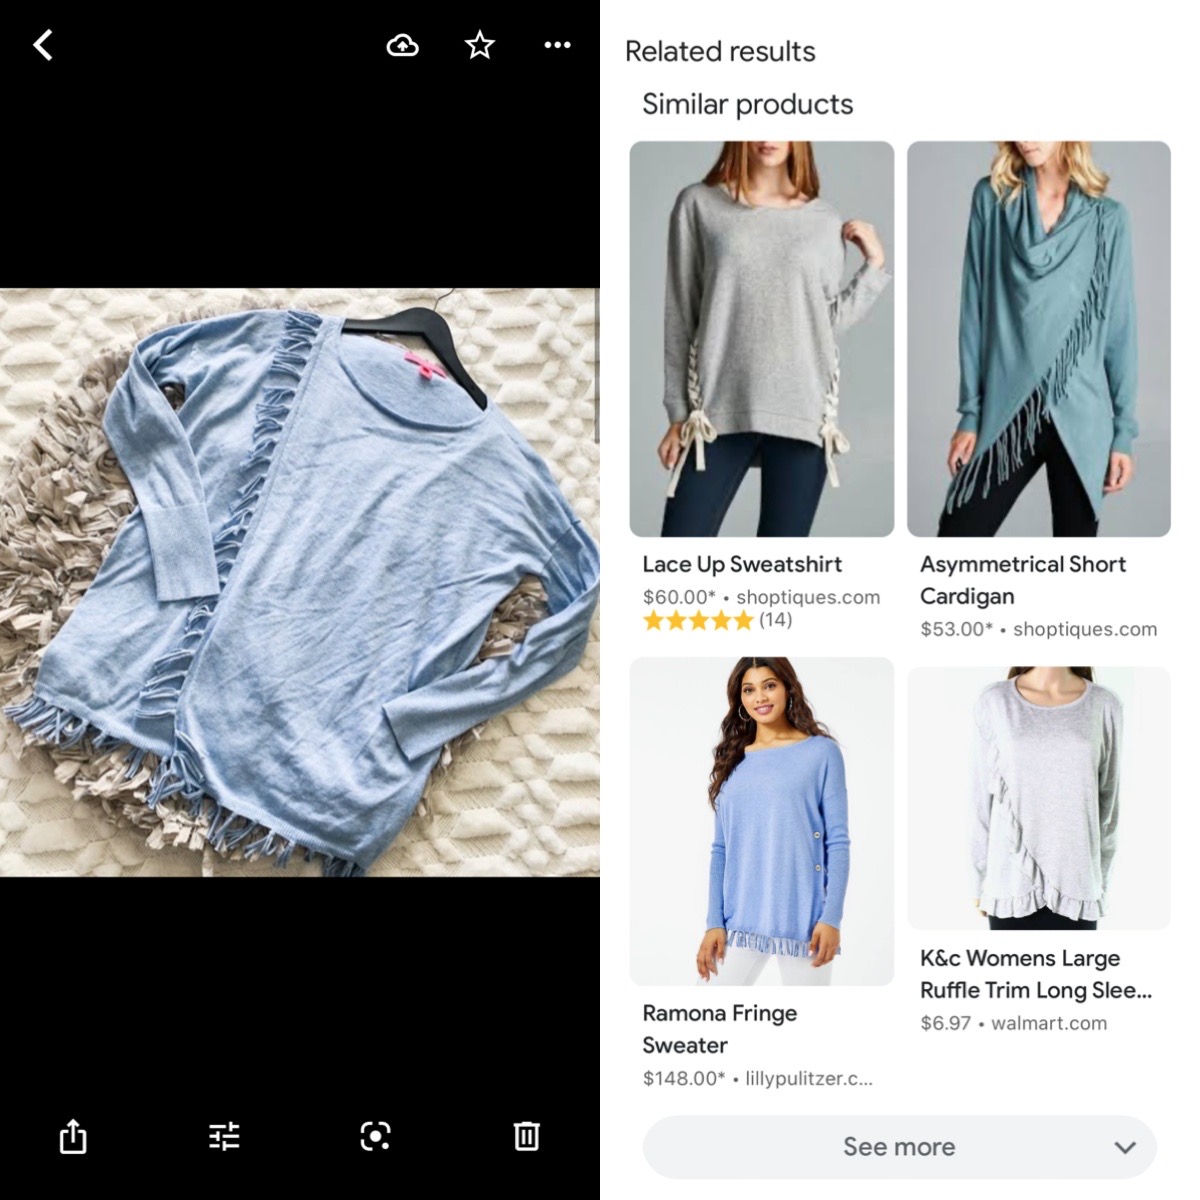
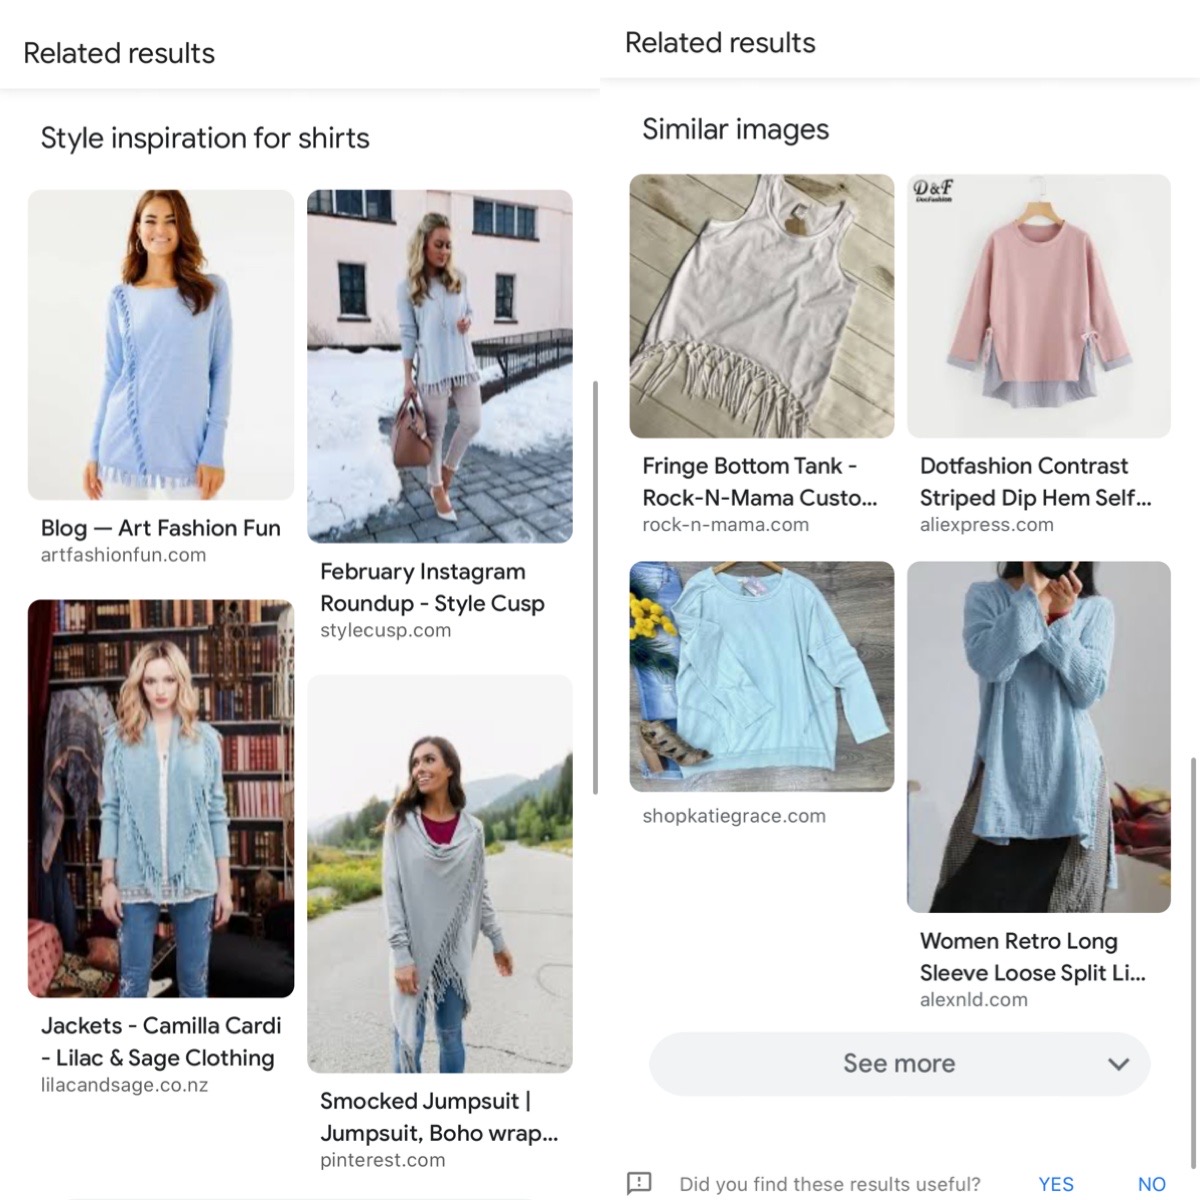
You would repeat the same process as above. The only difference is that a different set of searches would come up. There will be 3 sets of search results: Similar Products, Related Results, and Similar Images. Hopefully, you are able to find the stock photo in one of these search categories.
Option #3- Look on Poshmark
This would be something that I would use if nothing else worked and I was unable to find the item elsewhere. To use this option, I would search the item up on the app starting with the brand and then as many targeted keywords as I could come up with.
Step #2: Photographing Your Items
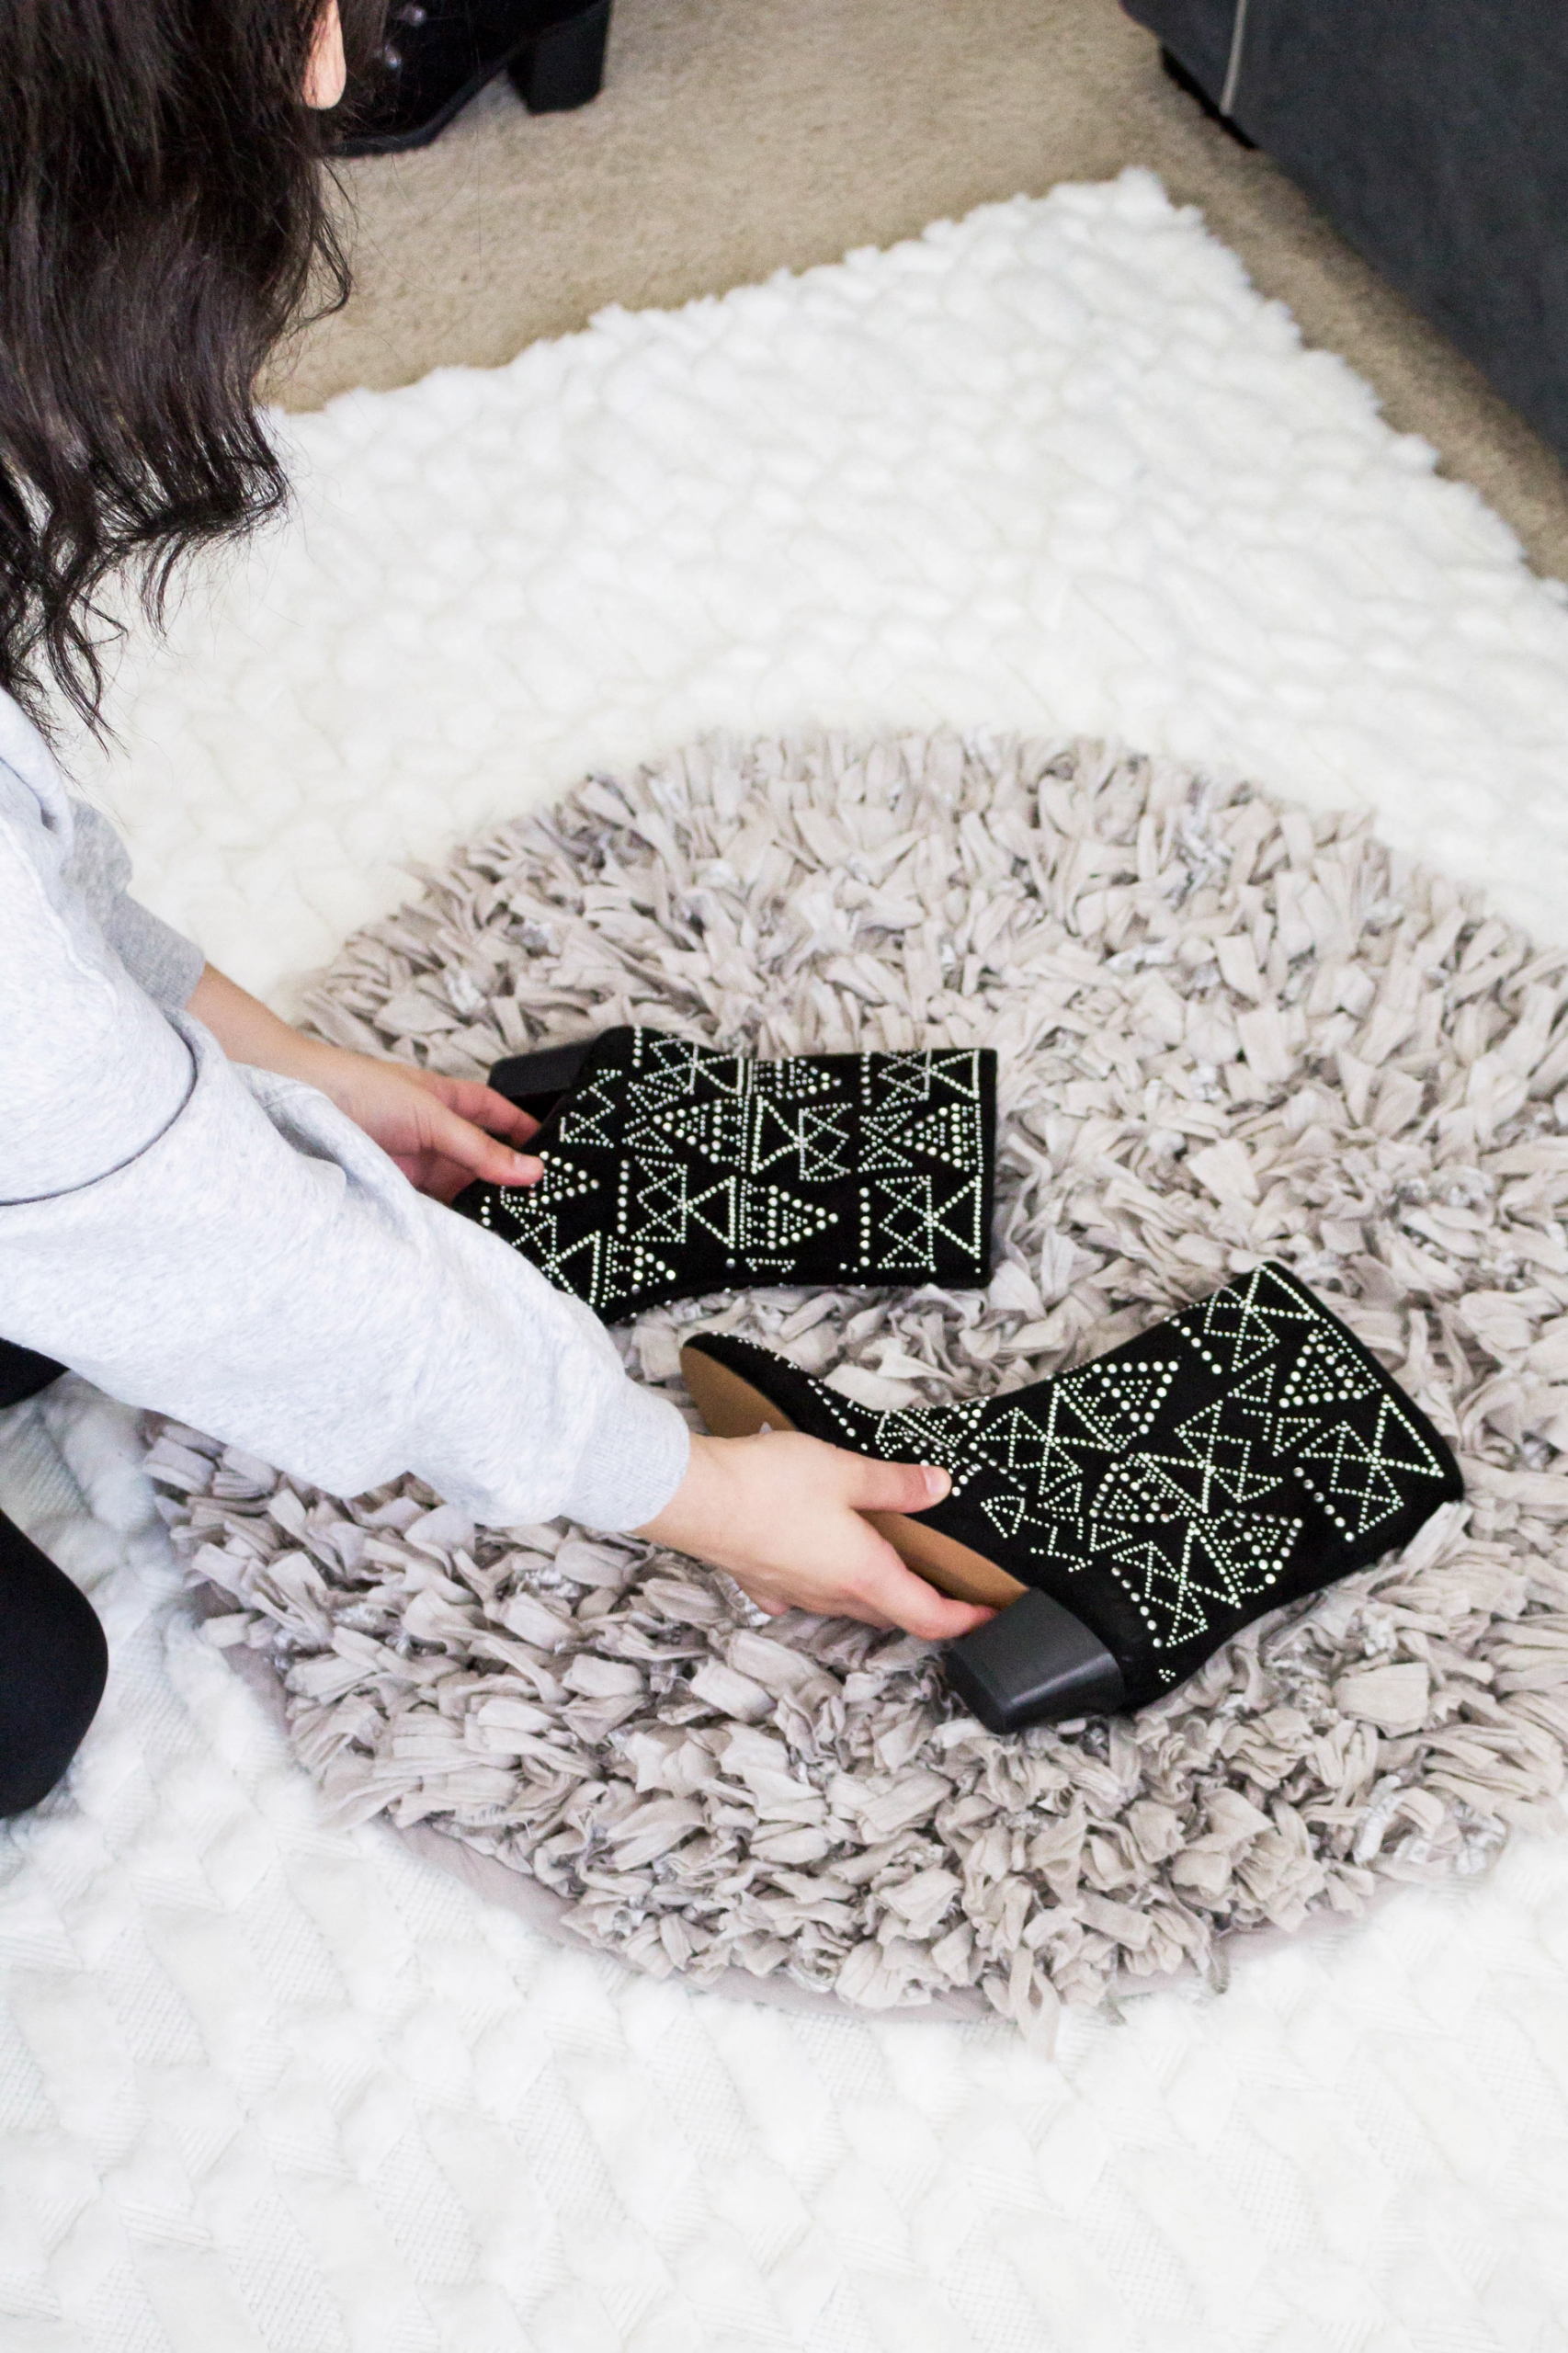
Surprisingly, this step is actually the least time consuming for me. It is the most physically demanding step but the easiest, in my opinion. When it comes to taking photos, I focus on 2 elements: sharpness and brightness. A simple way to know if your photos are in top shape is to ask yourself, ‘Would you buy that item if you were shopping for it?‘ If the answer is yes, then great! If the answer is no, you may need to retake your photos or improve the photo with a little bit of editing.
The Layout
When it comes to taking photos, you can either use flat lays, hang the item, or model the item. Ultimately, your listing should have a combination of the above (but be aware that it may not always work out that way). Personally, I like to use flat lays. They are really easy for me to photograph quickly but can sometimes kill my back if I am at it for too long.
What Types of Photos Should I Take?
I typically take the same photos every time. This is 100% based on past mistakes and questions that people would ask me repeatedly when it came to items that they were interested in. NOTE: All photos for my Poshmark listings are taken on my iPhone.
Photo #1- The entire front of the item with a little bit of white space around the edges (it just looks much neater that way).
Photo #2- The entire back of the item with a little bit of white space around the edges.
Photo #3- The brand and size tag. This is to ensure that the info in your listing is cohesive and to provide proof of authenticity. Also, if people question the size in a return, you will already have photo proof.
Photo #4- The inner fabric care tag. Usually, I will photograph the fabric content and also care instructions as people love to ask for those.
Photo #5- Any and all flaws. Be sure to photograph anything that is wrong with the items and disclose it in the listing.
Step #3: Editing Your Photos
This is step is hands down my least favorite as it the most time consuming, especially when you have hundreds of photos to edit. There are 2 main ways that I edit my photos. Both are quick and easy so it comes down to preference.
Option #1- Adobe Photoshop Express
This is my preferred method. I have used this app for at least 3 years now and it is my favorite app to use when editing pictures. The app itself is free to download and allows you basic access to editing images. If you subscribe to Adobe Photoshop, then you will have full access to all of the features on the app.
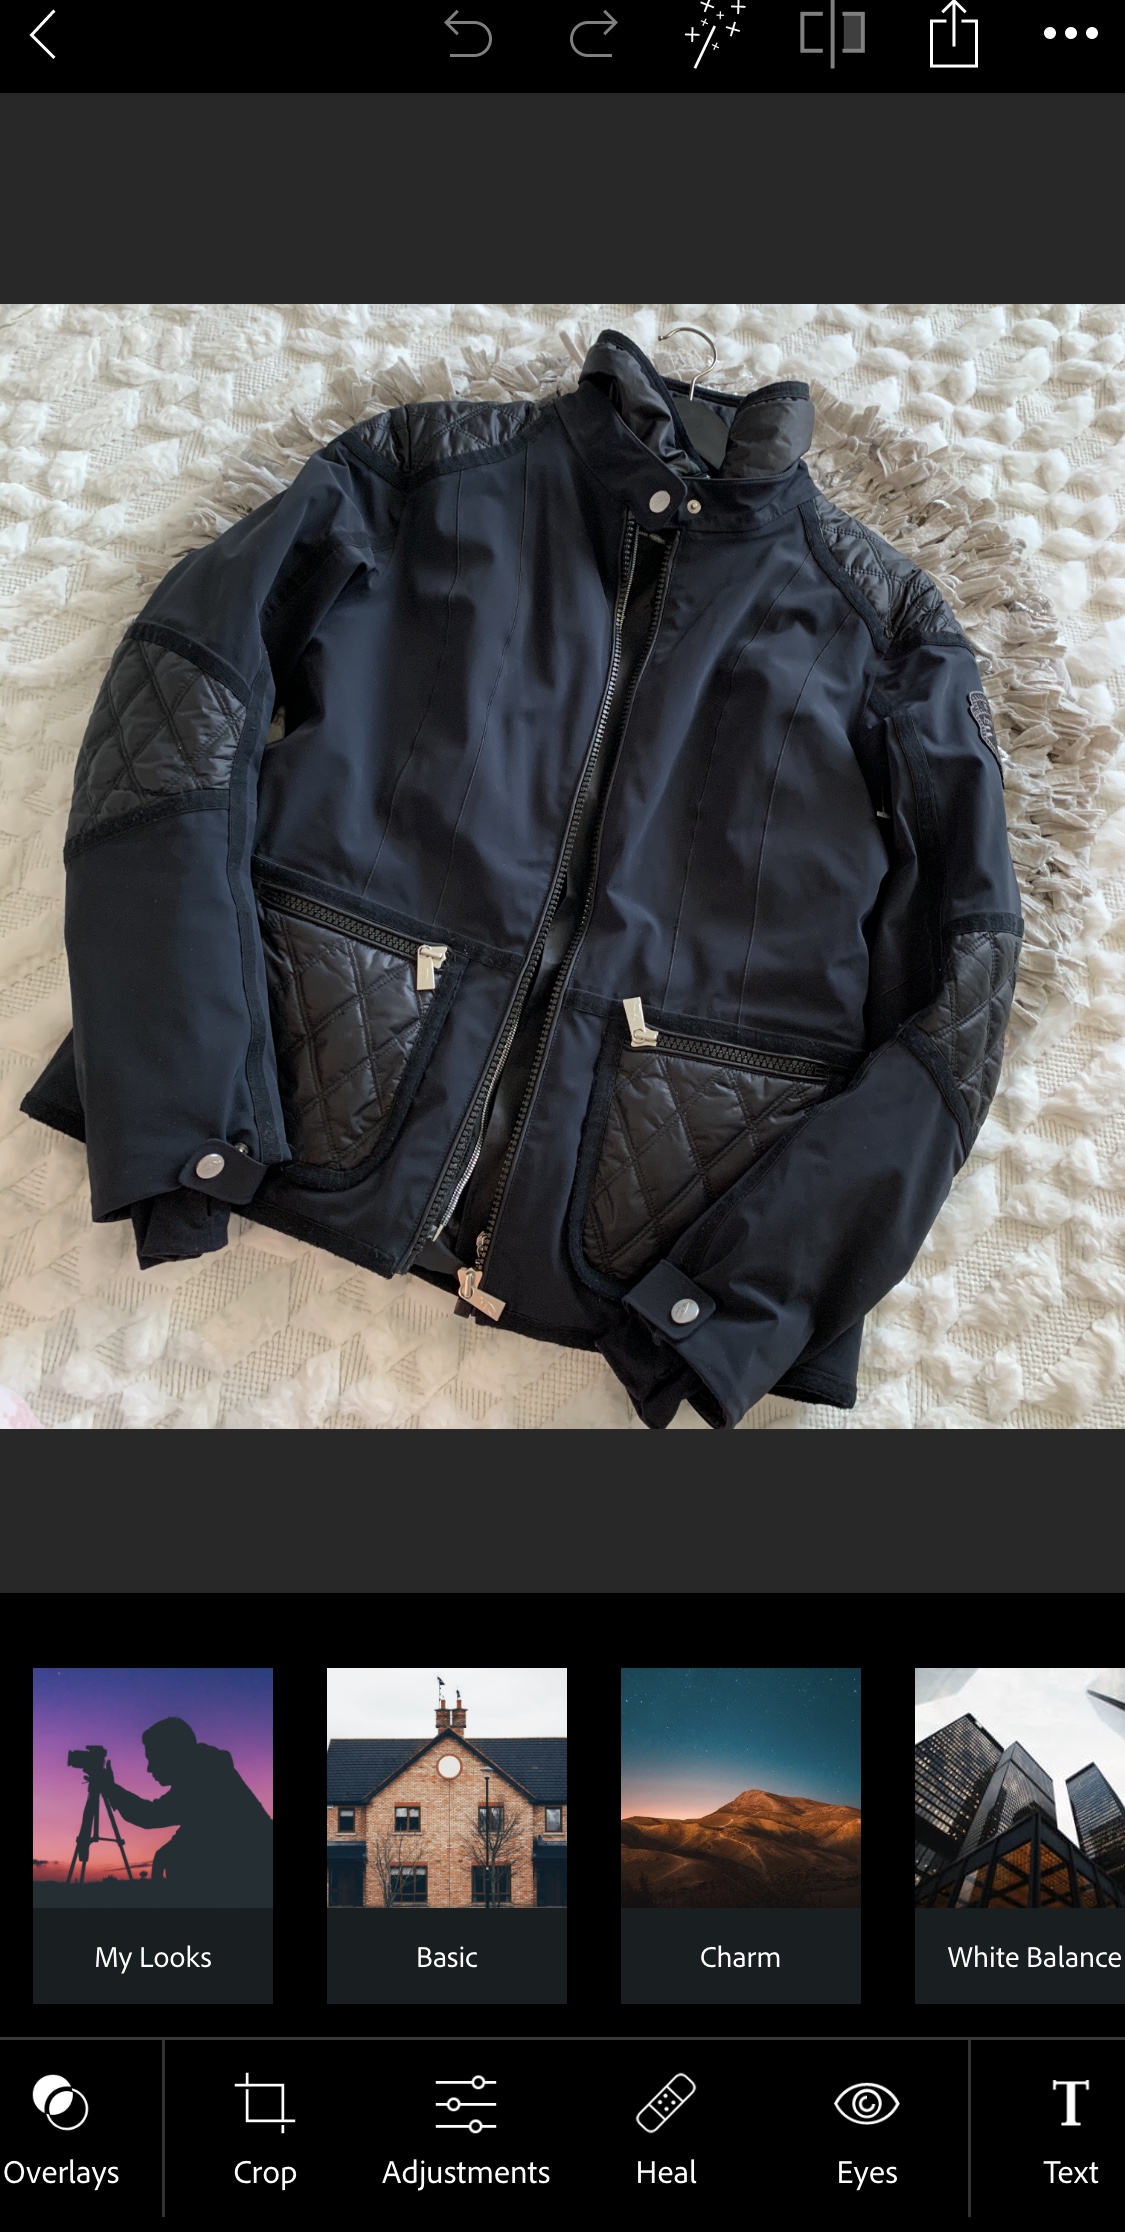
The app allows you to add a filter to the image, as well as, adjust the image’s size, brightness, saturation, warmth, and many other features.
Option #2- Use Your Phone’s Editing Capacities
I’m pretty confident that most phones nowadays have some sort of photo editing capacity on them. I personally have an iPhone and on my phones, Apple does provide some basic photo editing features for all of their images. This feature is free to use and is very easy to use. When comparing the 2 options, I will say that this option provides you with less control when it comes to editing than the Photoshop option.
As you can see, this option is much more limited than the first. However, if you are looking for a free, easy photo editing tool, then this is a great option.
What Should I Adjust in My Photos?
I would focus on a few elements. First, make sure that when you are taking your photos, that you are taking them using the square mode. It just makes the whole process easier. Next, focus on what exactly you are trying to adjust. When it comes to my personal photos, I want my images to be as light and bright as possible. I also have a distinct photography style so I try to keep that consistent within my brand. I would suggest focusing on sharpness, brightness, noise, contrast, warmth, and vibrance. Definitely take some time and figure out what works best for you!
Step #4: Putting Everything Together
Once everything has been photographed and edited, it is time to put everything together. This step should be pretty easy as the draft has already been created. All that you should have to do now is add in the new photos to the listing and then list the items on Poshmark.
When it comes to the order of images that I use in a listing, I typically follow the same pattern each time:
Image #1- Stock Photo (If I can find one). If I am unable find a stock photo, then I would use image #2 as image #1.
Image #2- Flat lay of entire front of item
Image #3- Flat lay of entire back of item
Image #4- Brand/size tag
Image #5- Fabric content tag
Image #6- Flaws on the item
Image #7- Size chart for brand and/or an item description screenshot from a retail site.
A Quick Note on Crosslisting Across Platforms
Once everything has been added to Poshmark, I also add the same listing to other reselling platforms such as Mercari and Tradesy to name a few. To make crosslisting much easier, I like to use a program called ListPerfectly. I would highly recommend using their platform for crosslisting!
If you would like to sign up, be sure to use my code RECYCLEDROSESGUIDE for a discount!
To learn more about ListPerfectly, click HERE.
To get email notifications for my next blog post and to receive a Reseller Recap Every Friday, sign up for my emails below:
Baci,
Bianca Ida


