Over the past year or so, I have updated my reselling inventory storage system multiple times. In order for me to run my business in the best possible manner, I need a system that makes sense to me and my business needs. As many of you have asked exactly how I store and organize my reselling inventory, I thought that for today’s post that I would share the exact system I use when assigning items to bins and also pulling inventory.
How I Store My Inventory in Numbered Totes
When it comes to storing and pulling inventory from my totes, I do have a systematic approach that I like to use. This system is something that took me a while to get just right and I am honestly really happy with how quick and efficient it has made things for me and my business. In order to understand my tote system, I think that it would be helpful for me to also share how I initially process items when I bring them home from my various sourcing spots.
Processing New Items
Whenever I bring home new items, I will immediately create new drafts for them on ListPerfectly. [For those of you unfamiliar with it, ListPerfectly is a paid cross-listing service that allows you to create listings on multiple reselling platforms at once.] Usually, I will add a brief title to the listing along with any style numbers or size info. Additionally, I will add in my cost of goods at the bottom of the listing and add in a measurement template.
Once the draft has been created, I will remove all price tags off of the items and throw anything that is not new with tags (NWT) into the washing machine. While these items are in the wash, I will continue working on my drafts in ListPerfectly; This usually involves looking up stock photos, finding the exact names of items, and pulling retail item descriptions and size charts if I can find them.
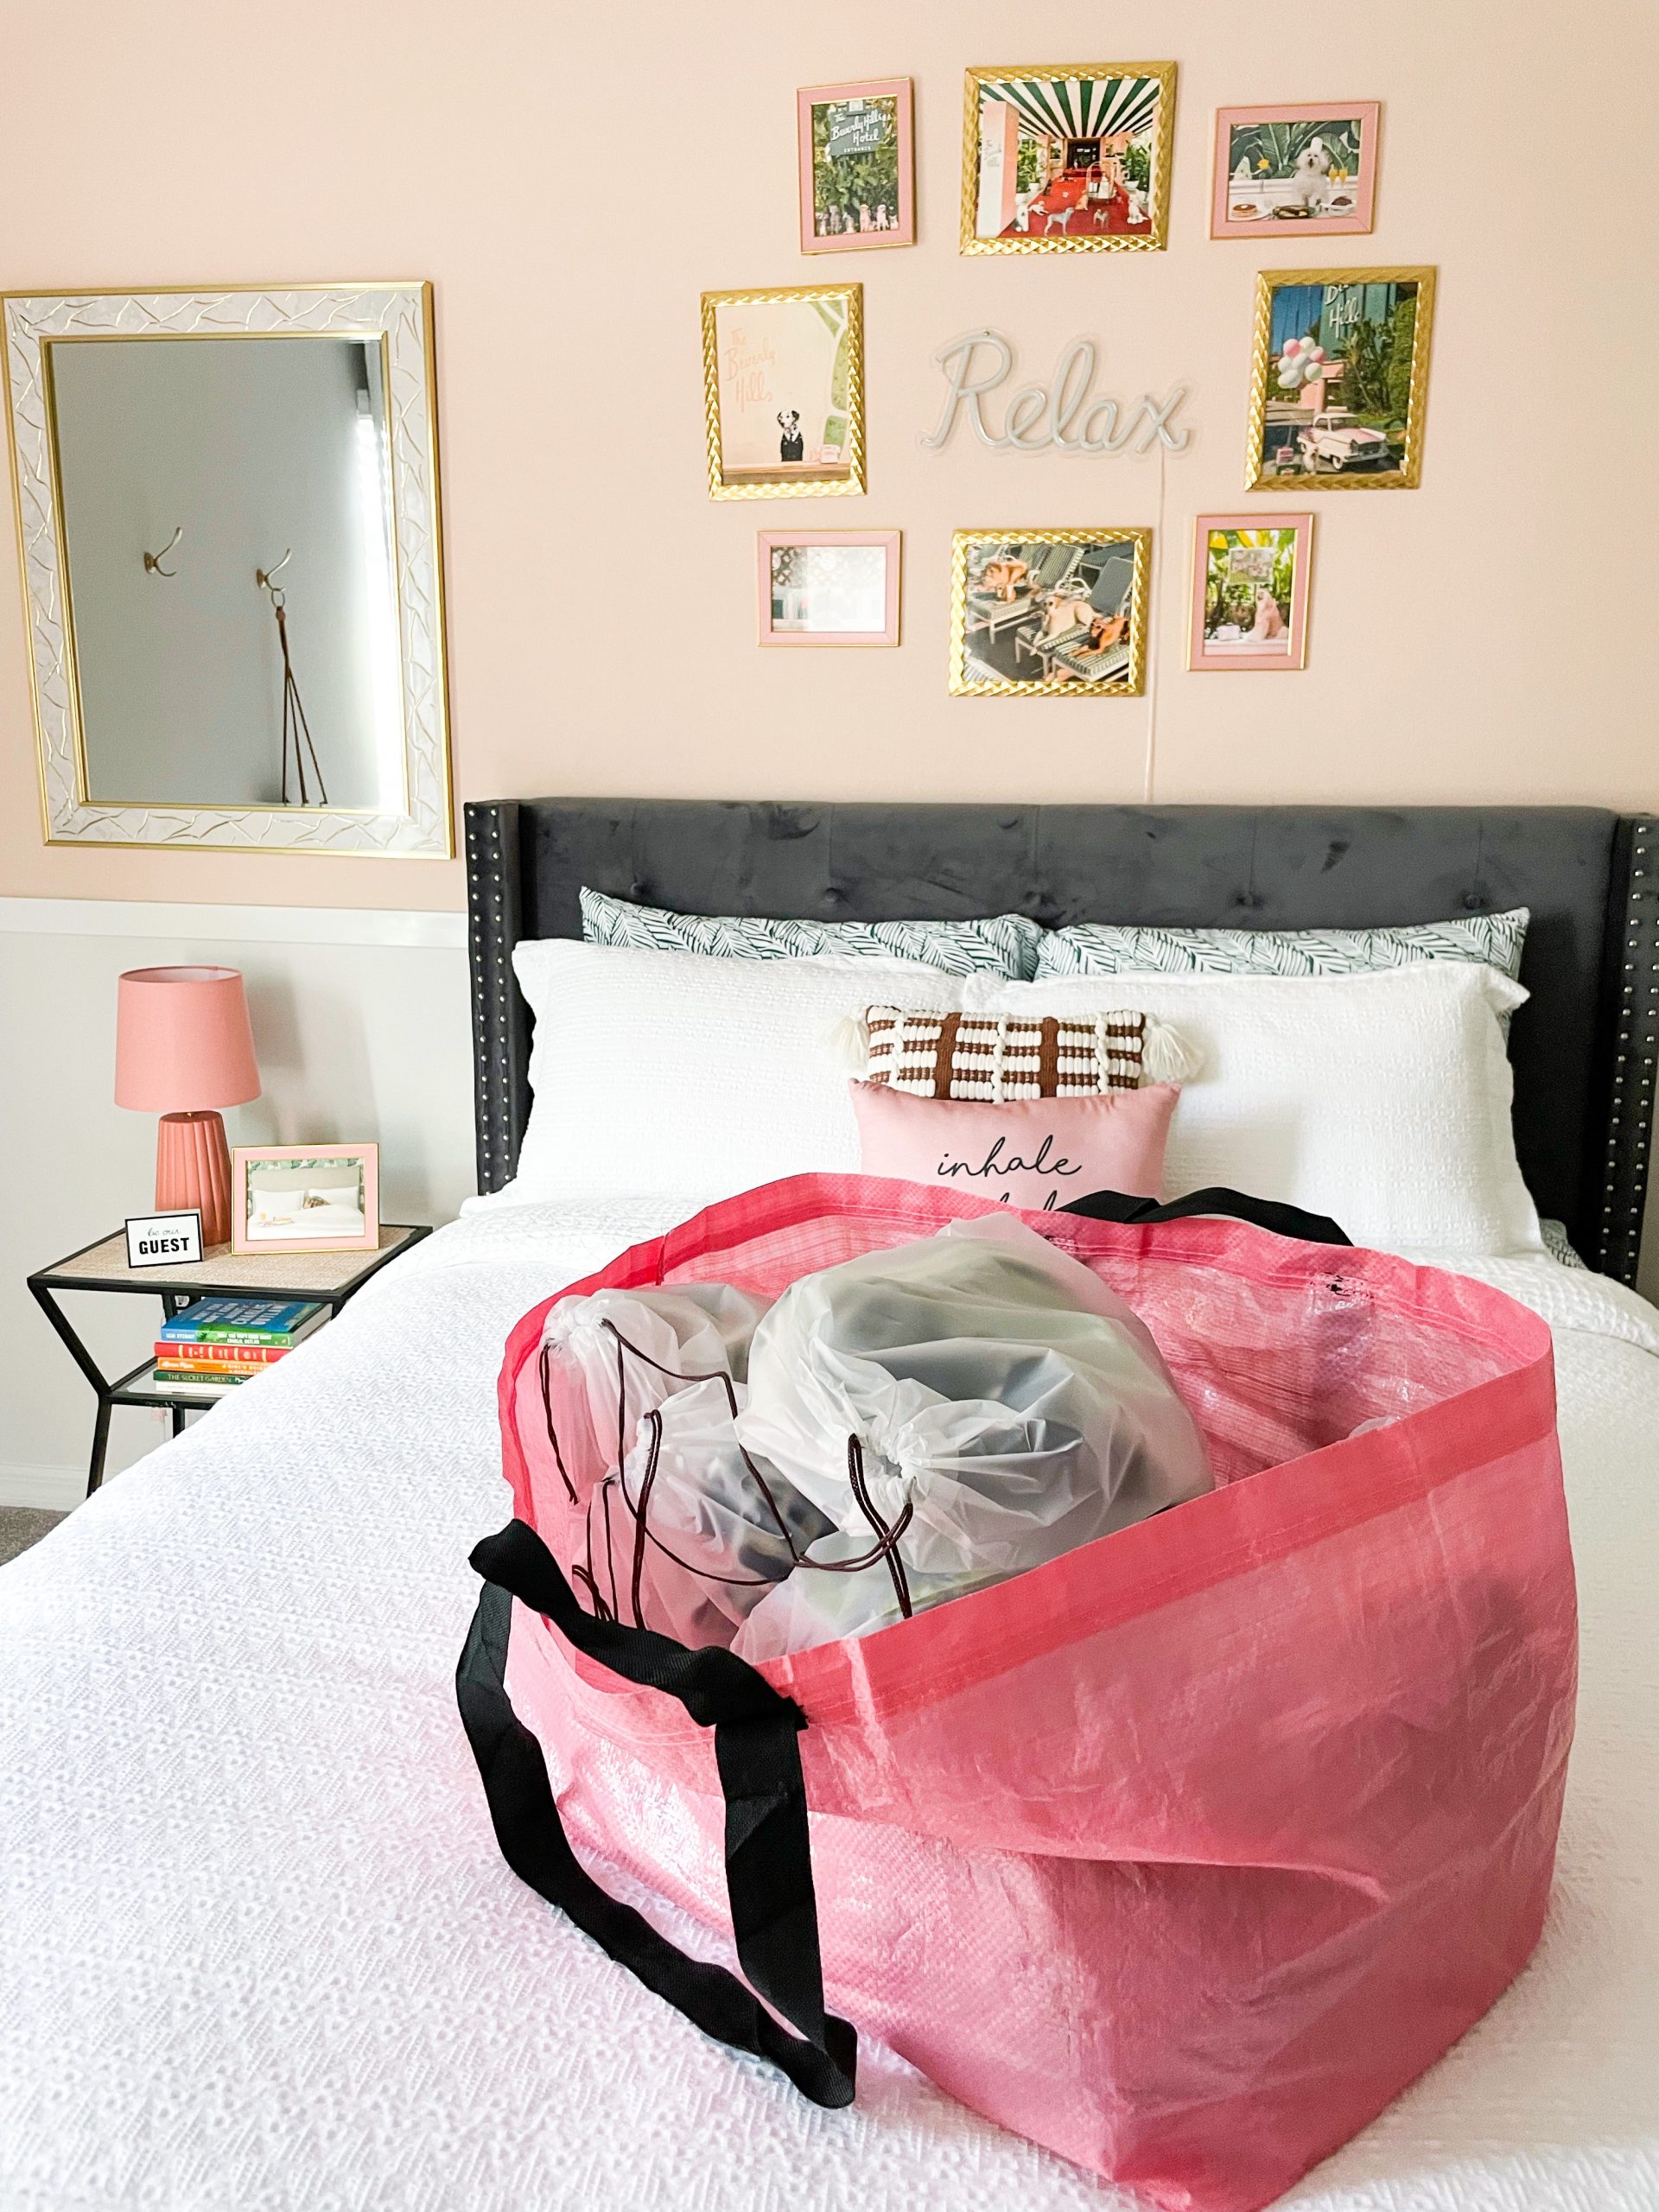
After all of the items have been washed and dried, I will measure each item and add its’ measurements to my ListPerfectly drafts. Once everything has been measured, I will fold it neatly in either place it in a plastic clothing bag or plastic shoe bag. From there, I will place everything in an IKEA bag (or two) and take it to my storage area for bin assignment.
How I Assign Items to Bins
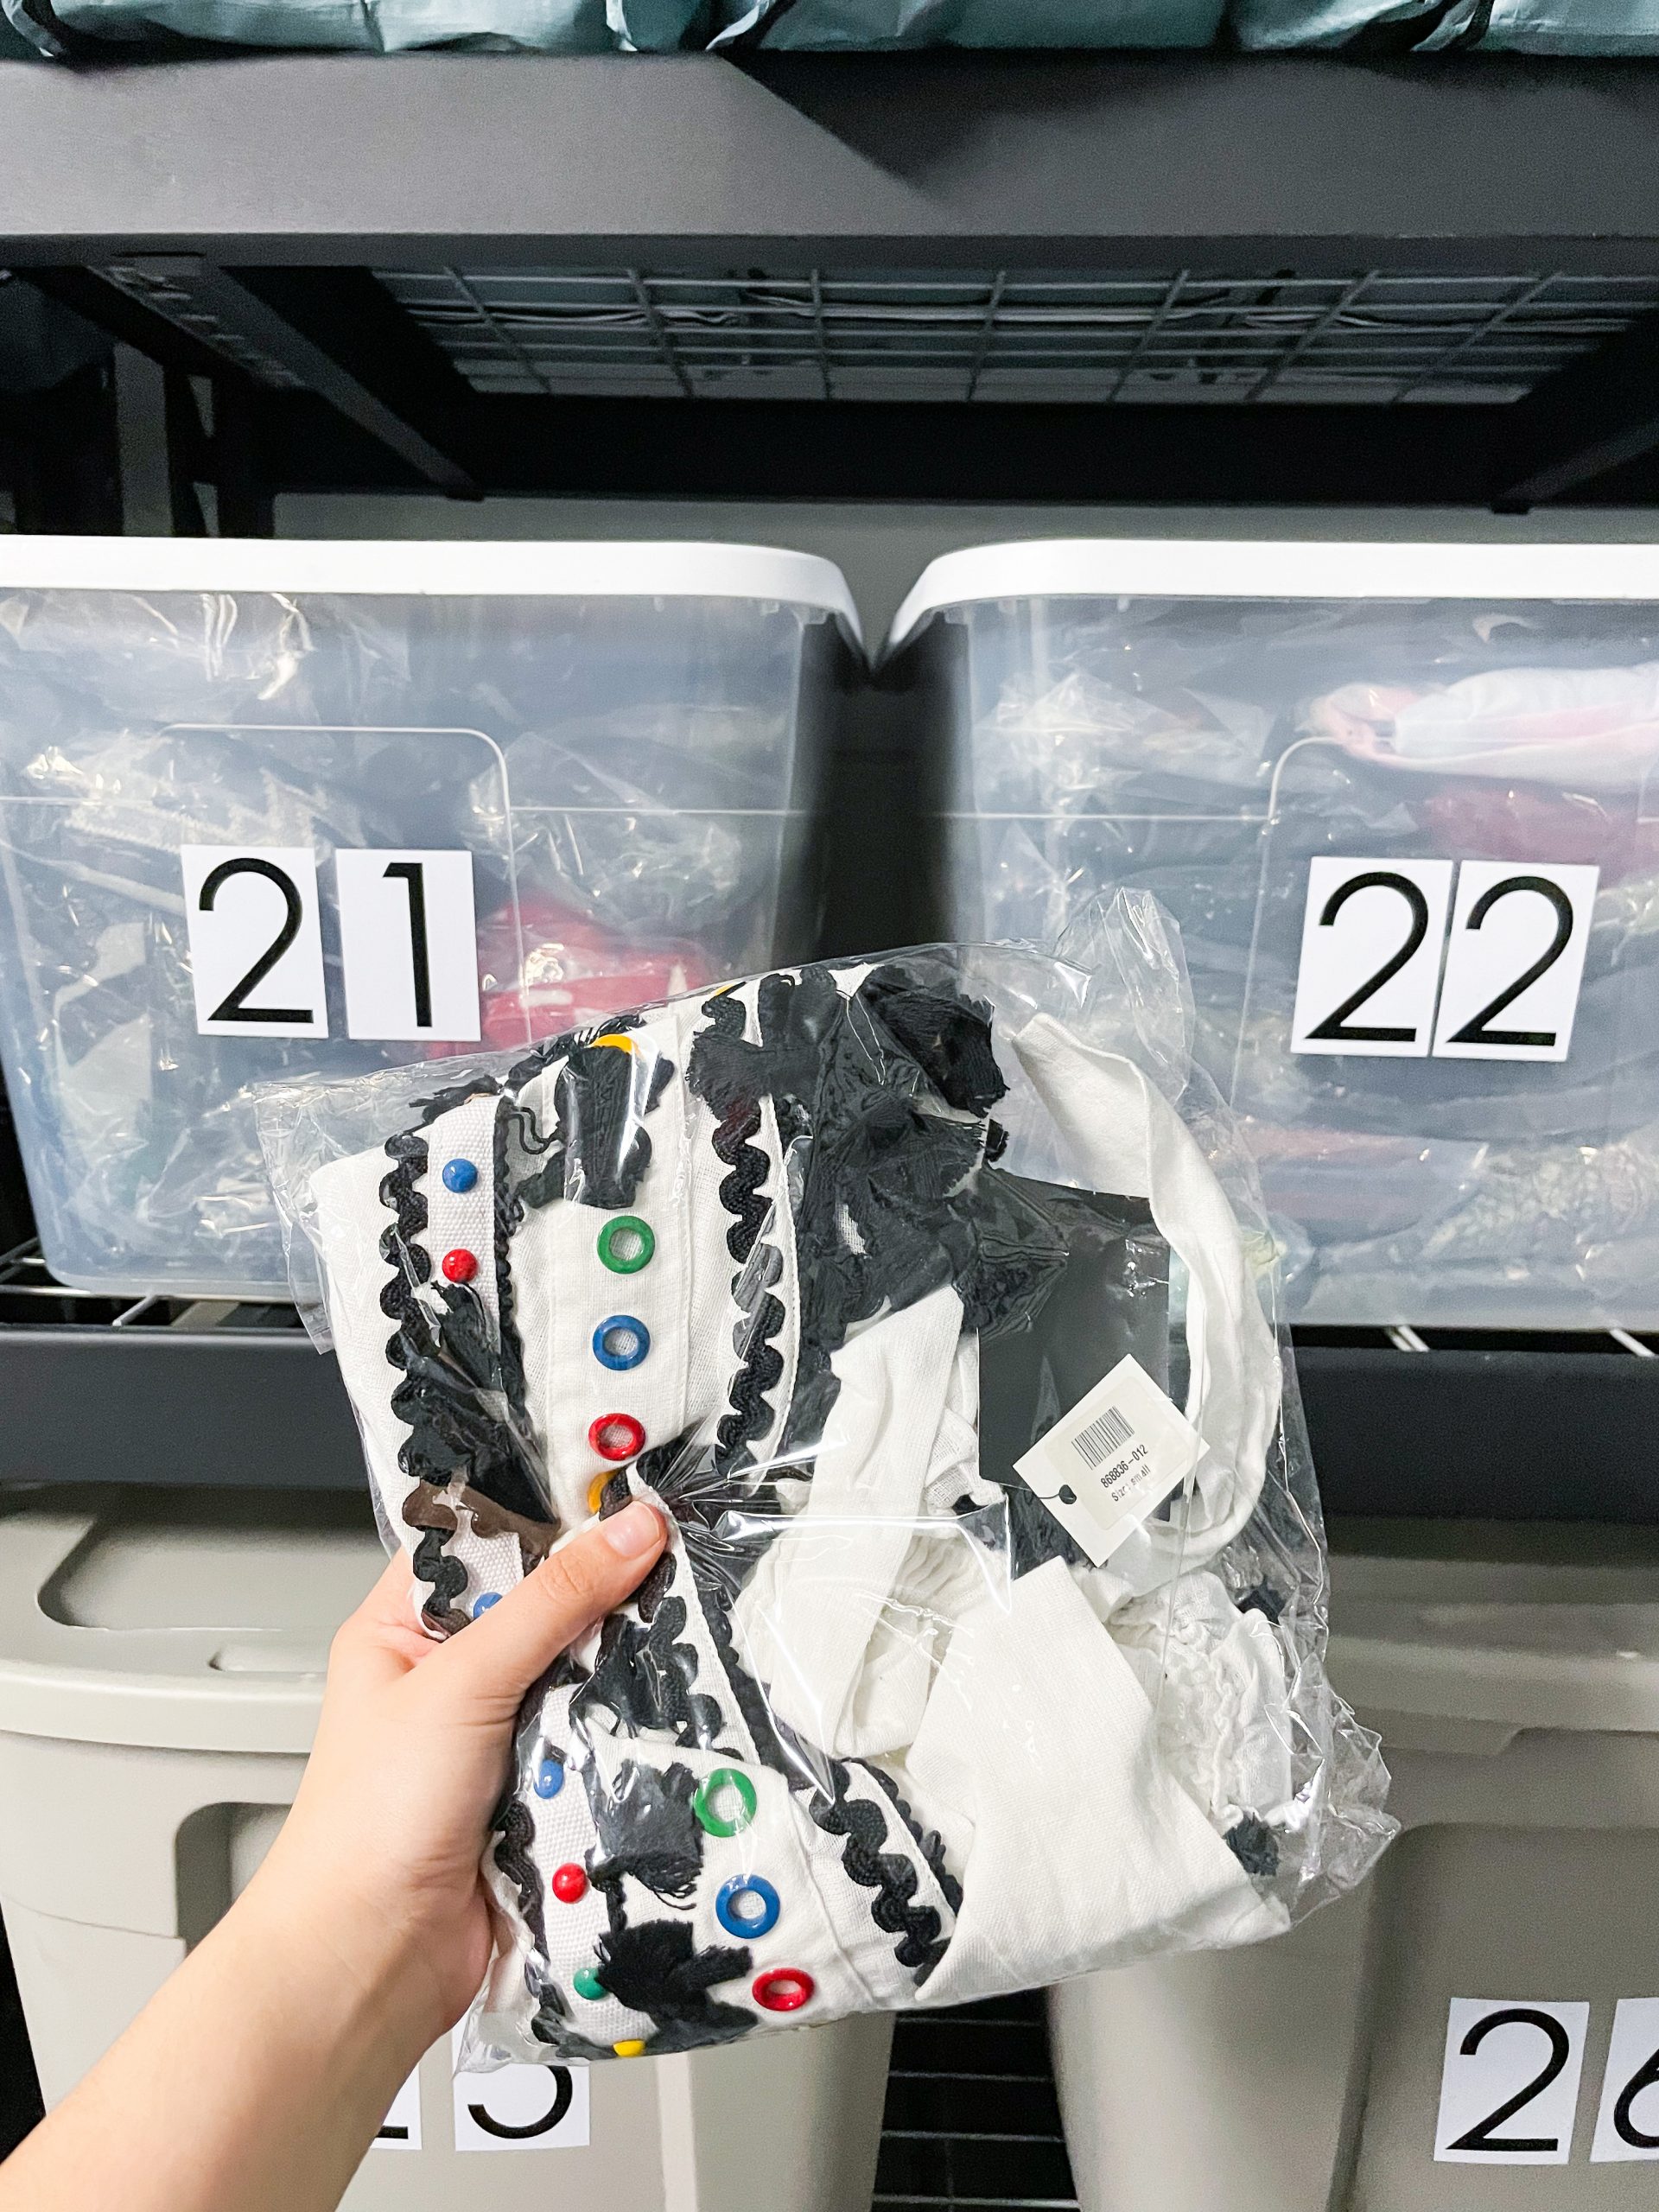
As you may have noticed in my updated storage pictures (Linked HERE), all of my bags and bins are labeled with a number. For me, this is the easiest way to store inventory for my business. Once all of the items are ready to be stored, I will start by assigning them bin numbers. Ideally, I like to pull sold items while simultaneously putting away new items; I like to do this as I can just replace the items that I am pulling and not having to pull down additional bins. When I am not pulling sold items, I will add items to bins with available space. To help make this process as easy as possible, I will jot down available bins by date in my notebook along with bin assignments for new items.
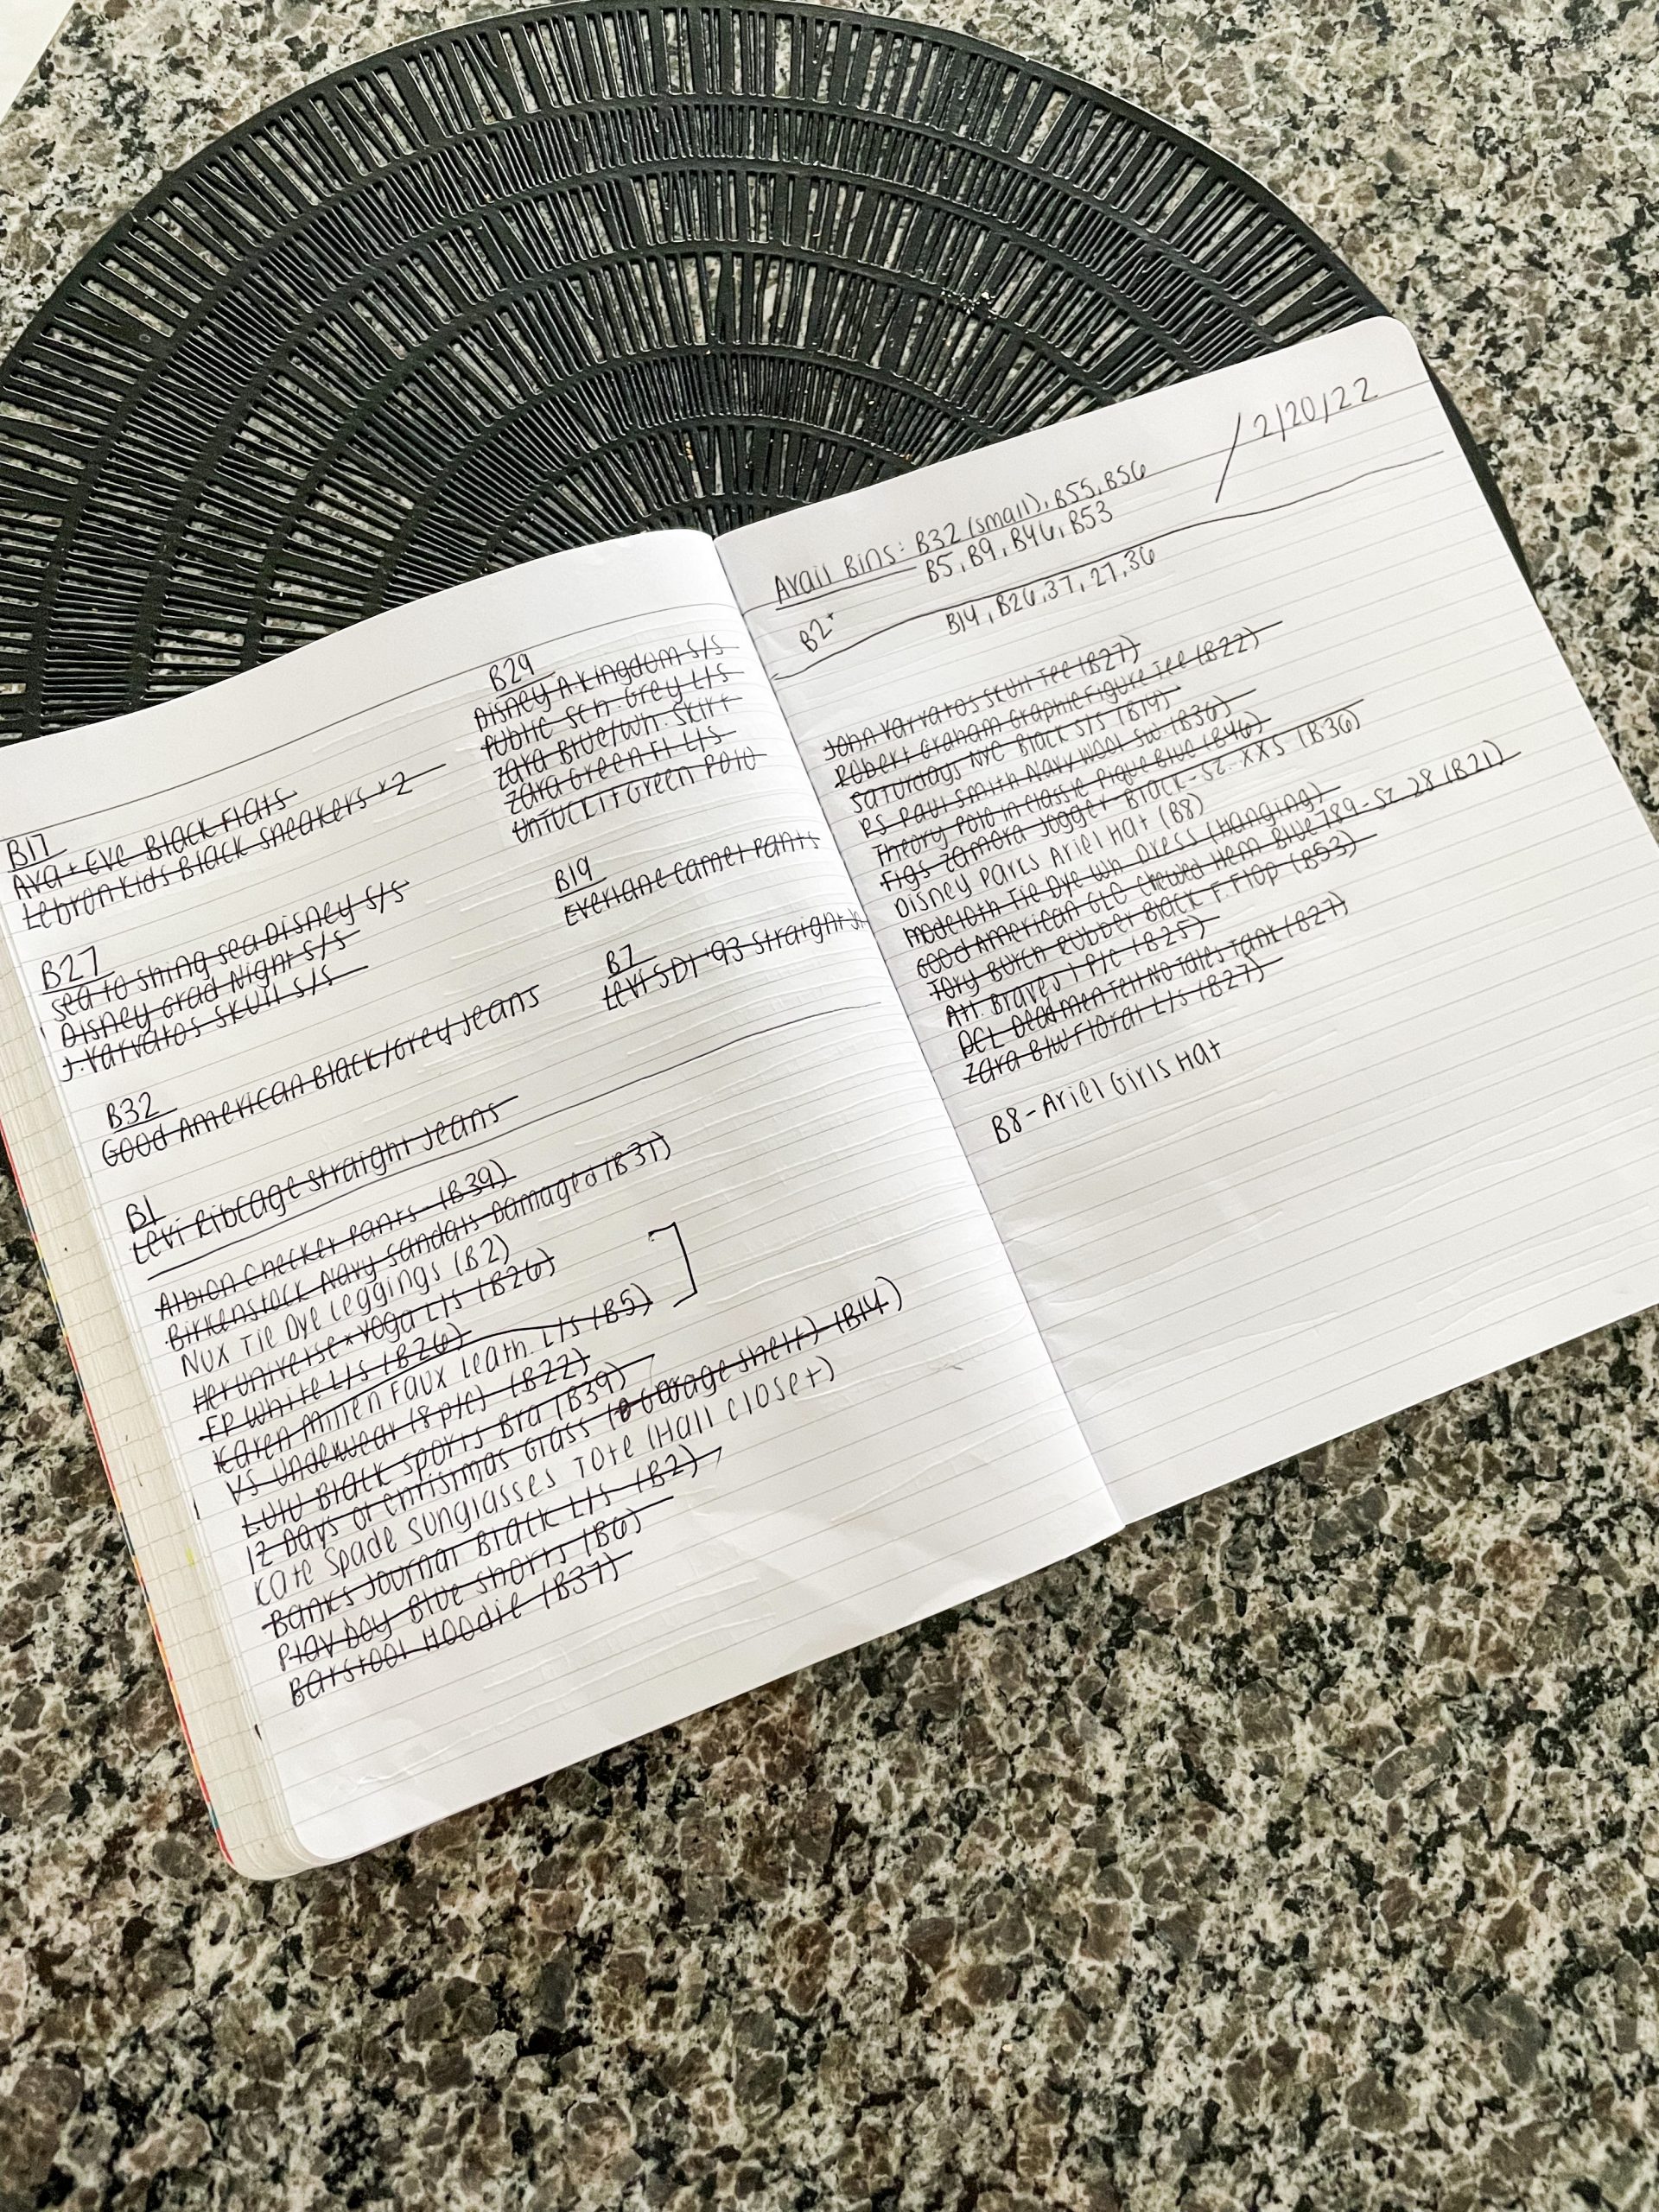
Once new bins have been assigned, I will add the bin numbers to the appropriate ListPerfectly draft. After the bin number has been added to the draft, it is ready to go live. [I do have another system to differentiate a completed listing vs. non-completed listing but I will save that for another day.]
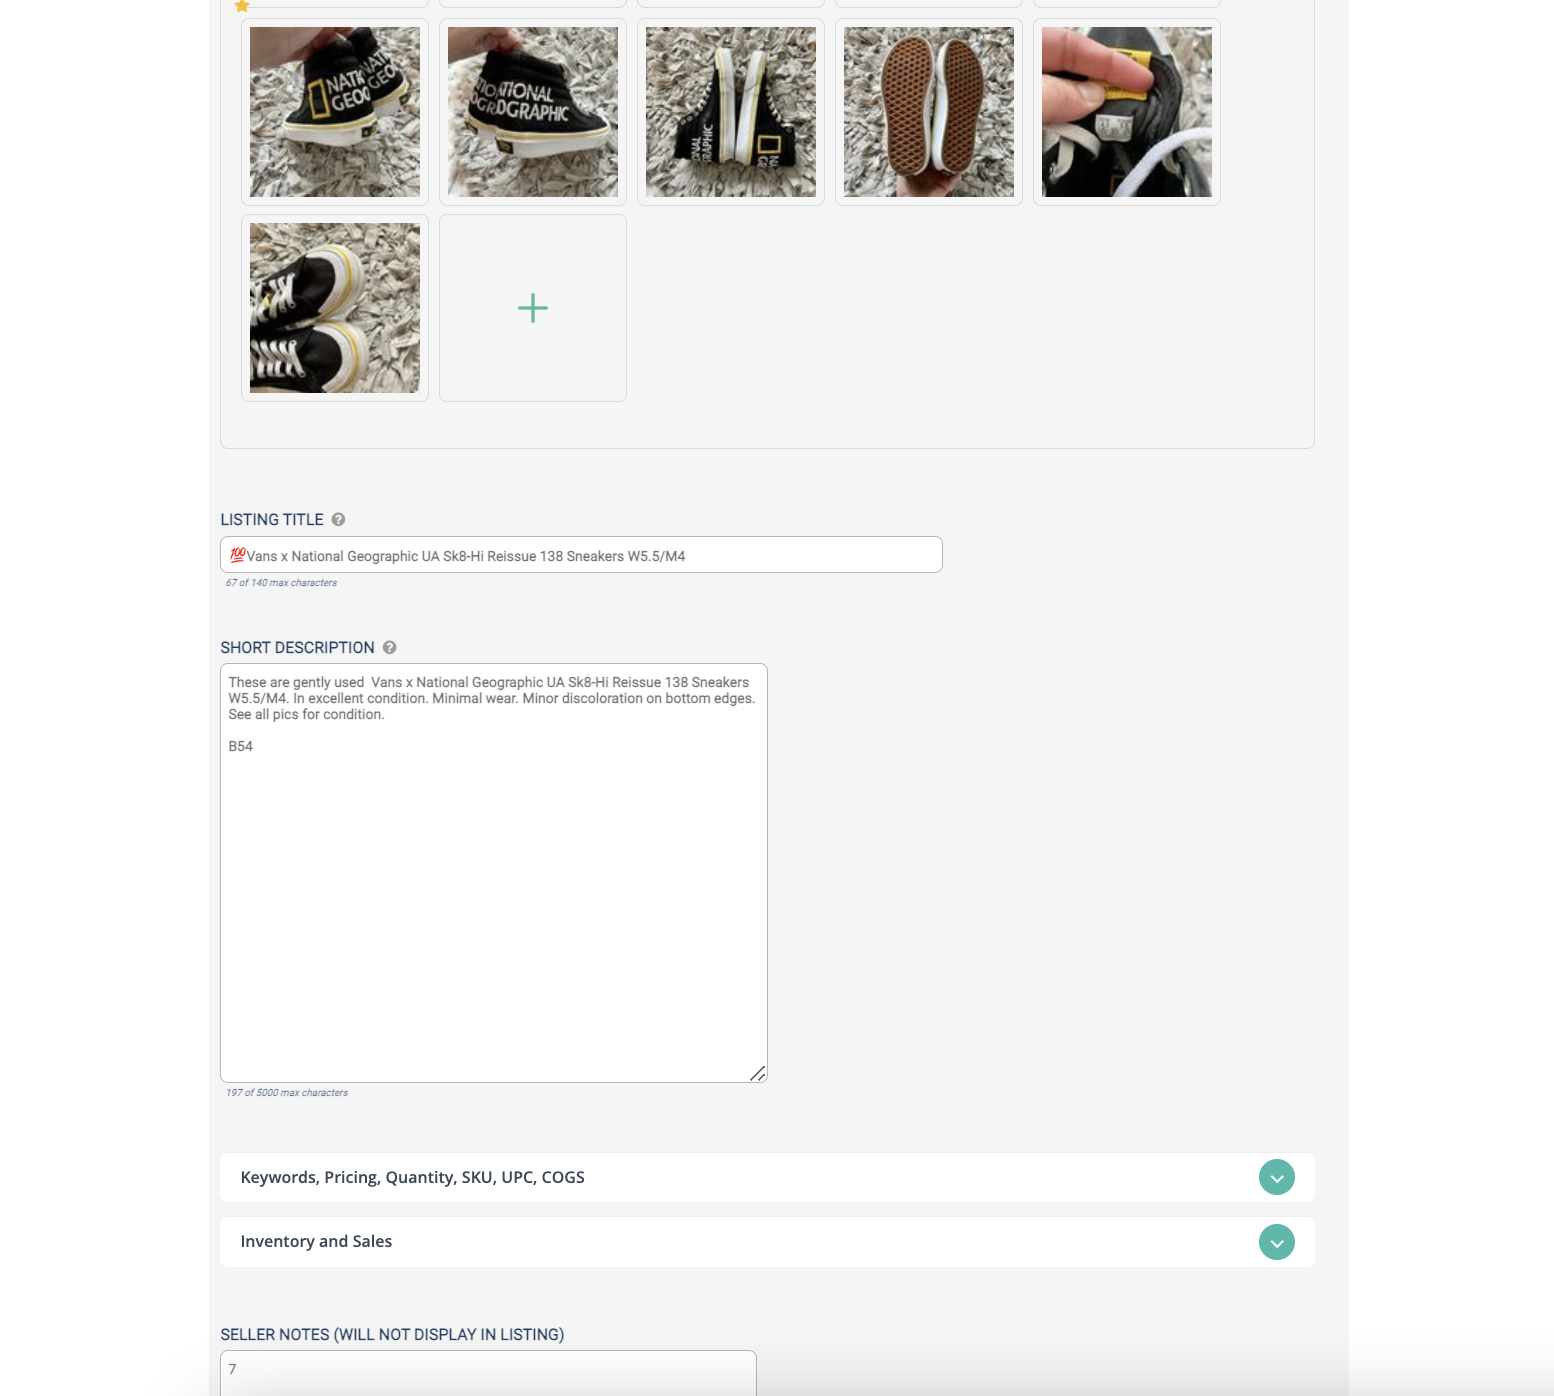
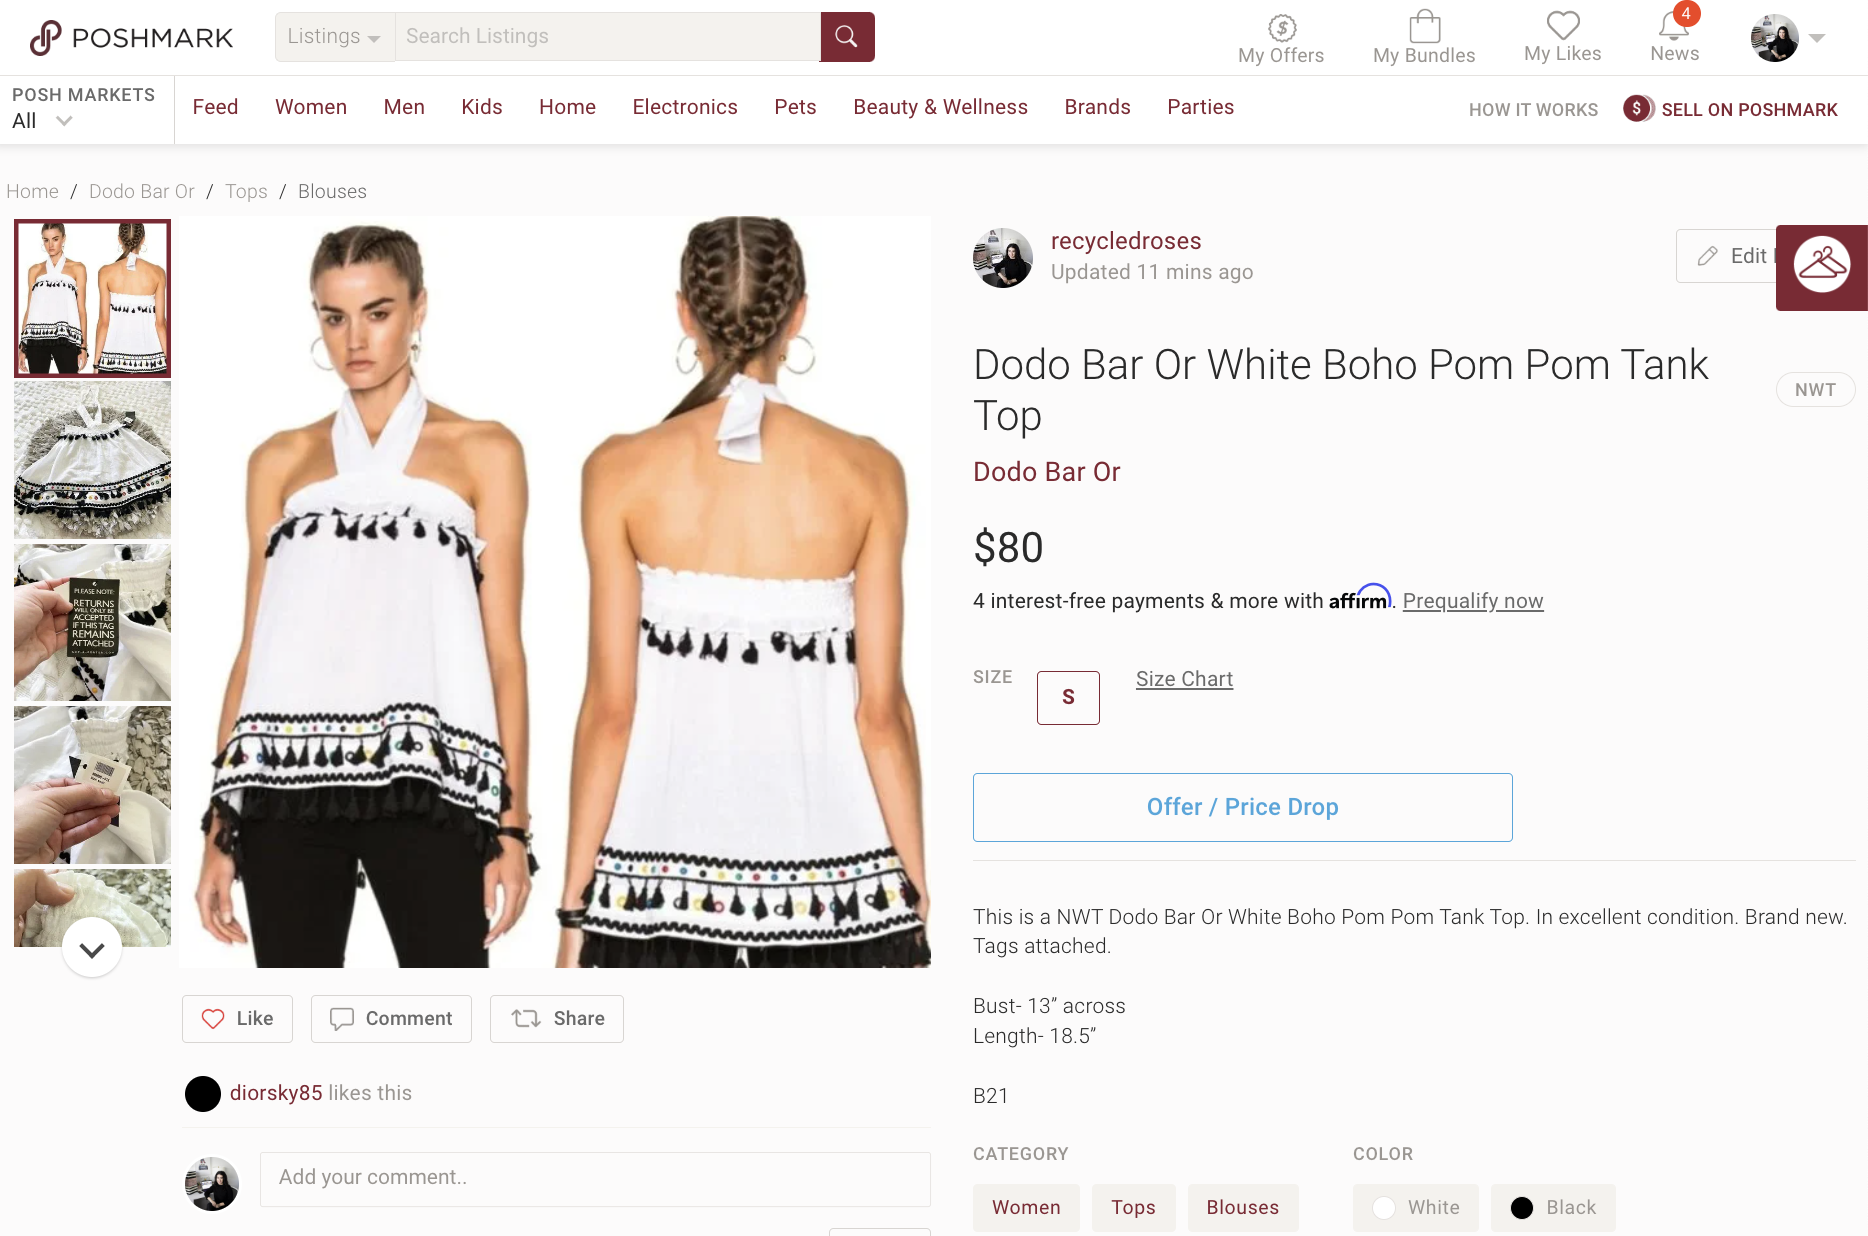
Below is a completed listing on Poshmark showing the bin assignment (B?) in the description. [Note: The reason that I include it in the item’s description is because once an item has sold, you can still see it if it is in the description. If I were to have included it in the Additional Details section, I would not be able to readily see it after I sold the item.]
I hope that you find this post helpful! If you have any questions or just want to chat, please reach out!
If you don’t already, be sure to check out my Instagram for more Reselling Tips at @ RecycledRosesGuide (Click HERE) and my Facebook page HERE.
You can instantly shop all of my looks by following me on the LIKEtoKNOW.it shopping app HERE.
To get email notifications for my next blog post and to receive my monthly Reseller Recap (with freebies), sign up for my emails below:
Baci,


