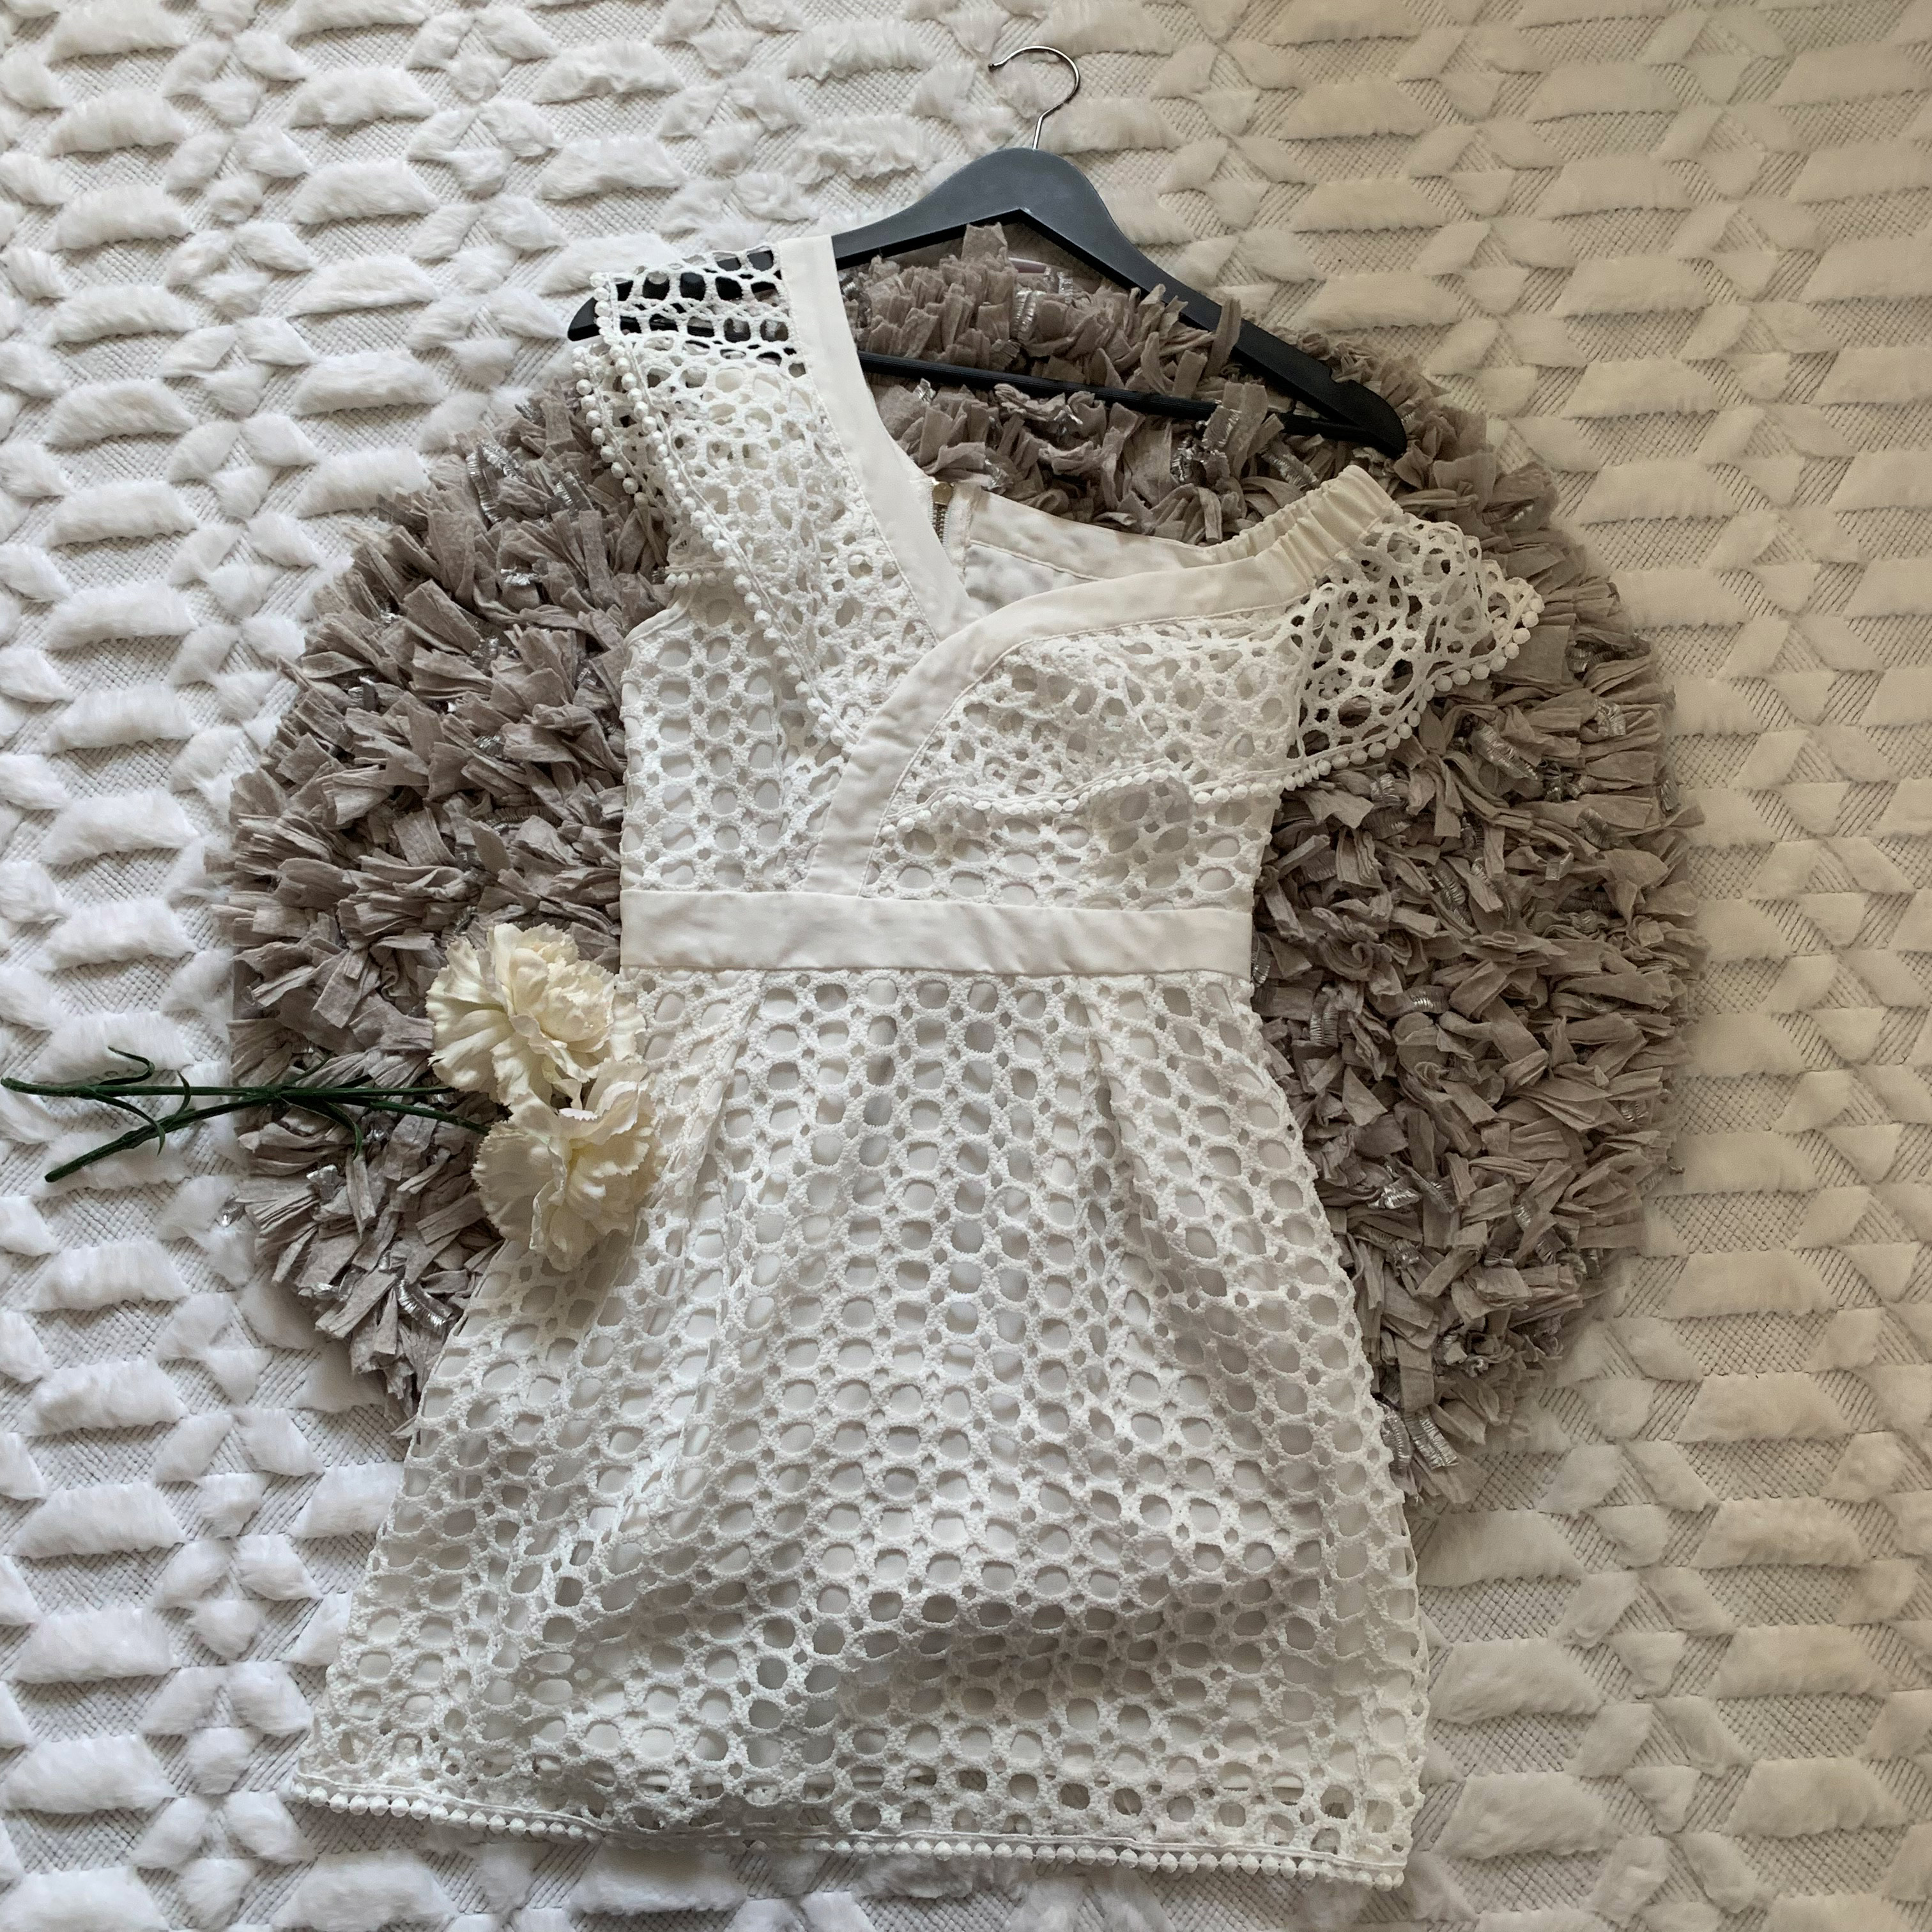
When I take photos for Poshmark, I am very particular with the exposure and style of my photos. I really try hard to ensure that the items in my photos look as true to form as possible. For this reason, I only photograph items in natural sunlight. I’ve tried using light kits but they don’t always photograph the same. When I’m photographing photos for my listings, I take all of my photos at once and then store them on my phone. Once all of the photos are taken, I edit them using the Adobe Photoshop Express app on my phone. Today, I want to share with you how I use the app to edit my Poshmark photos.
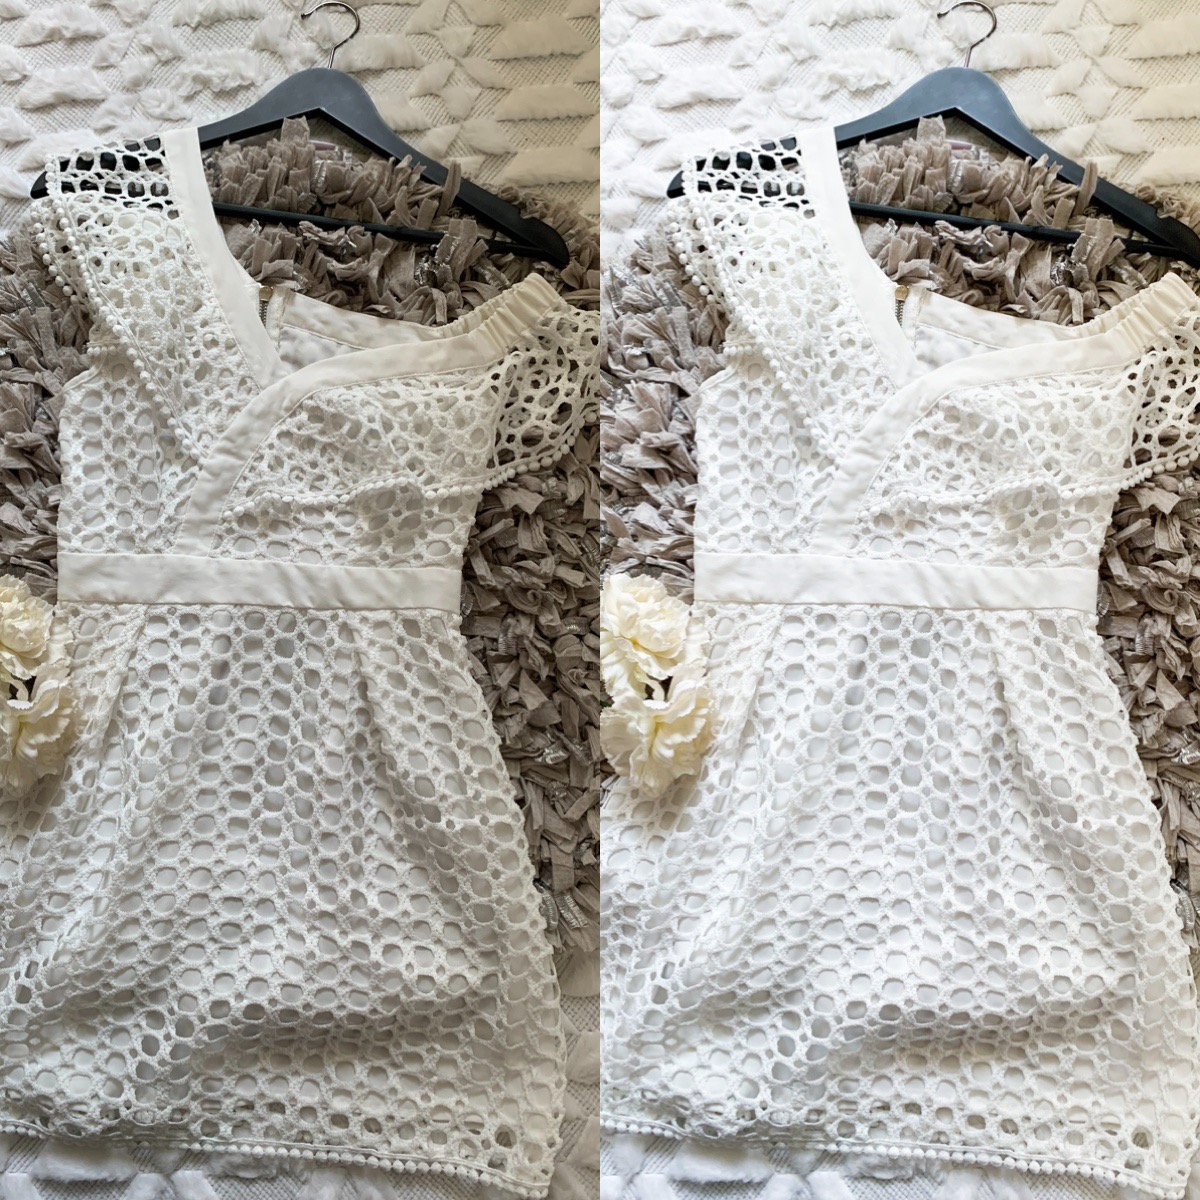
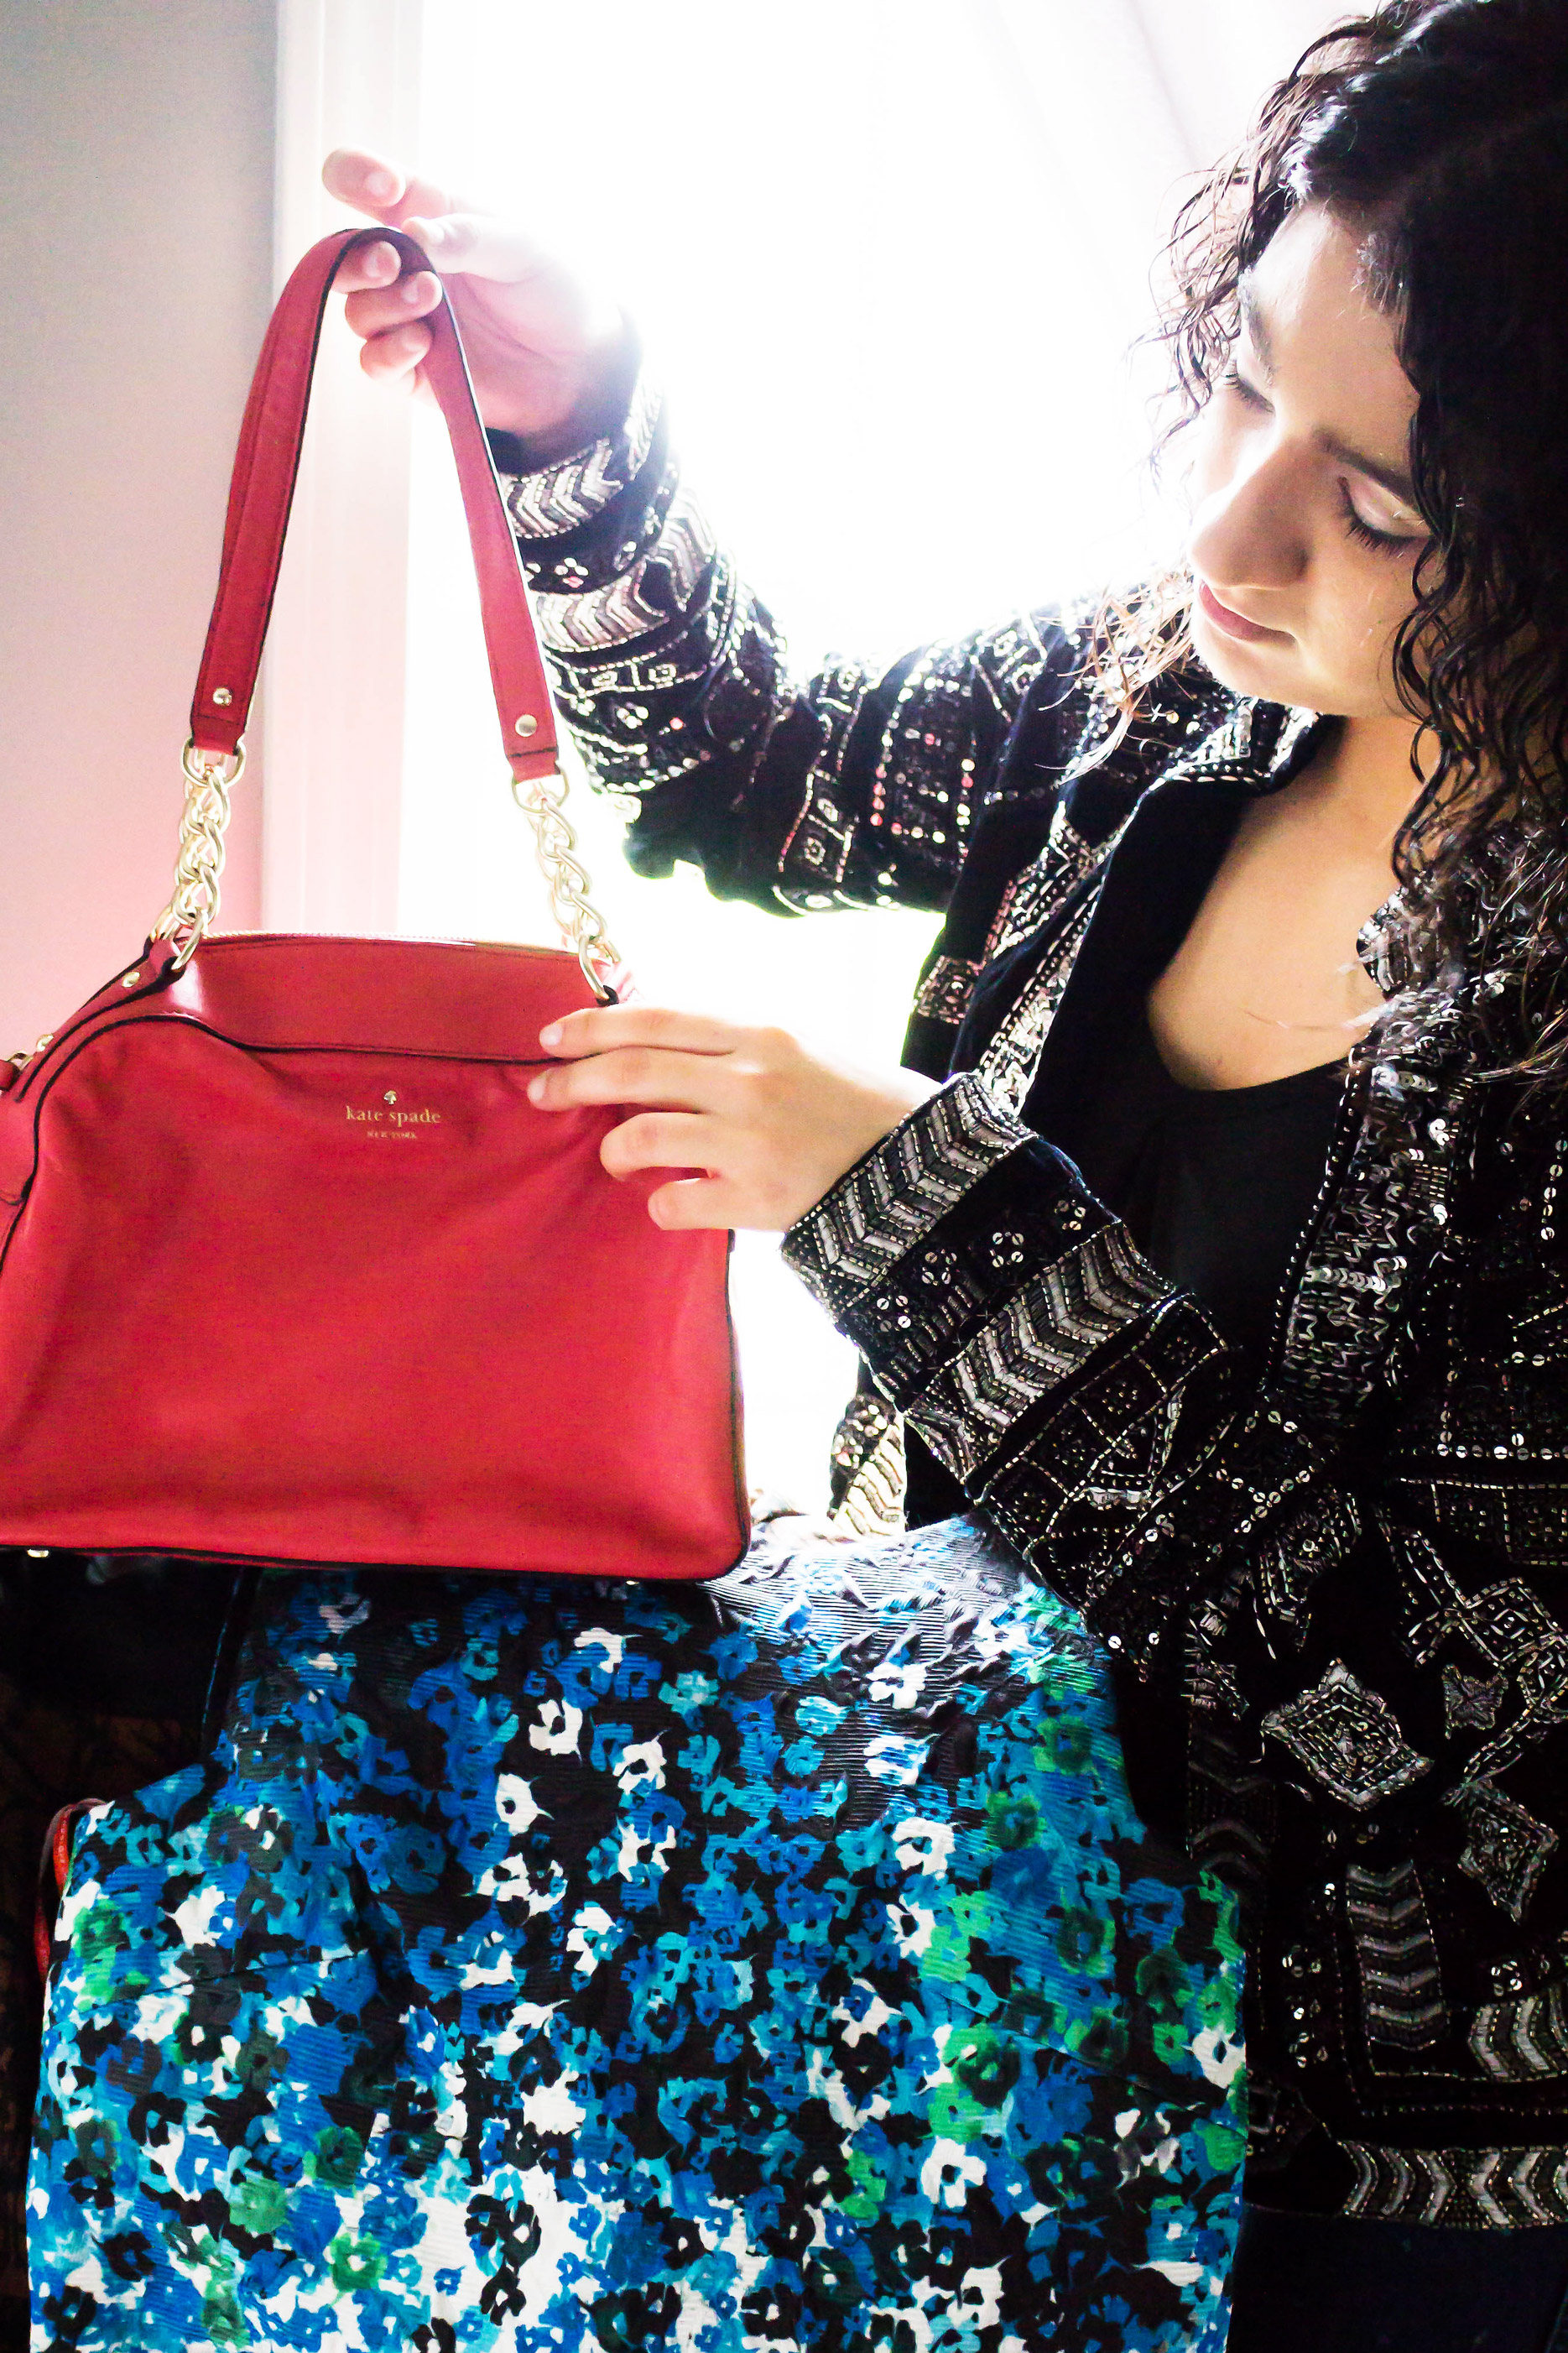
Let’s Start By Looking at the Before and After Photos:
Before:
After:
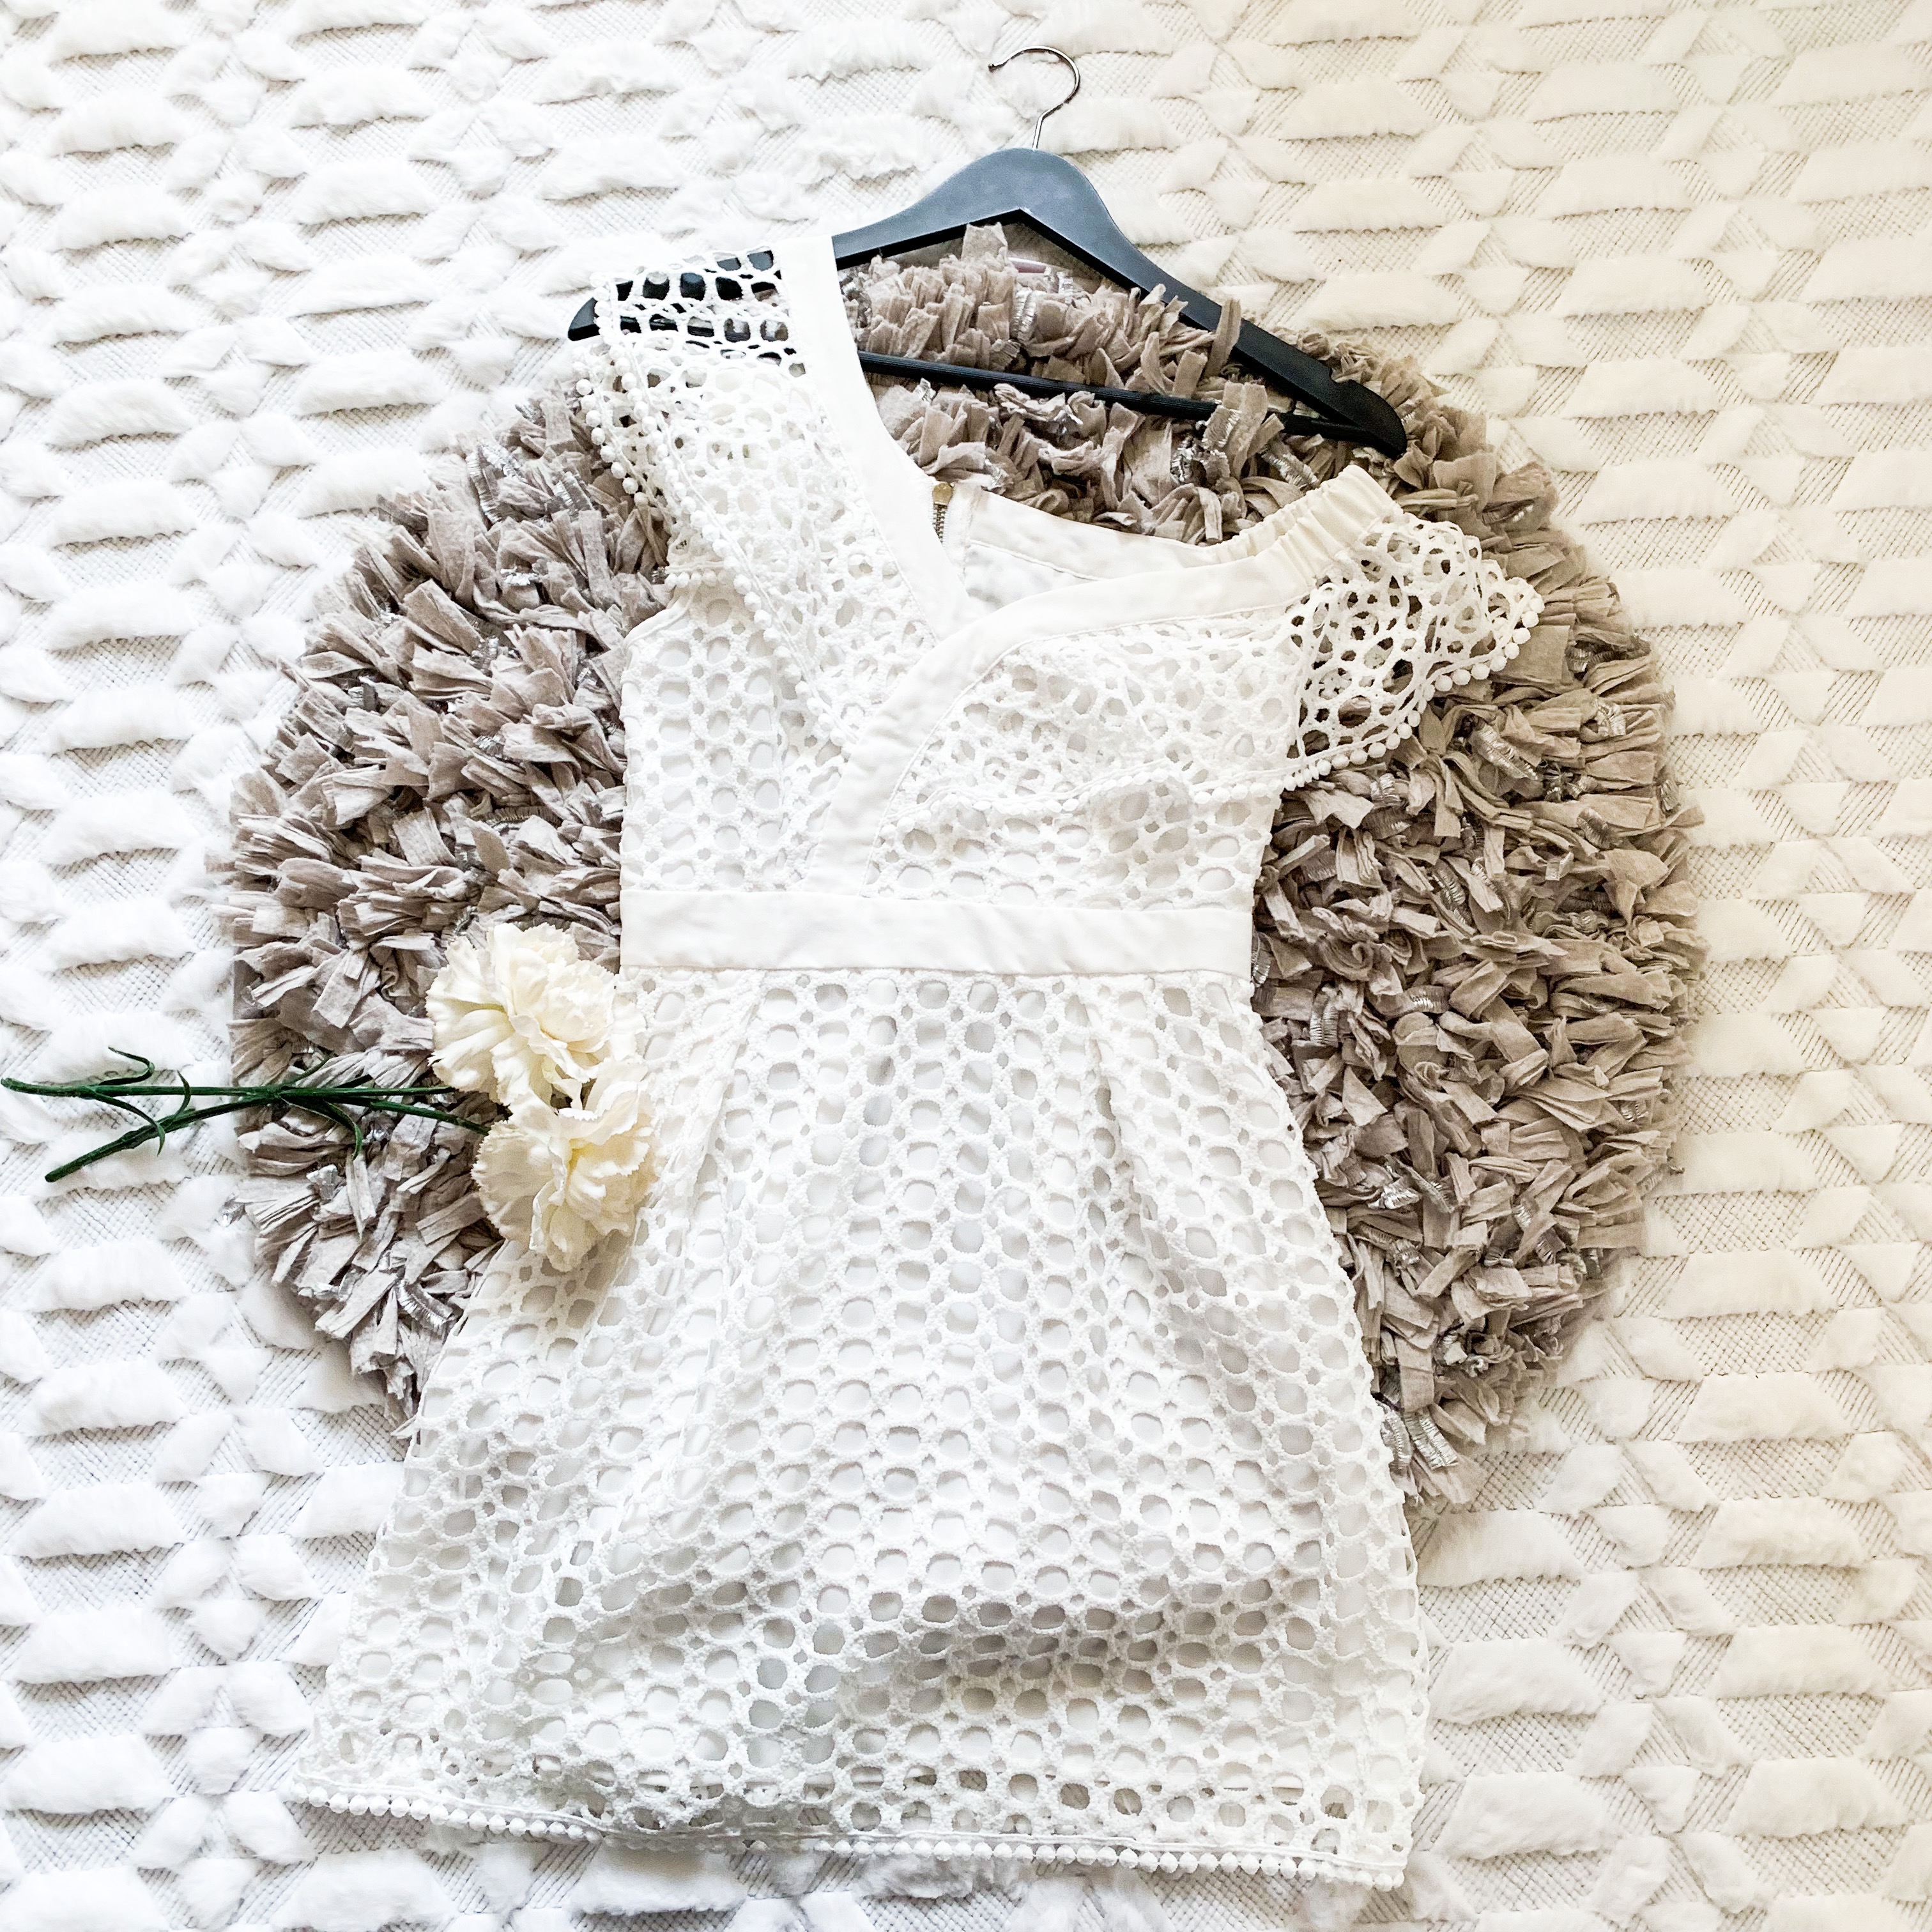
Quite a difference, right? In order to make your photos look lighter, brighter, and more appealing to buyers, all you need to do is make a few tweaks to your already great photos…
First Step- Install a Great Photo Editing App
My go-to app for editing all of my Poshmark photos is Adobe Photoshop Express. I installed it for free when I initially bought my iPhone. When I started the blog shortly thereafter, I bought the Adobe Suite which has allowed me to incorporate all of its’ features on my phone. I would strongly recommend installing this app along with the Lightroom app and buying all of it’s additional features for your Poshmark photos.
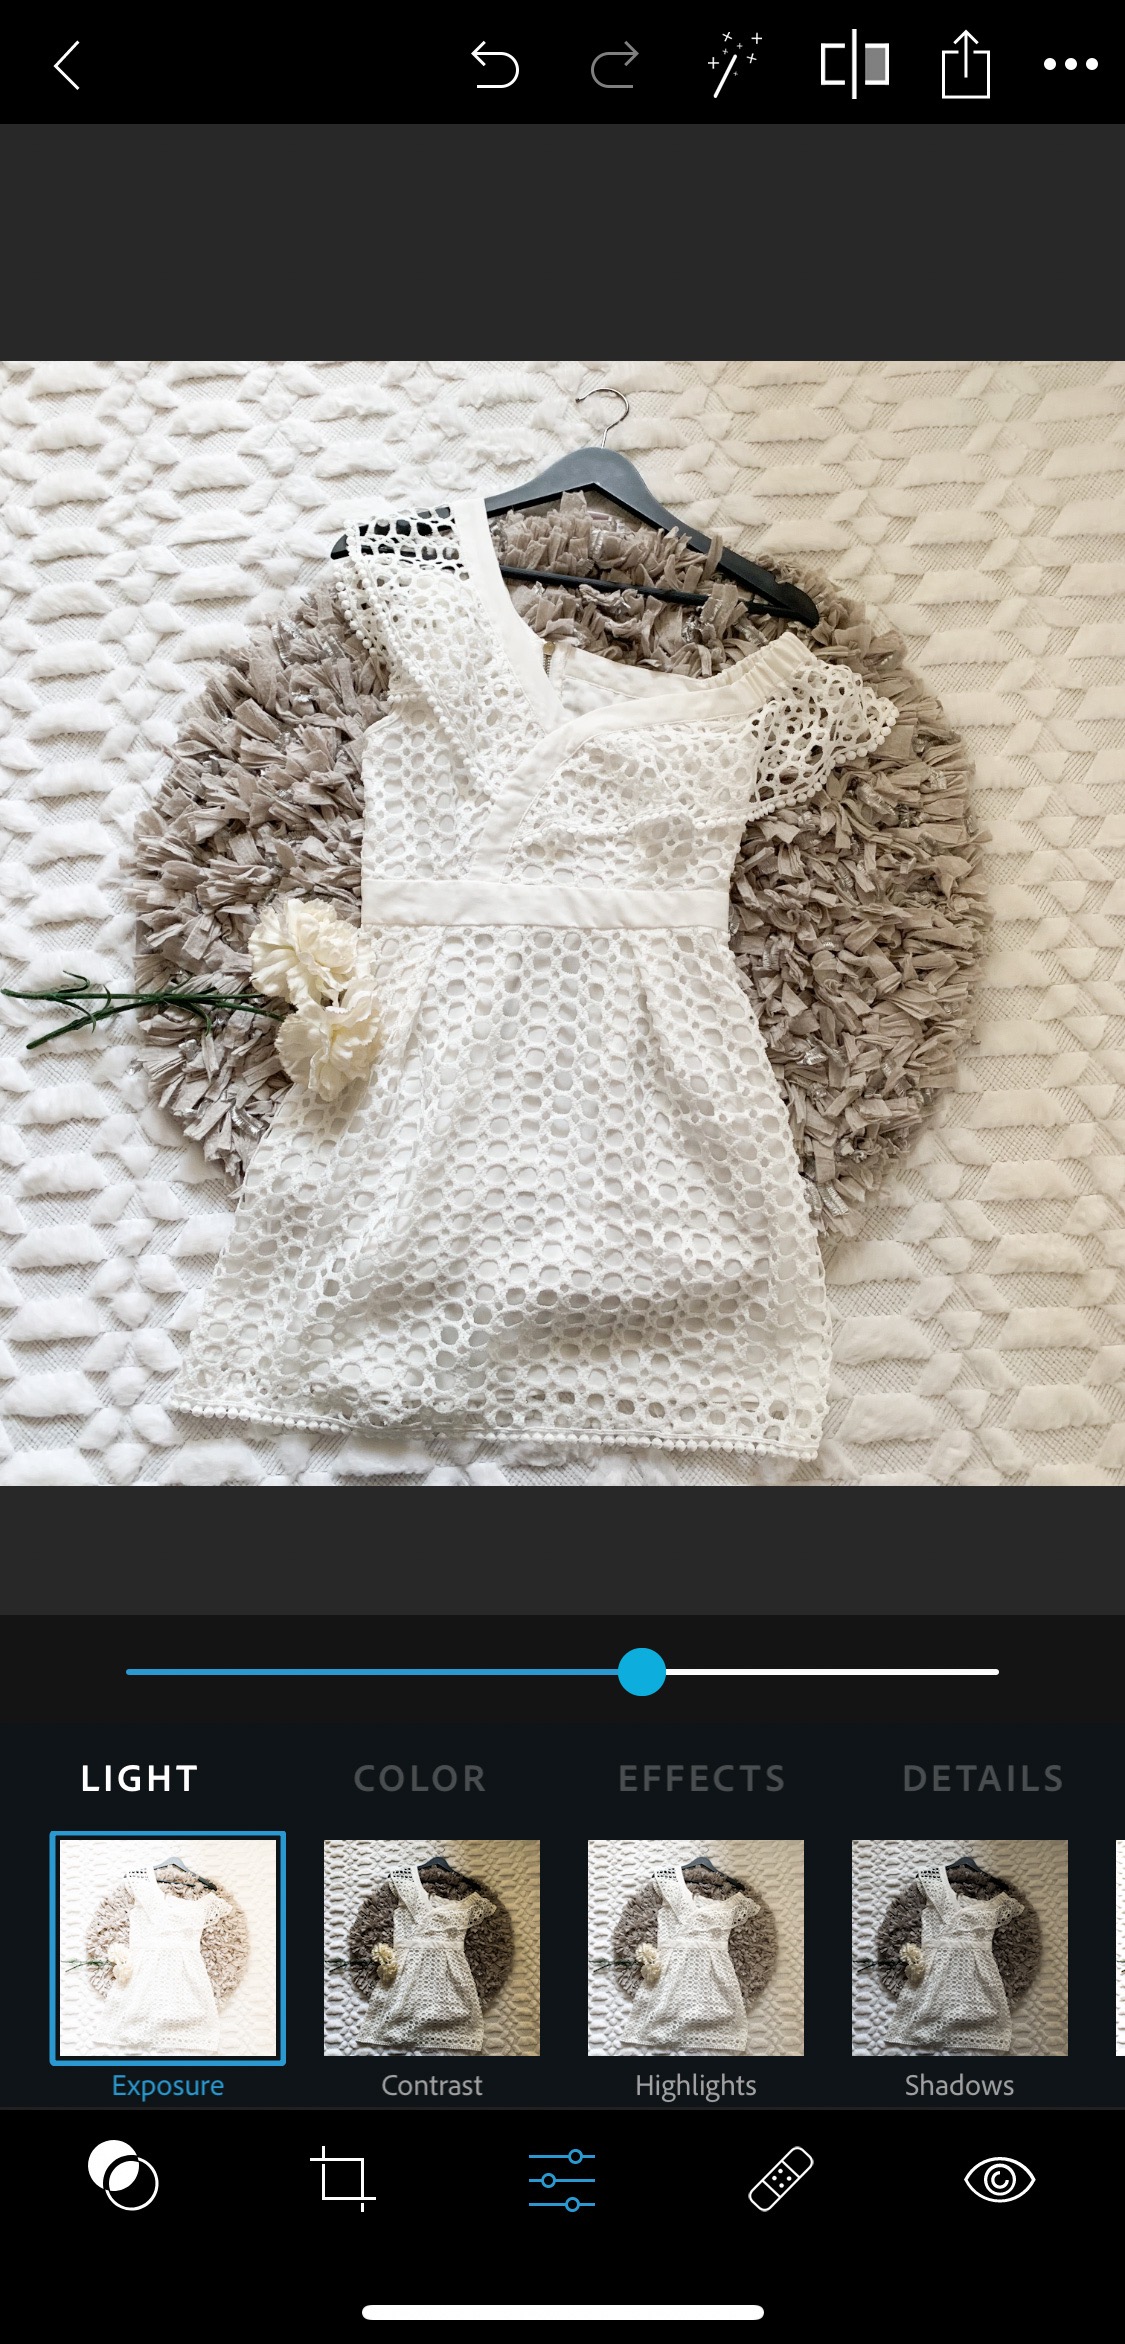
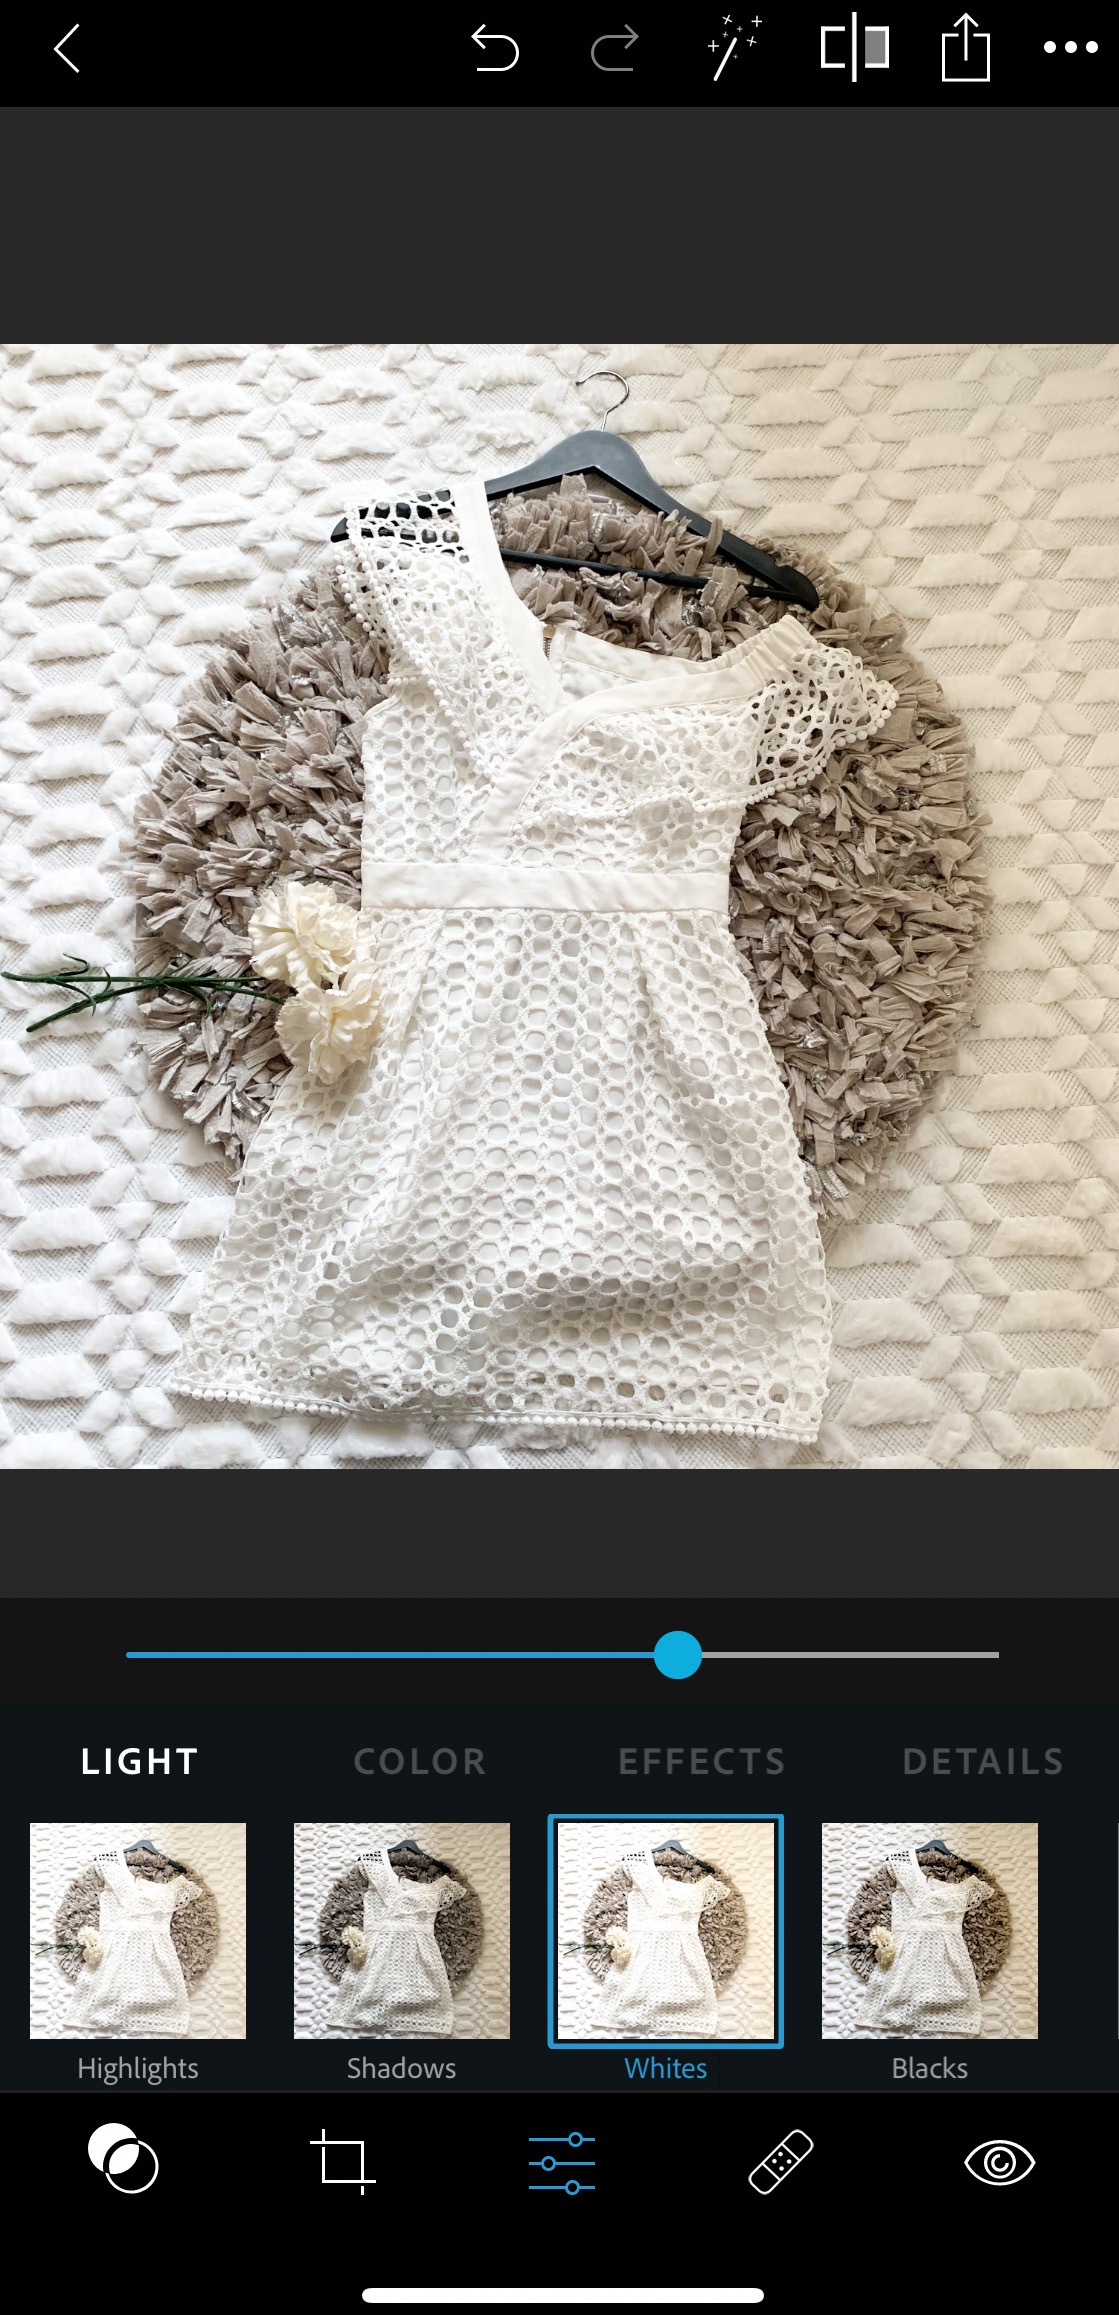
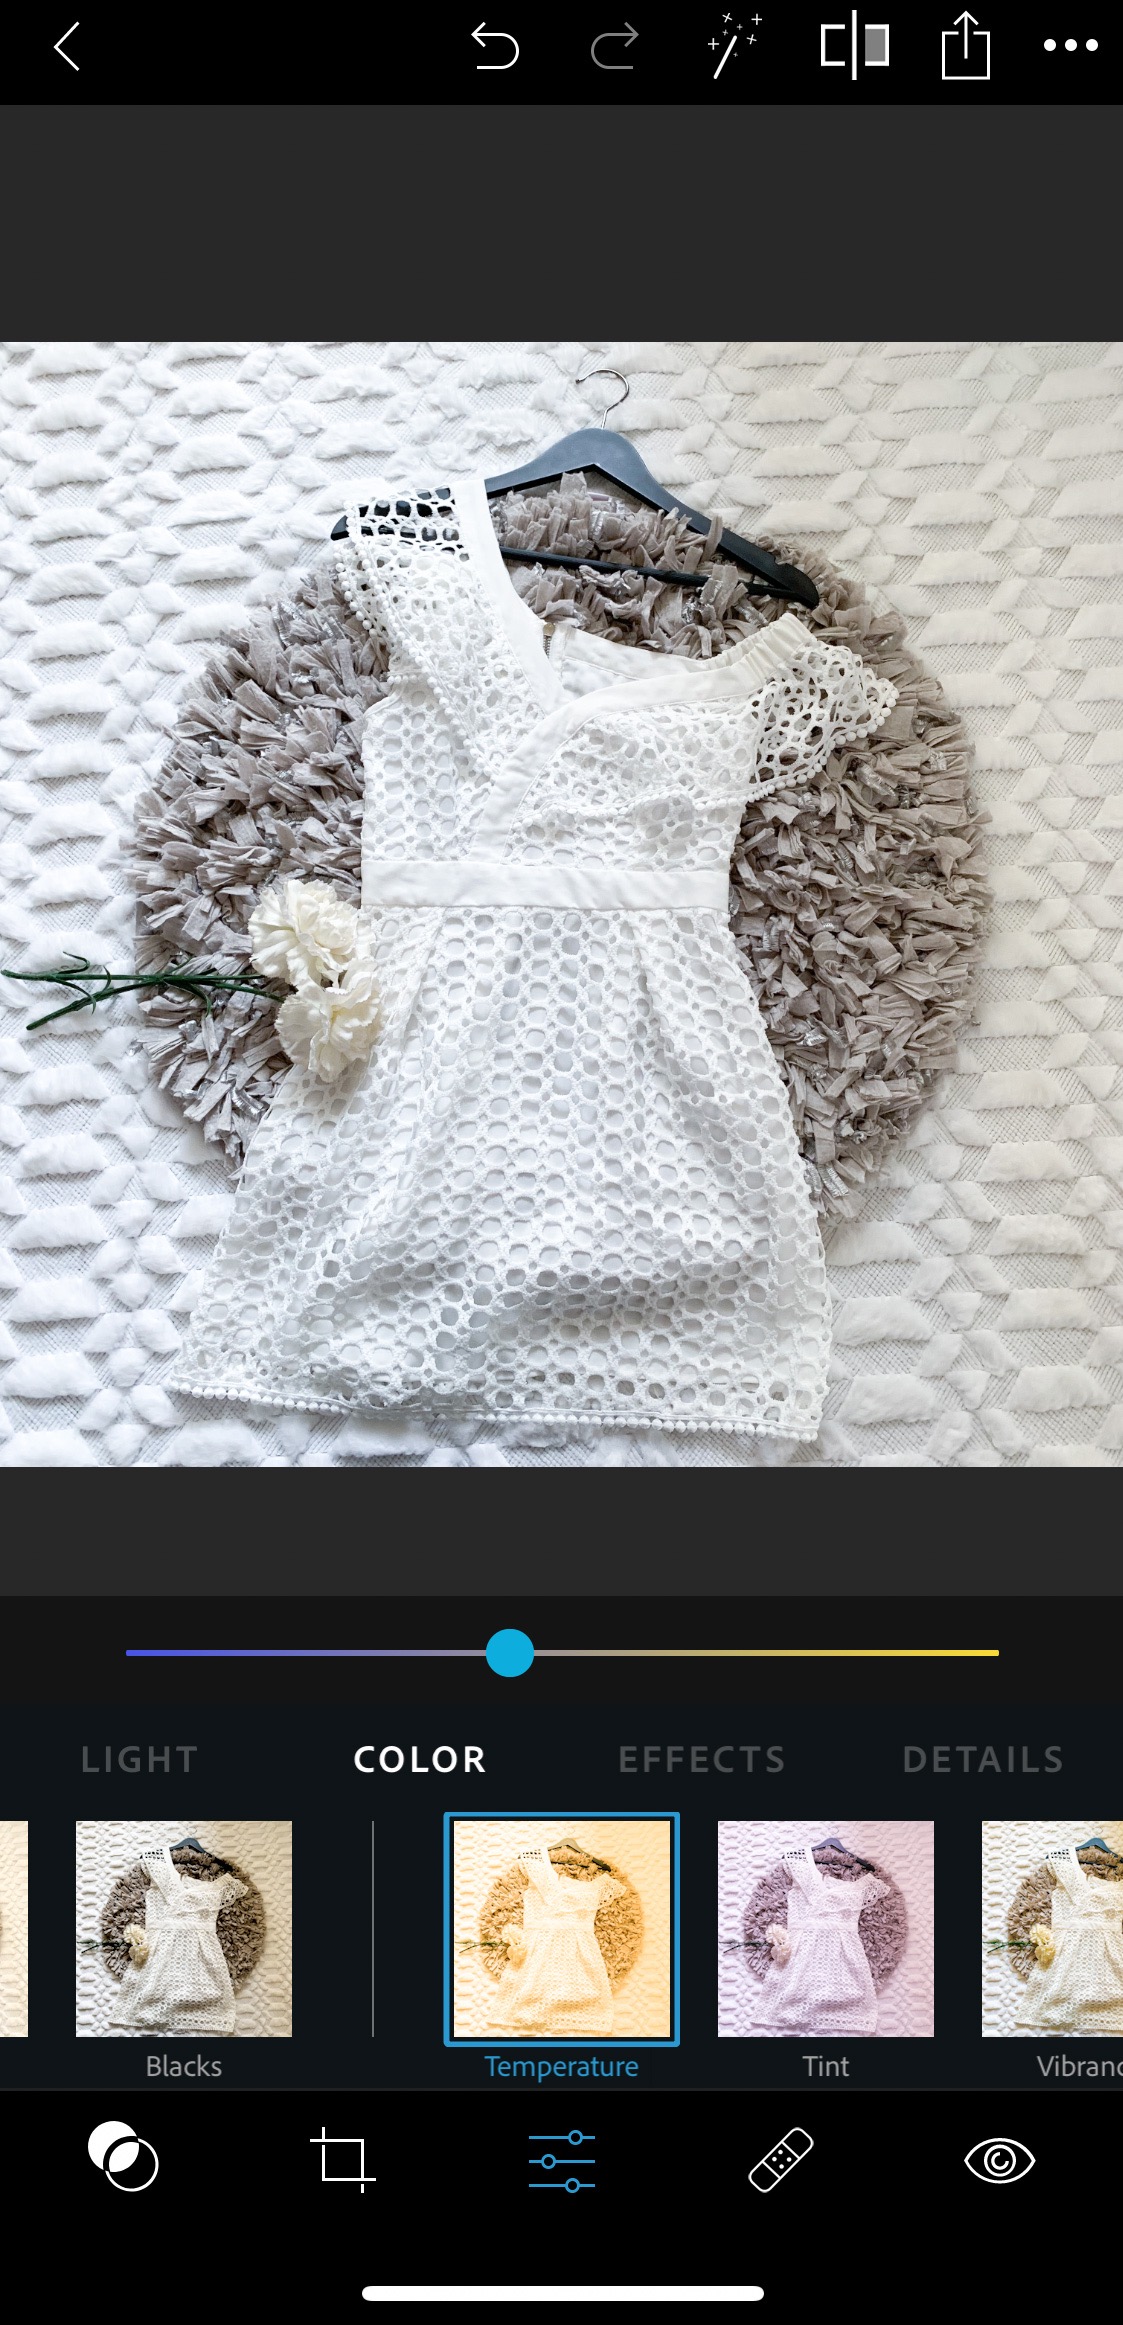
Once you go on the app, I would recommend focusing on 3 of its’ features: Exposure, Whites, and Temperature.
Exposure
Whites
Temperature
I hope that you found today’s post helpful and be sure to check out my other Poshmark-related blog posts!
If you don’t already, be sure to check out my Instagram for more Reselling Tips at @ RecycledRosesGuide (Click HERE)
To get email notifications for my next blog post and to receive a Reseller Recap Every Friday, sign up for my emails below:
Be Classy, Be Confident, Be Strong
Baci,
Bianca Ida

Leave a Reply