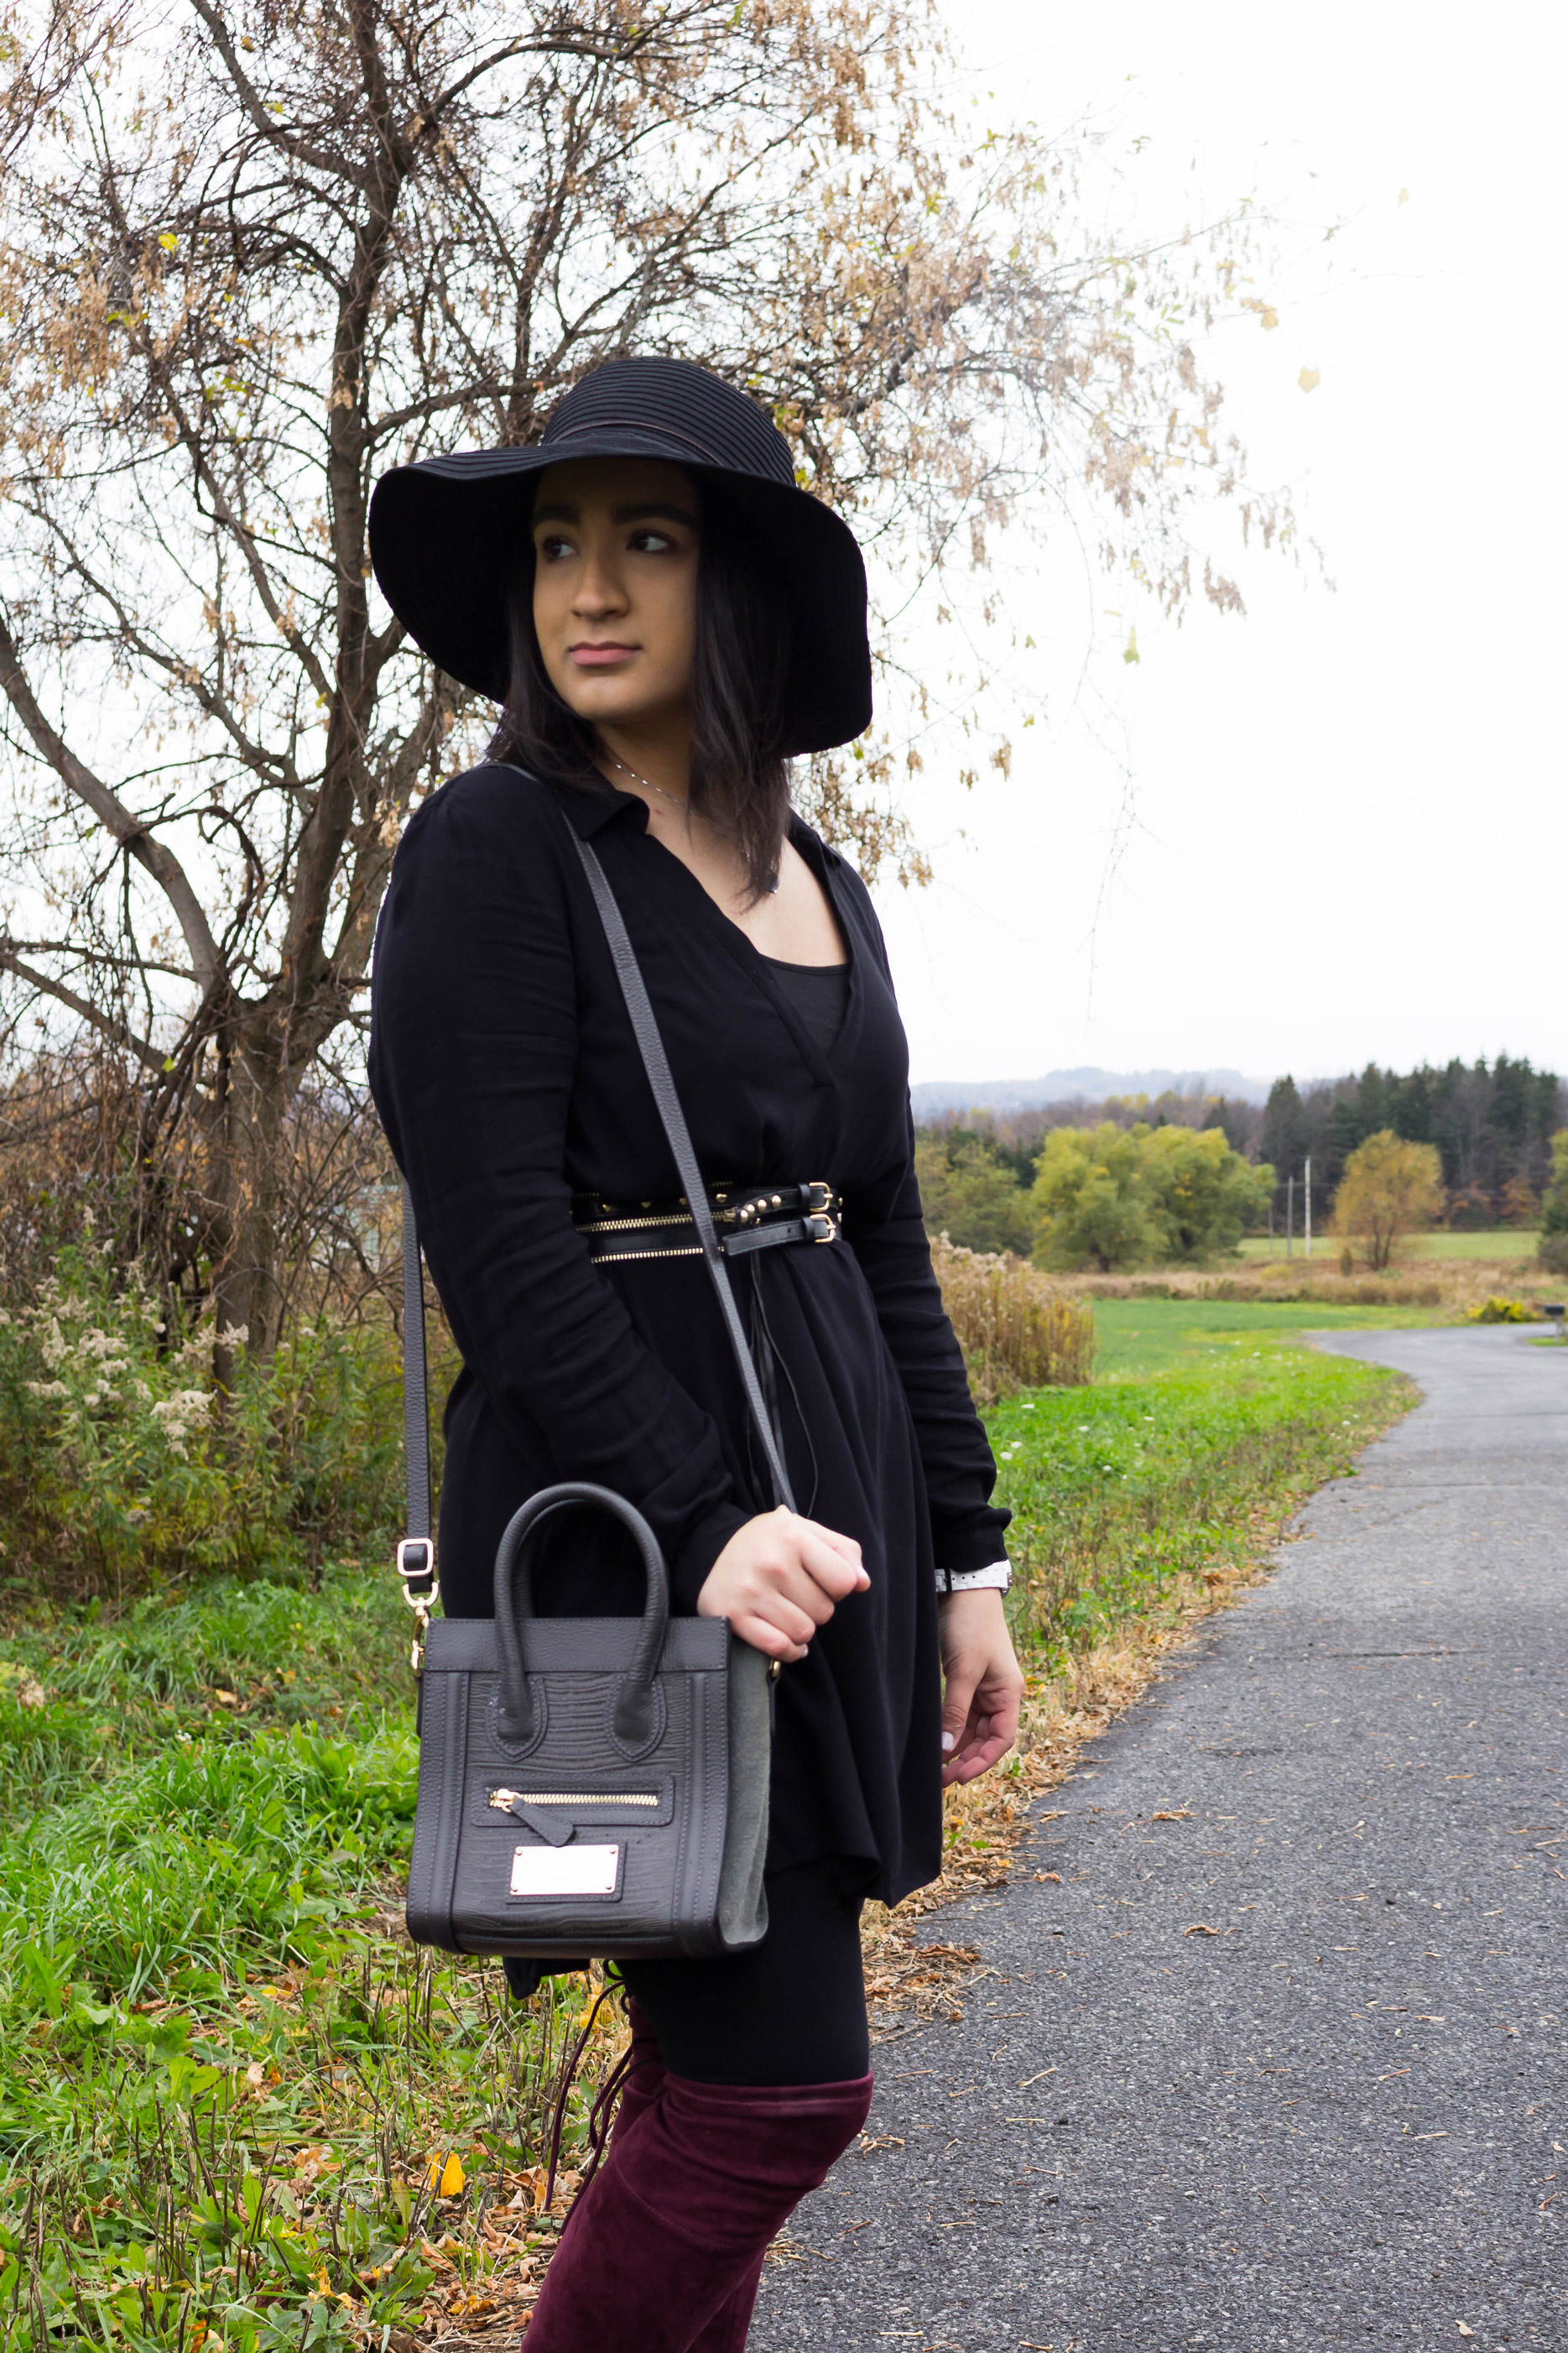
 Being your own blog photographer definitely isn’t as easy as it looks. Ever since I started my blog, I have been my own photographer. Occasionally, a family member with take pictures for me but most of the time, I take my own photos. Being my own photographer for this past year, I have learned a LOT about what goes into taking great photos. Today, I want to share with you 5 lessons that I have learned by being my own photographer.
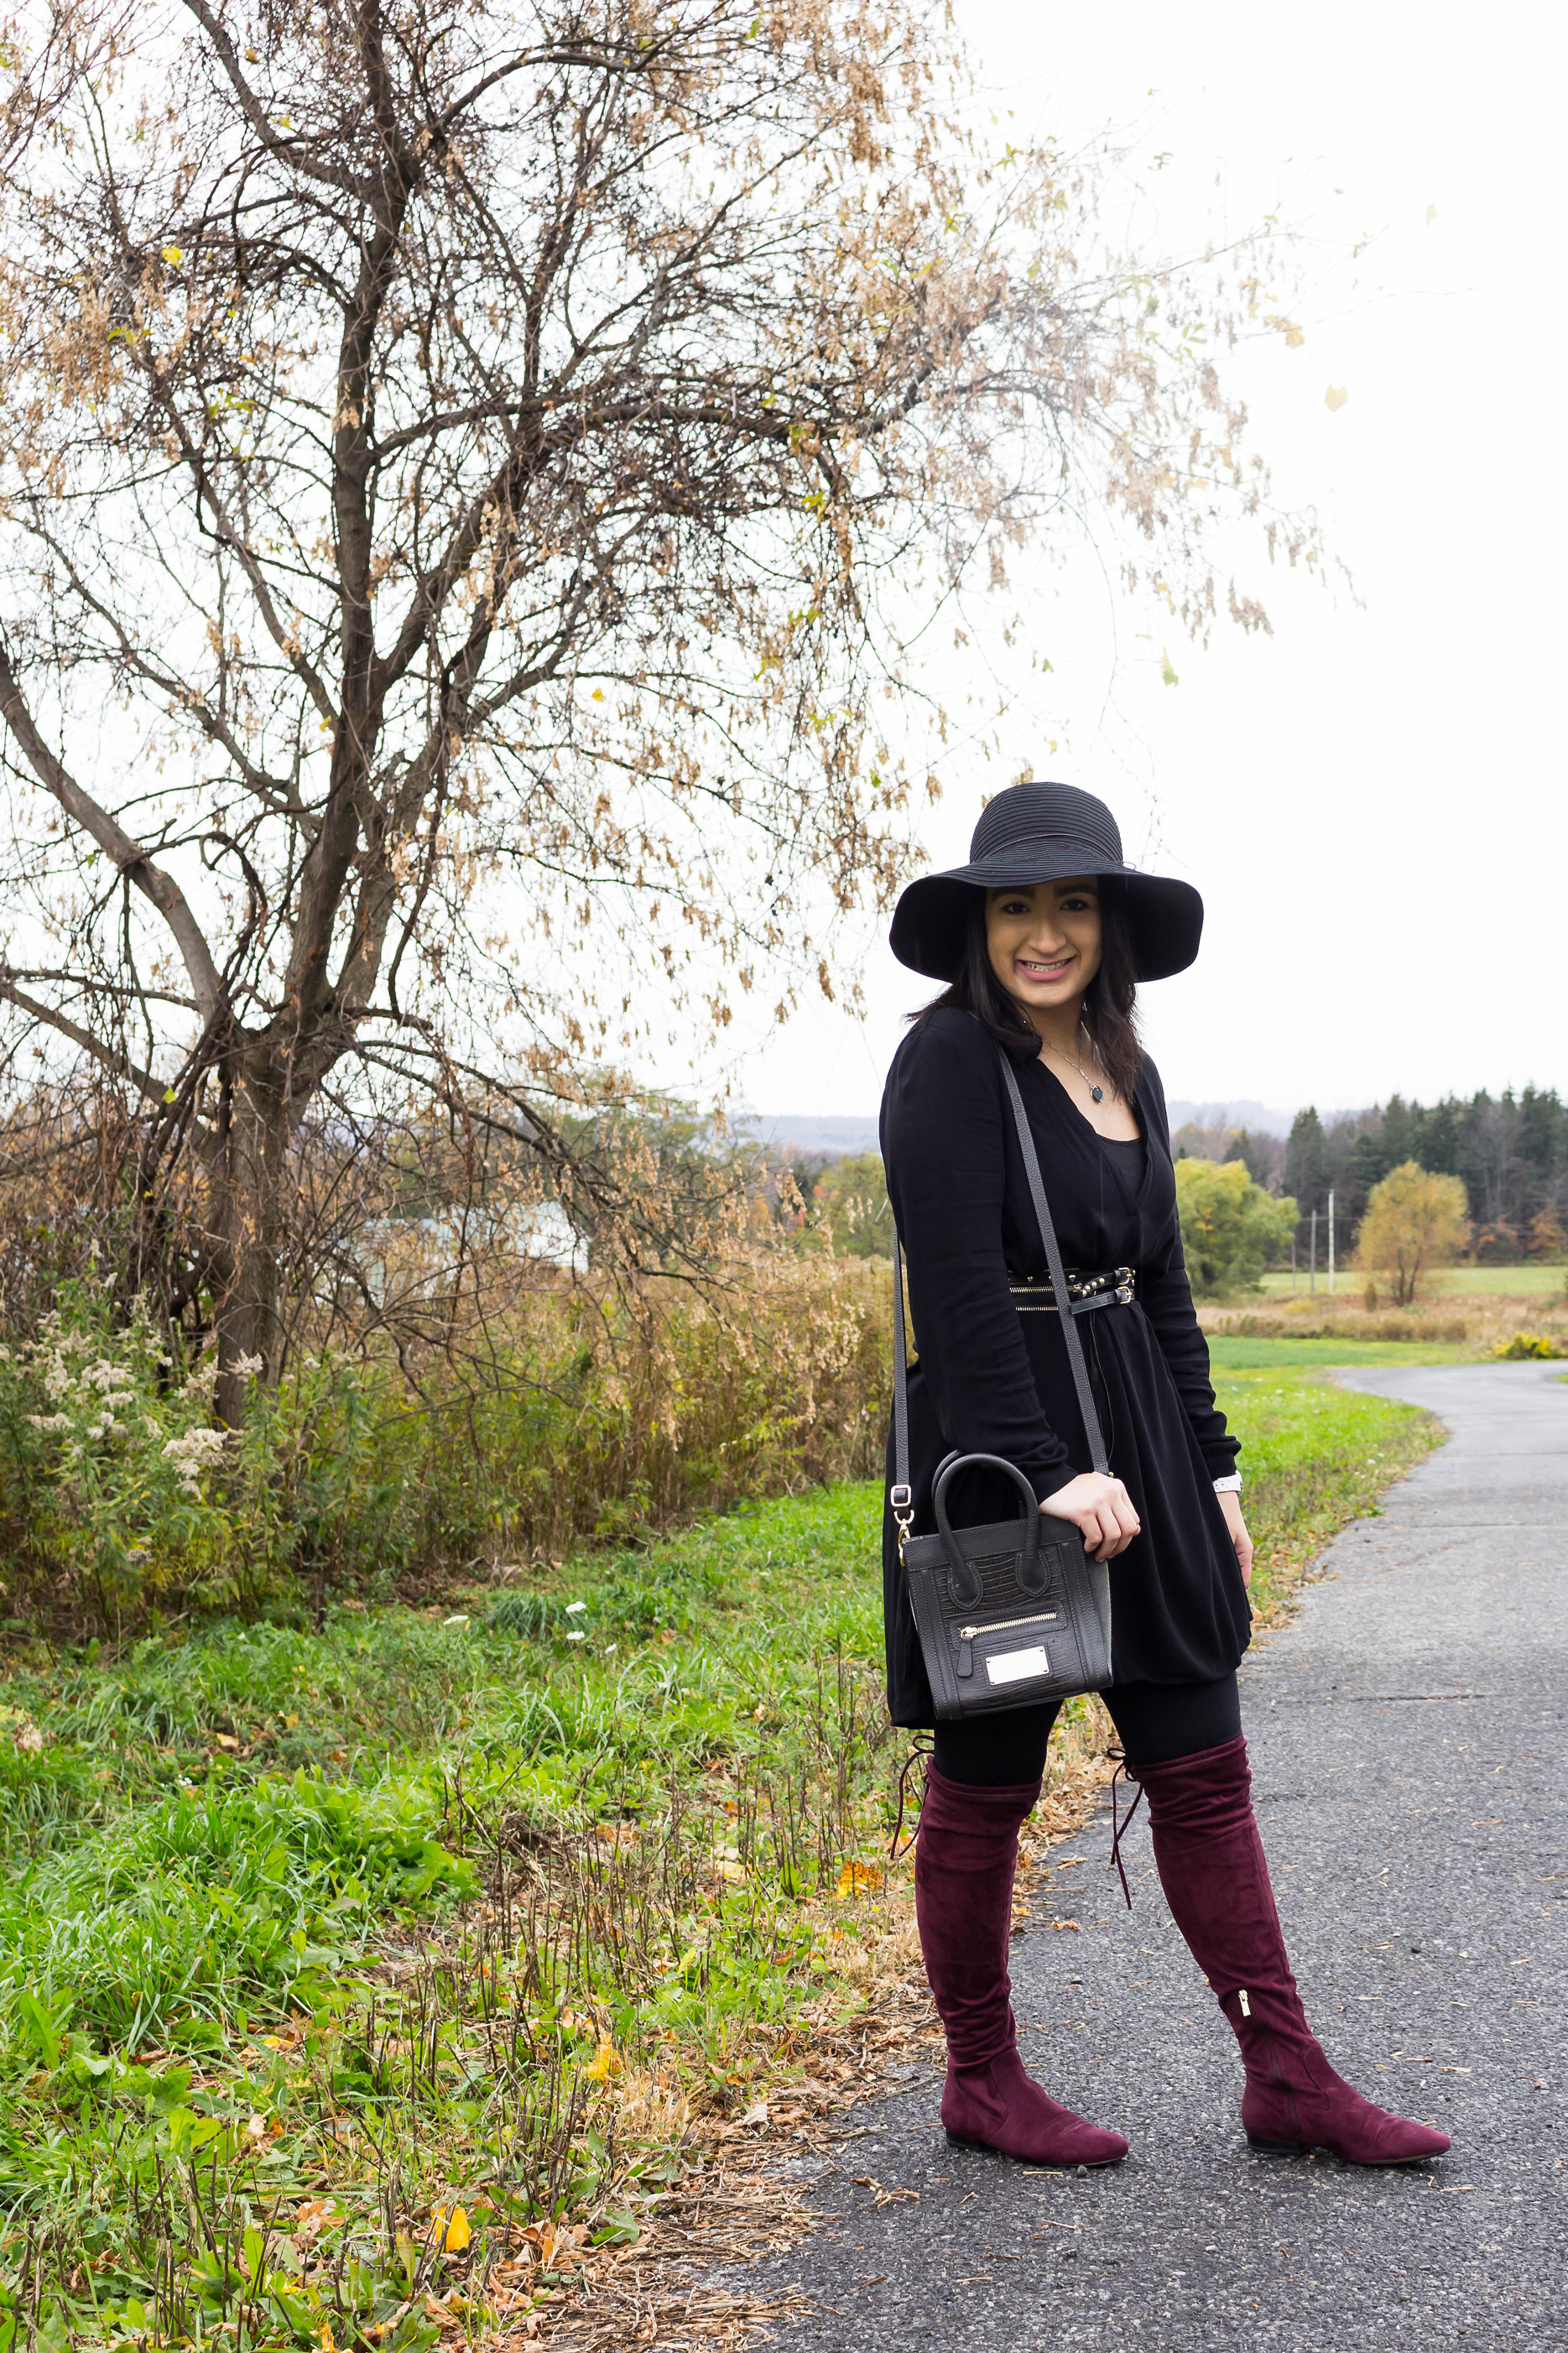 1. Invest in a Quality DSLR Camera and Tripod
If you are going to take your own blog photos, you need to make sure that you have high quality equipment. When looking for a camera, really focus on buying a quality body and don’t worry so much about the lens. When I take my blog photos, I use a Canon Rebel T5i
DSLR camera (Buy the kit HERE or just the body HERE). I really lucked out when I purchased my camera because I found mine at a steep discount on Black Friday at Target.
I’m not going to lie but the lens that come with the kit aren’t exactly the greatest. As a result, I have purchased two separate lens that have been really great in taking photos, especially for my blog. First, I bought the very affordable Canon 50 mm f/1.8 STM standard lens (Buy it HERE). This fixed lens is great at creating crisp photos with a blurred background. The second lens that I will be investing in is the Canon EF 85 mm f/1.8 USM lens (Buy it HERE). This lens is a little bit more expensive but takes really great blog photos so I’m told. I’ll let you guys know more once I purchase it next month.
Finally, let’s talk about buying a durable tripod. Okay so let me start out by saying that I used to own a cheap $20 tripod. One windy day when I was taking photos outside, the wind decided to knock down my camera and shatter my camera lens. Other than t needing to buy a new camera lens, I knew that a cheap tripod wasn’t going to work. After a LOT of research, I decided to buy the Vanguard Alta Pro 263AB 100
(Buy it HERE). Believe me when I tell you that this tripod can withstand ANYTHING: wind, rain, snow, whatever. If you live in a very open, windy area like me, then this tripod would be perfect for you!
2. Explore Different Locations
If you look through my photos, you will probably notice that I take a lot of photos outside in similar locations. I am very fortunate in that I live in an area where all I have to do is go outside in my backyard to take gorgeous pictures. I’m not going to lie and say that I don’t wish that I lived closer to a true city setting. I do live near a city but I get really nervous going out and taking photos by myself there so I typically don’t unless someone comes with me. In the country, it’s different because I can just find an abandoned road and shoot without disruptions. Additionally, I do utilize other family member’s houses for photos just to try to change it up a bit. Find places that you feel comfortable shooting at but also explore different locations as well.
 3. Play with Different Lines and Angles
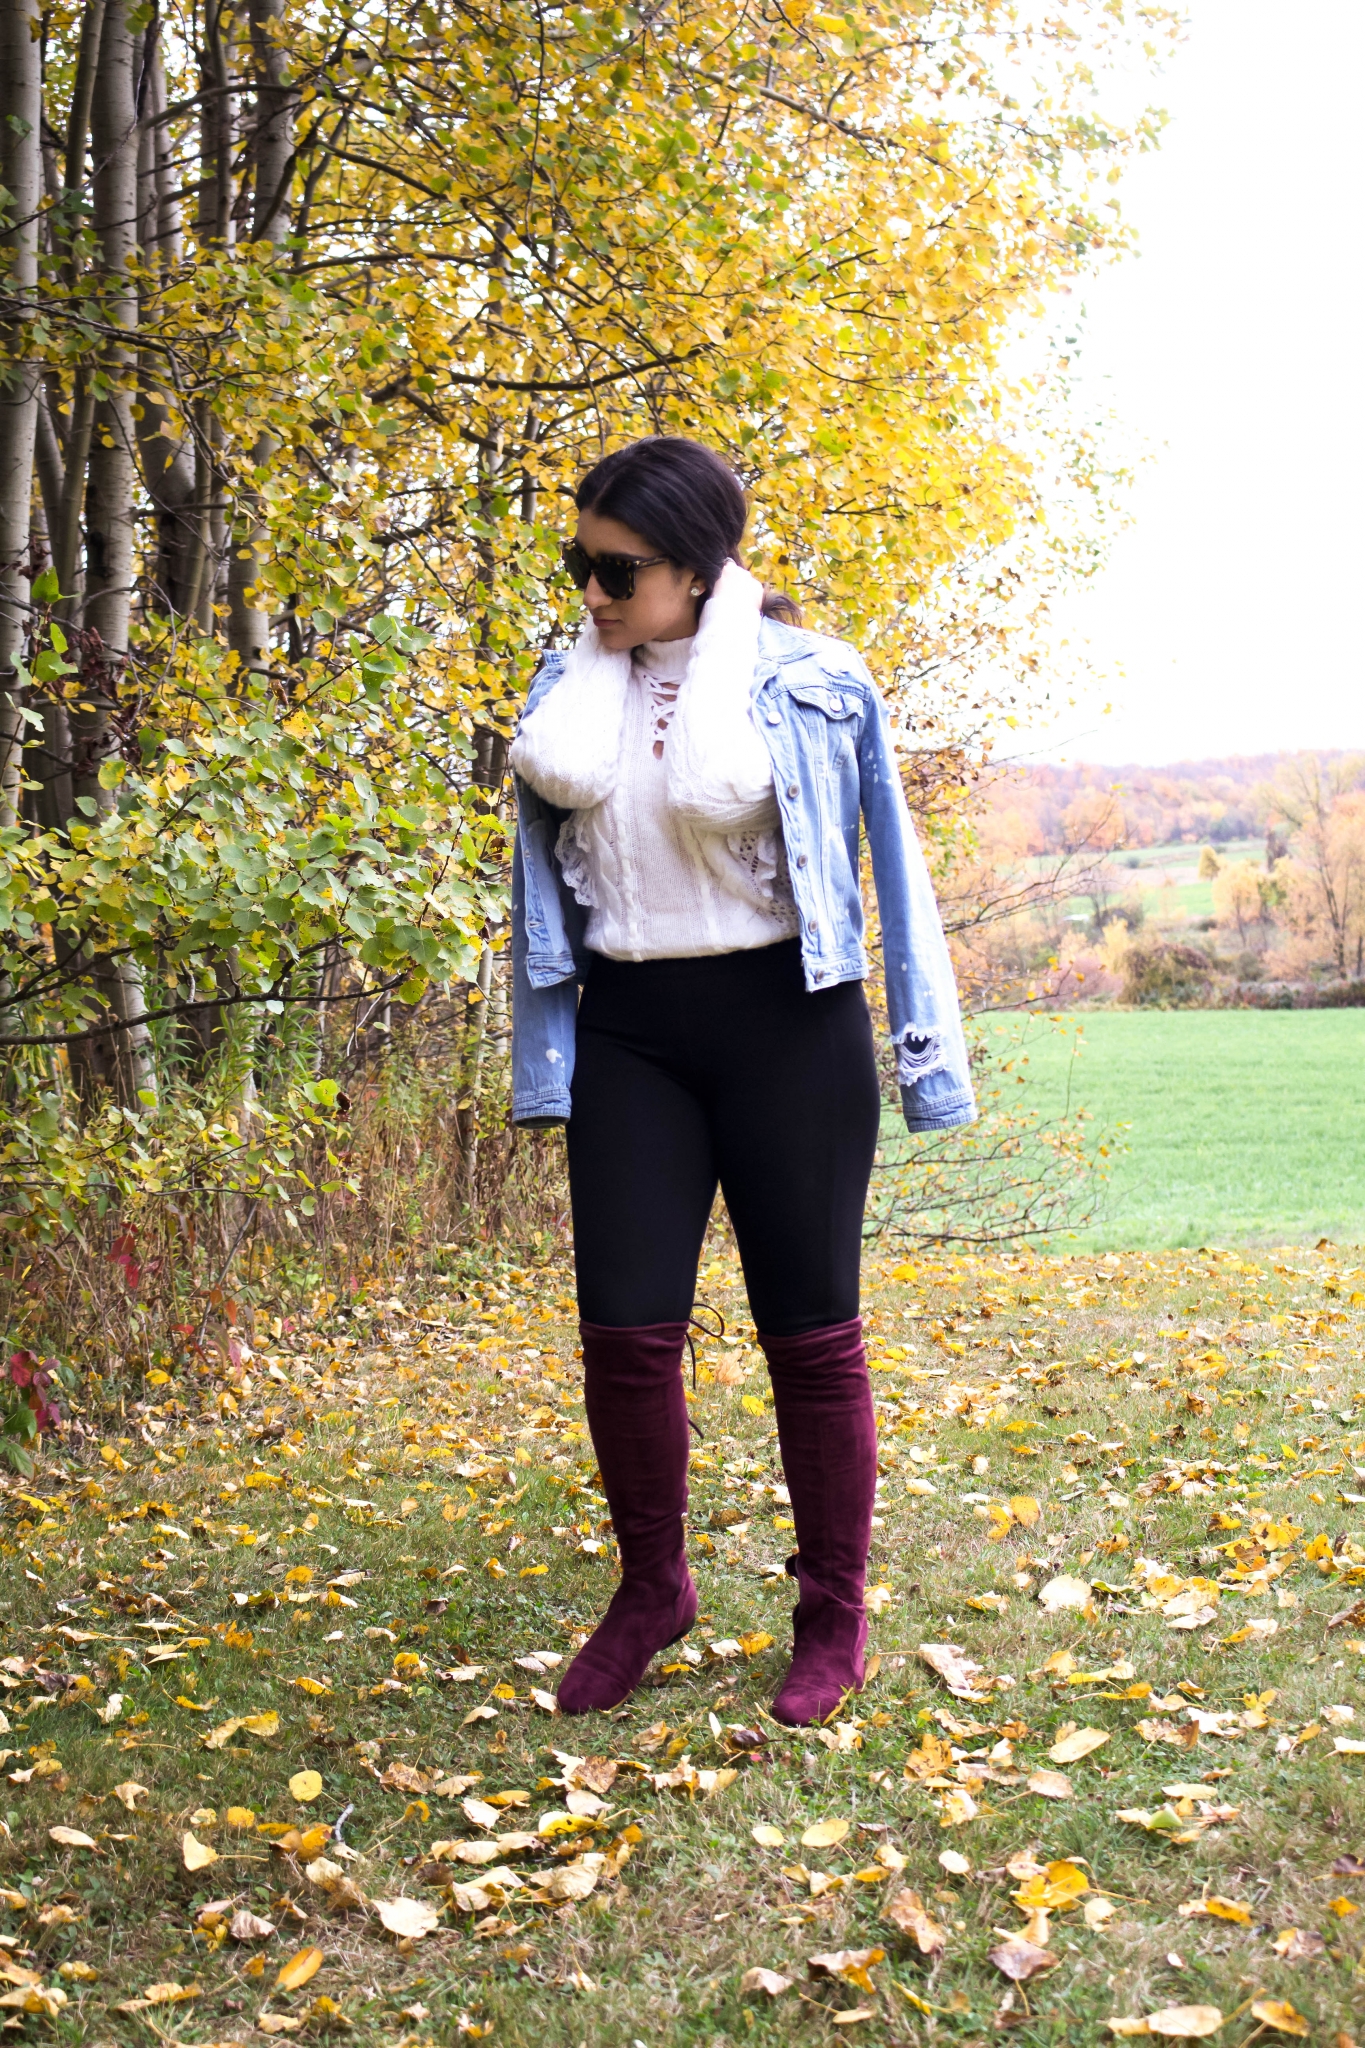
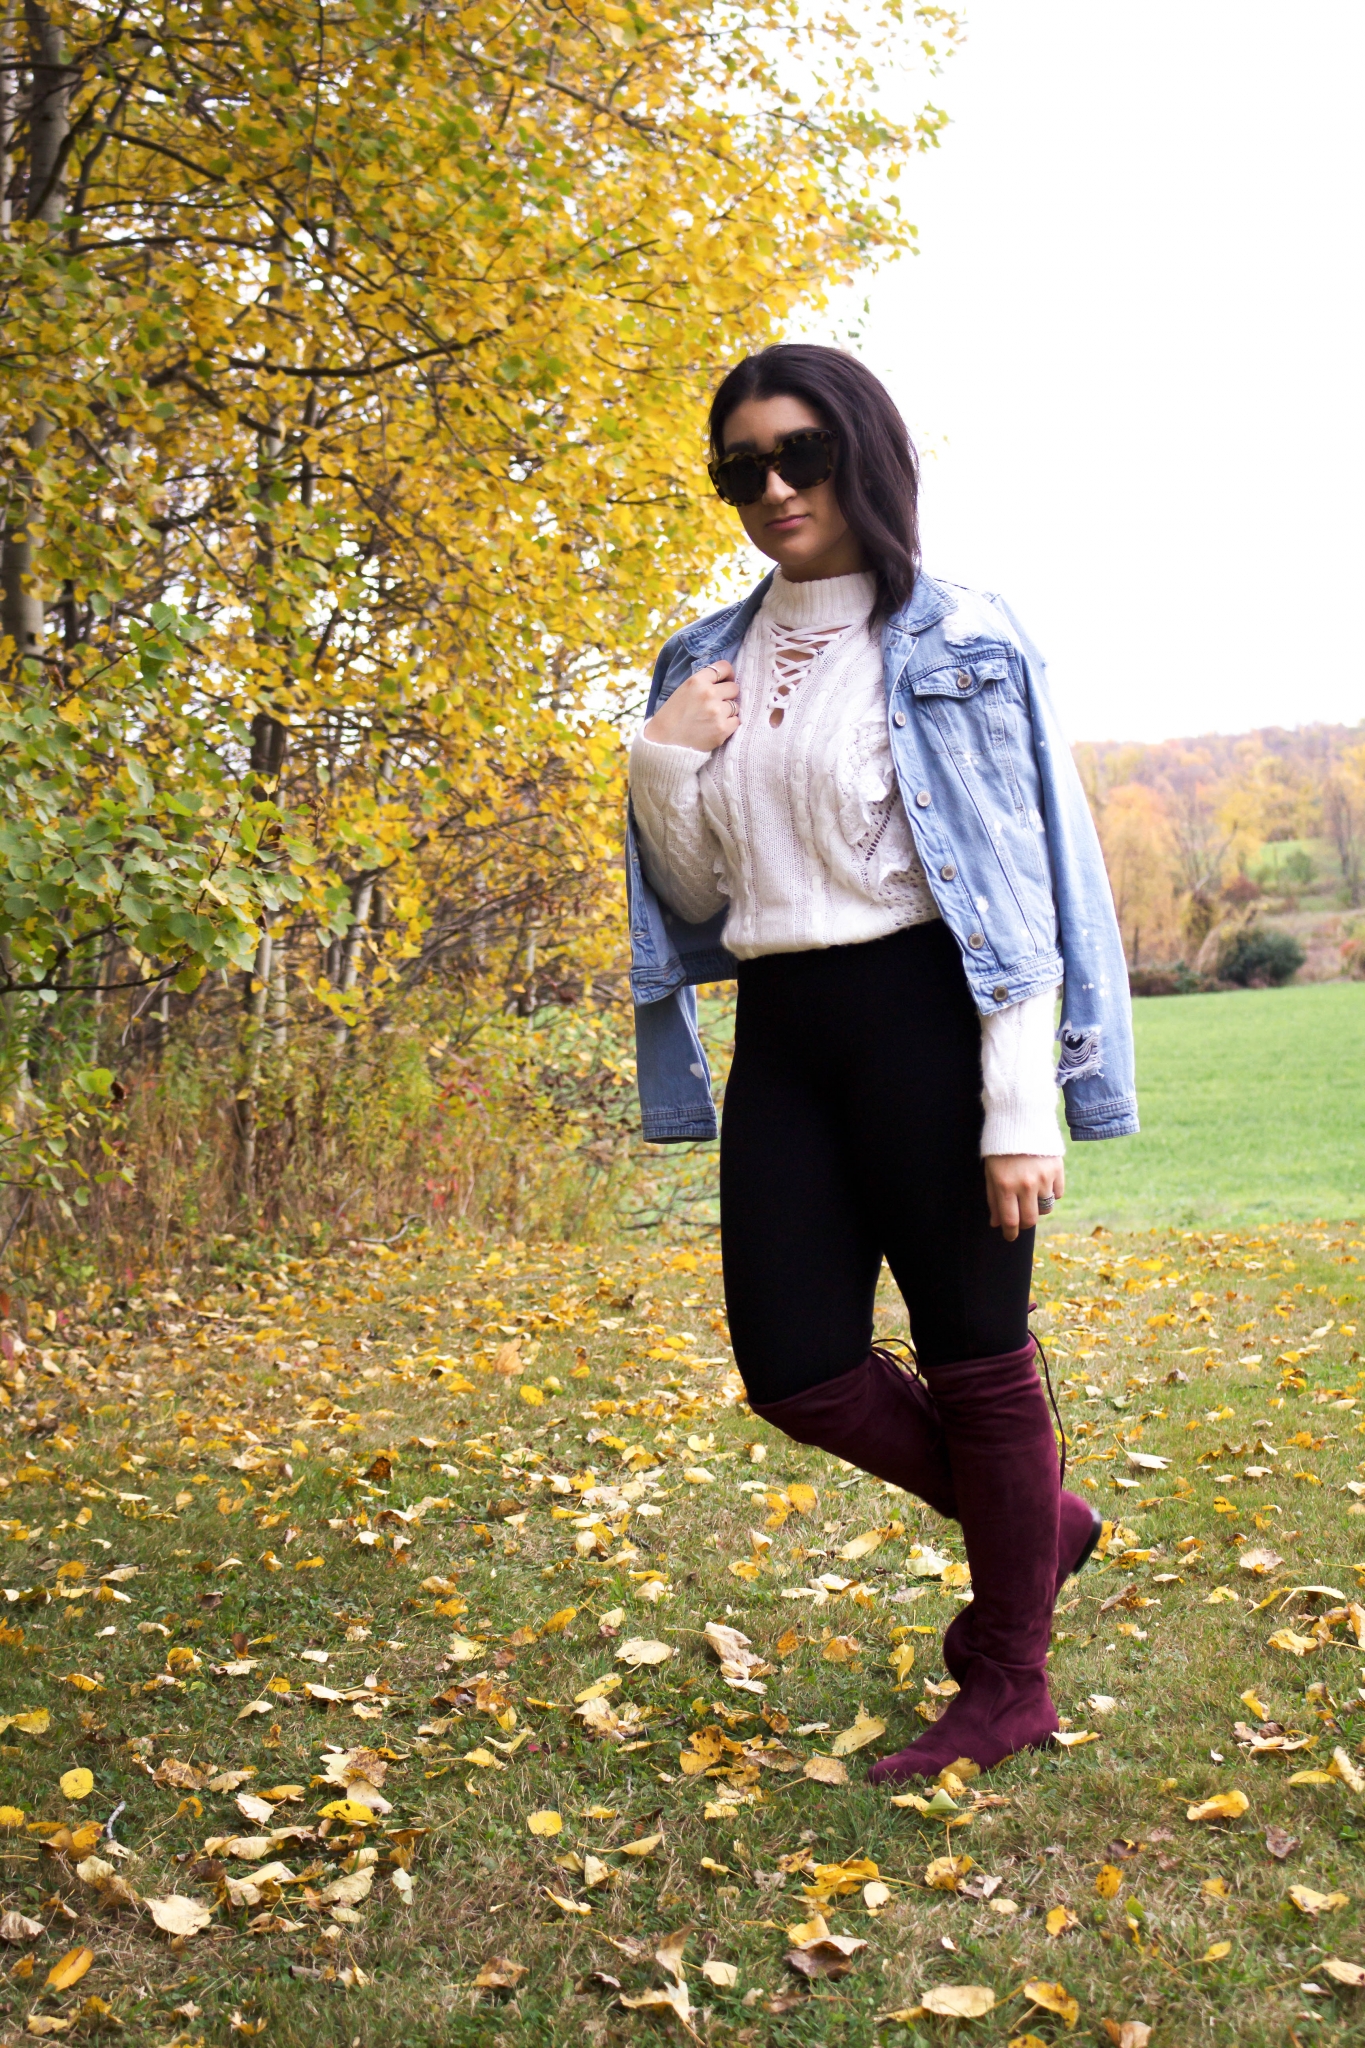
Anyone who is into either art or photography has heard of The Rule of Thirds. The Rule of Thirds is when you break down a photo into thirds and place the subject in that third. As a result, it creates a more dynamic photo that is more visually appealing. Lately, I decided to spend more time playing with different lines and angles, specifically with backgrounds for my photos. In the two photos above, I decided to snap some shots on the hill next to my house. I love the look of the leaves on the ground mixed with the angled tree line. By placing the tree line in the first third of the shot and the subject (myself) in the last third of the shot, I created a balanced photo with visual appeal.
 4. Photograph at Different Times of the Day
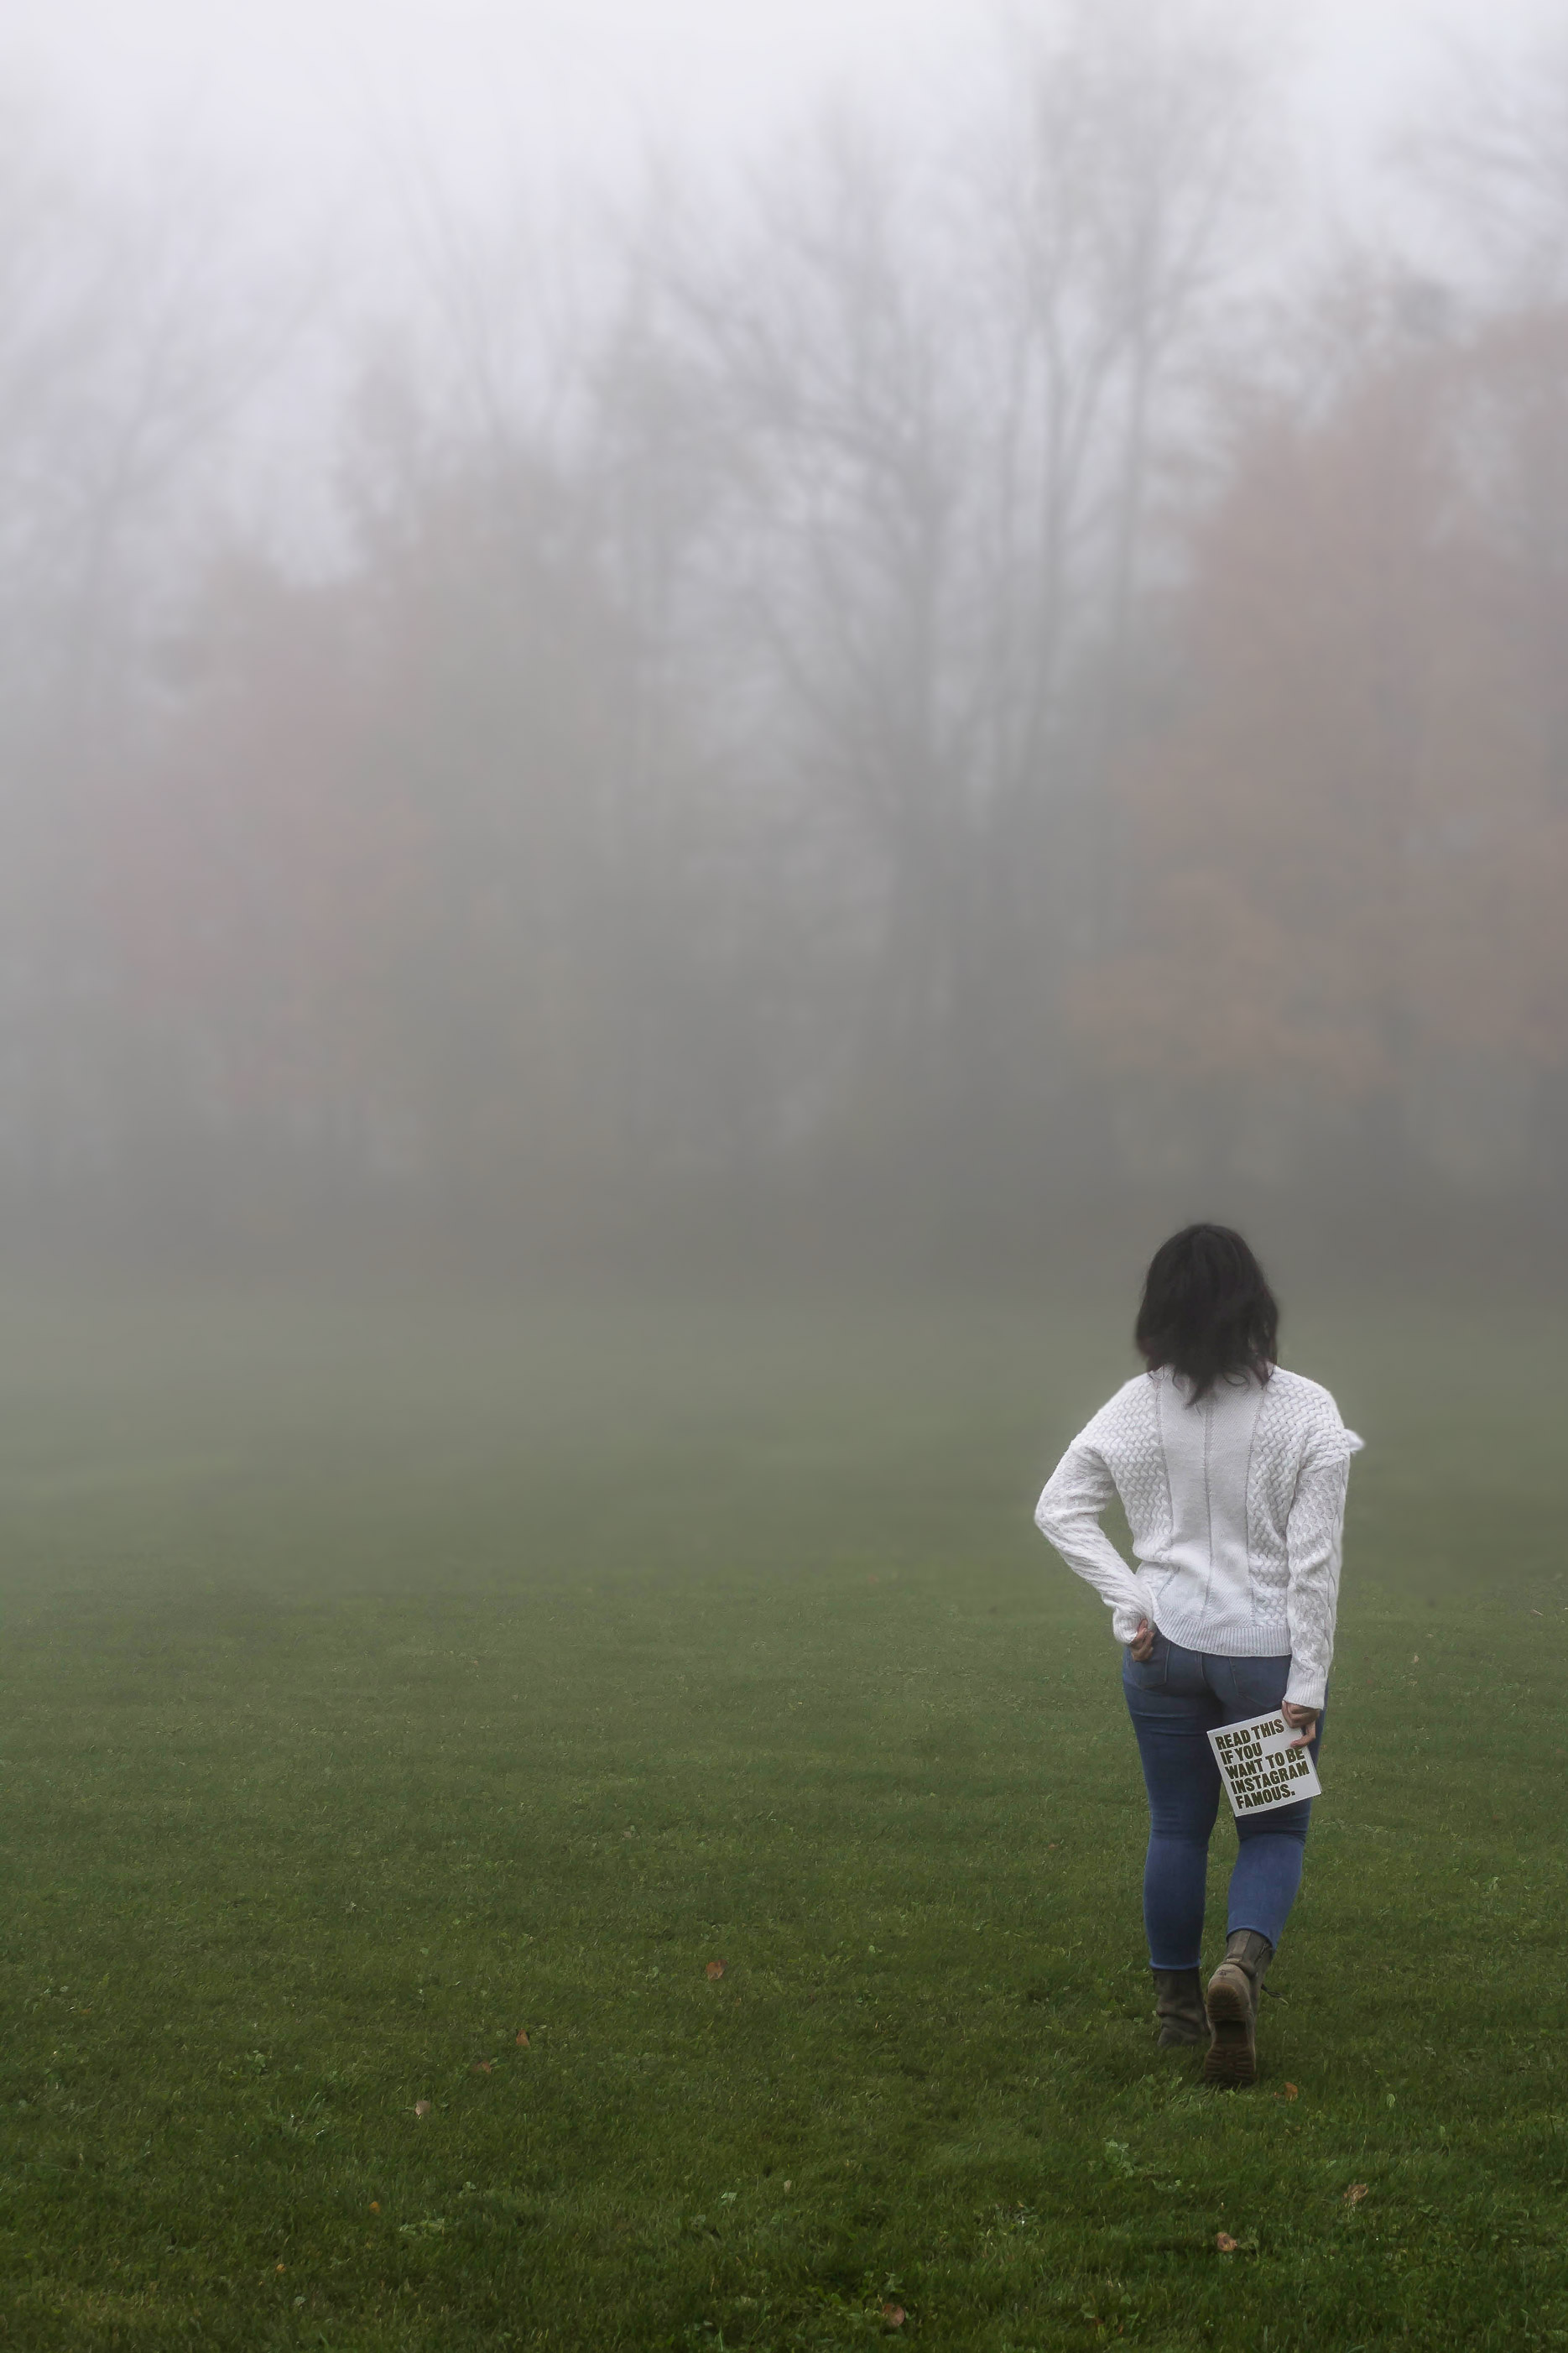
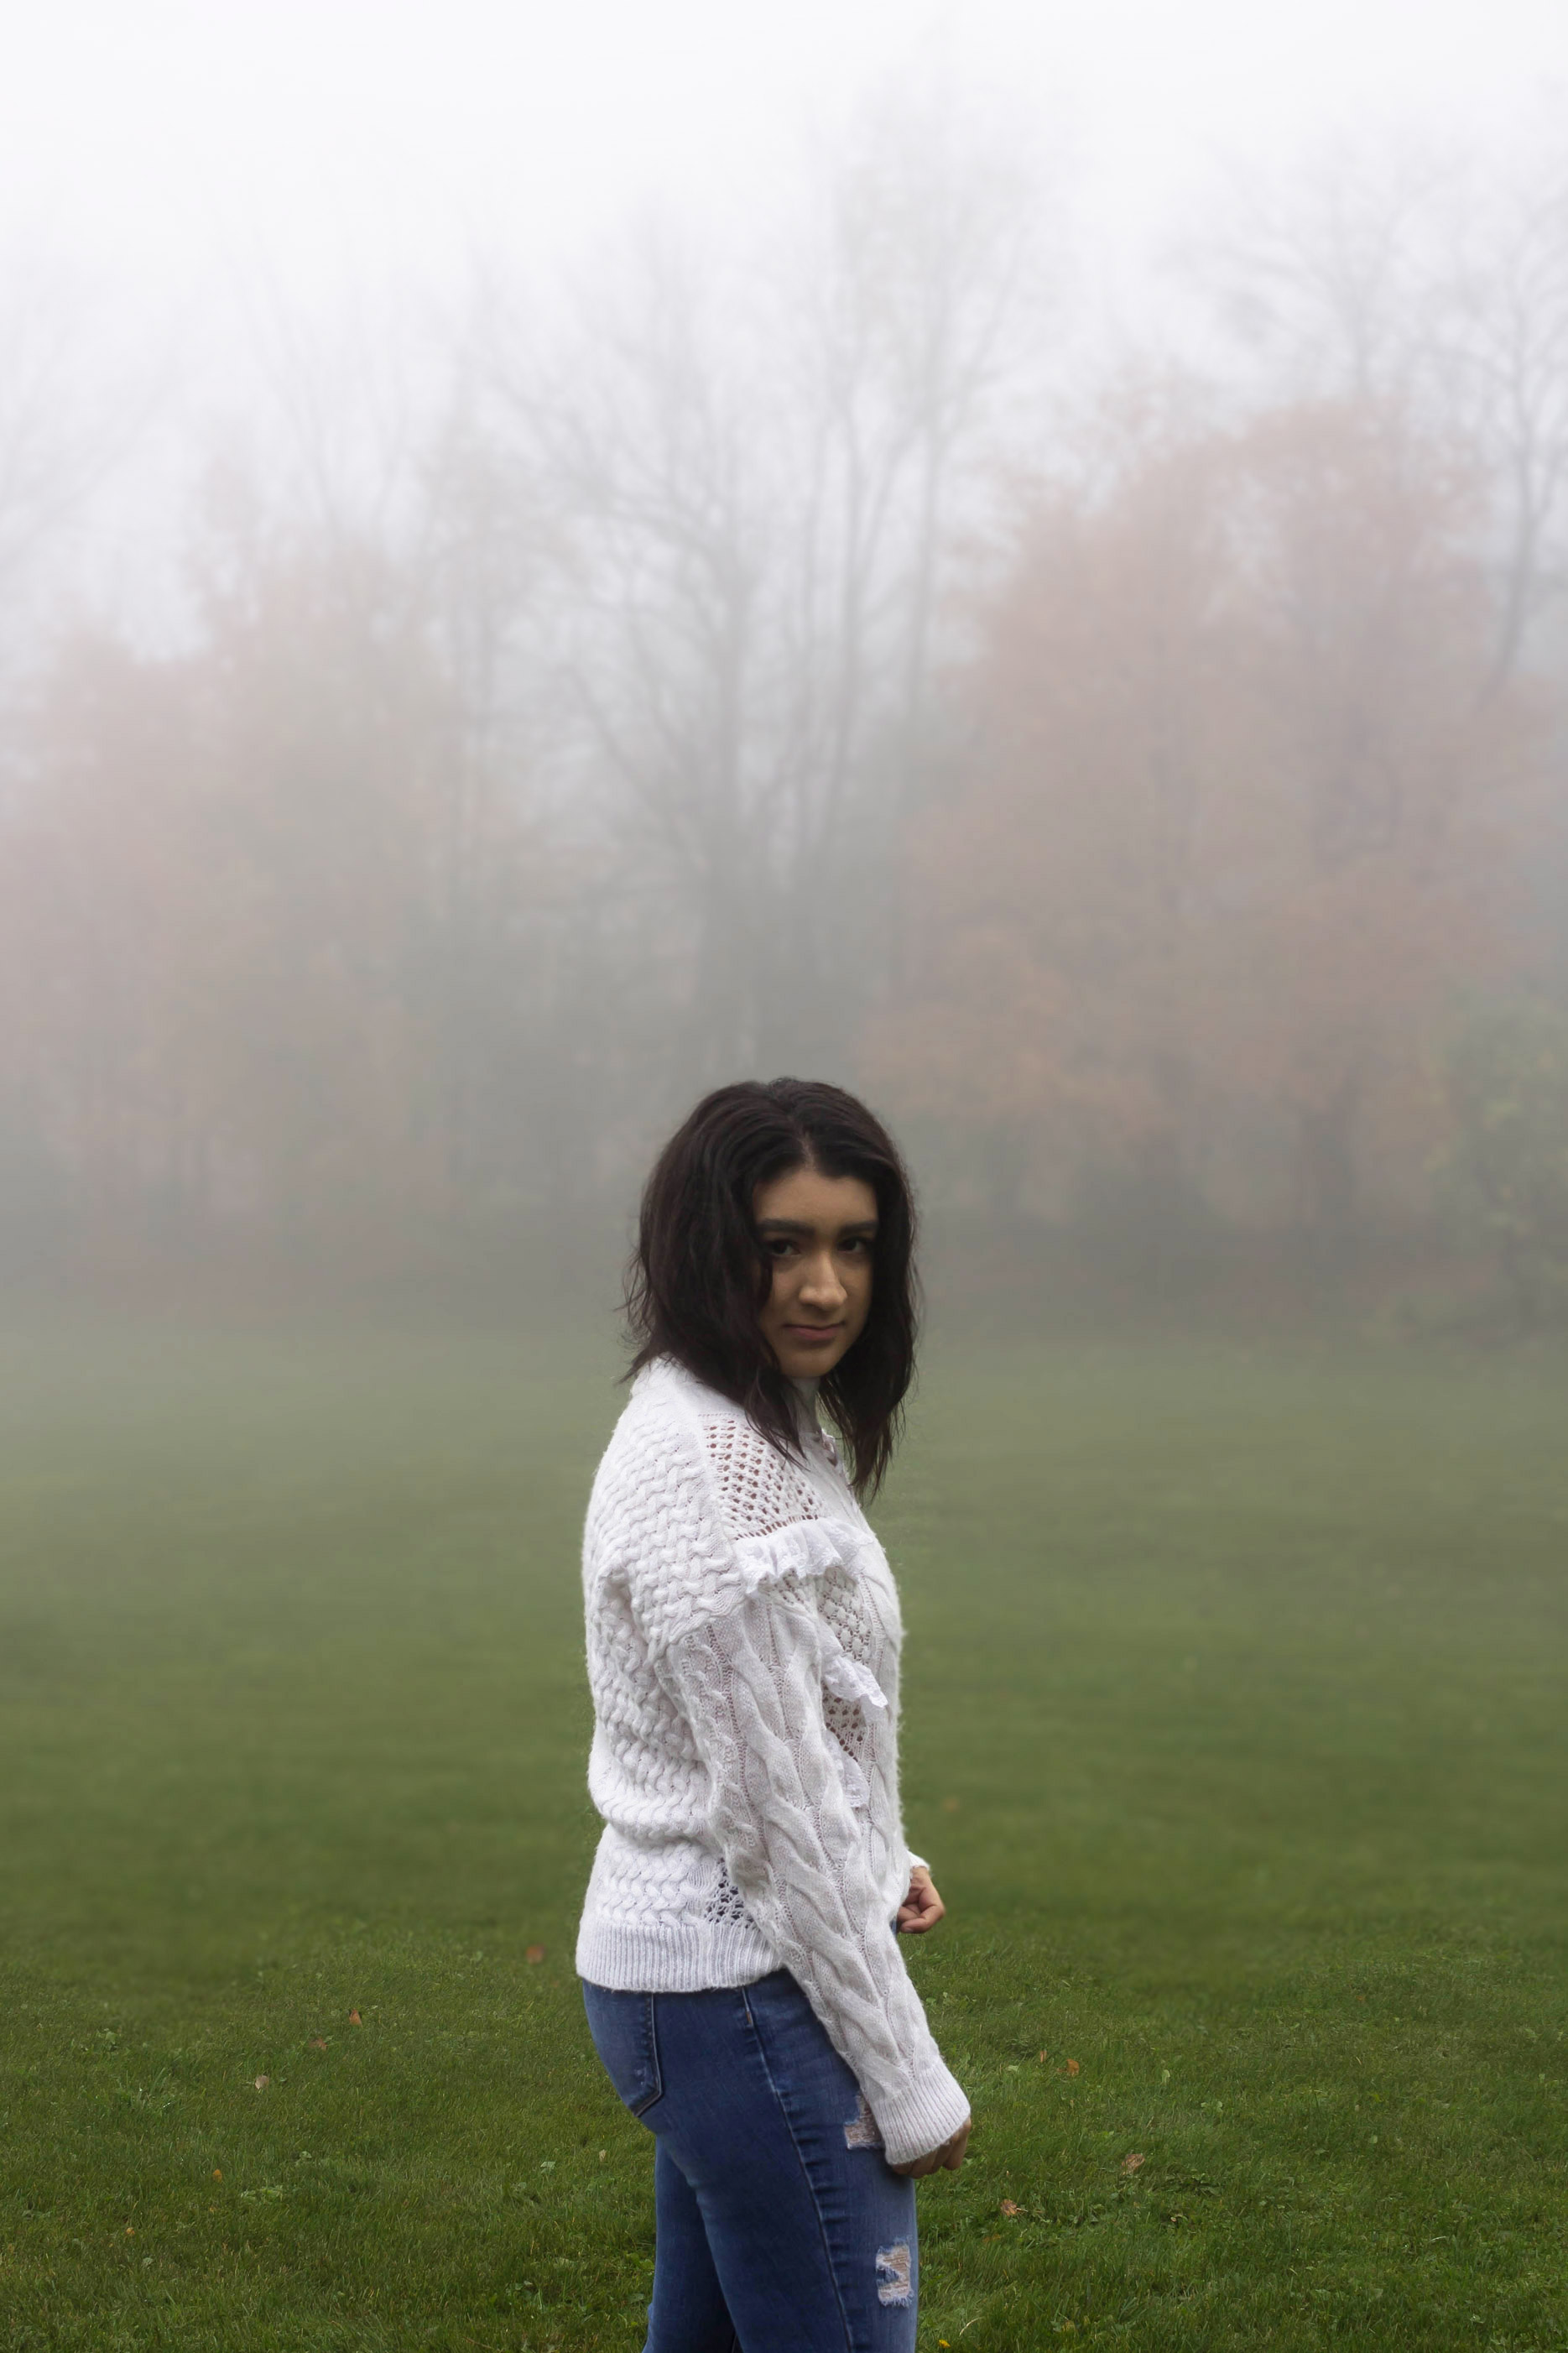
Typically, I tend to take photos in the morning if possible. The reason being that there is the most natural sunlight available at that time. With the winter months slowly approaching, I have to be more strategic with when I take my photos. Here in NY we only get a few hours of sunshine (if any) during these months. However, a couple of days ago, I noticed the most magical, enchanting fog outside my window. Living on top of a valley, we get to experience these magical dreamscapes quite frequently.
I have never taken pictures in fog before so I thought why not. I started by just taking stills of the landscape with my camera before deciding to hop into the photos myself. Once I saw how the photos were coming out, I felt the need to throw on a princess dress and recreate my Disney childhood fantasies. (Okay so I didn’t actually do that but I really did think about it for a minute or two). Regardless, I learned that shooting in fog really is a magical experience and if you get the opportunity to, do it.
Try to figure out when the best time to shoot is for you but try to photograph at different times of the day as well. It’s always good change things up sometimes!
5. Become a Pro At Using Adobe Photoshop and Lightroom
So I use Adobe Photoshop and Lightroom when editing photos. When I first started out, I had no idea what I was doing when using either of these programs. You can see my lack of skill if you look back at my earliest blog photos (thank goodness that I have gotten much better with it over the past year). In the beginning, I only used Adobe Photoshop and Adobe Lightroom wasn’t even at thought at the time. After much consideration, research, and frustration, I decided that I needed to master my photo editing skills. I knew that I could take great photos organically but I needed to figure out how to create an end product that I would be proud of. Don’t get me wrong, I am still working on improving my photography and editing skills, but I have come a long way from my early days.
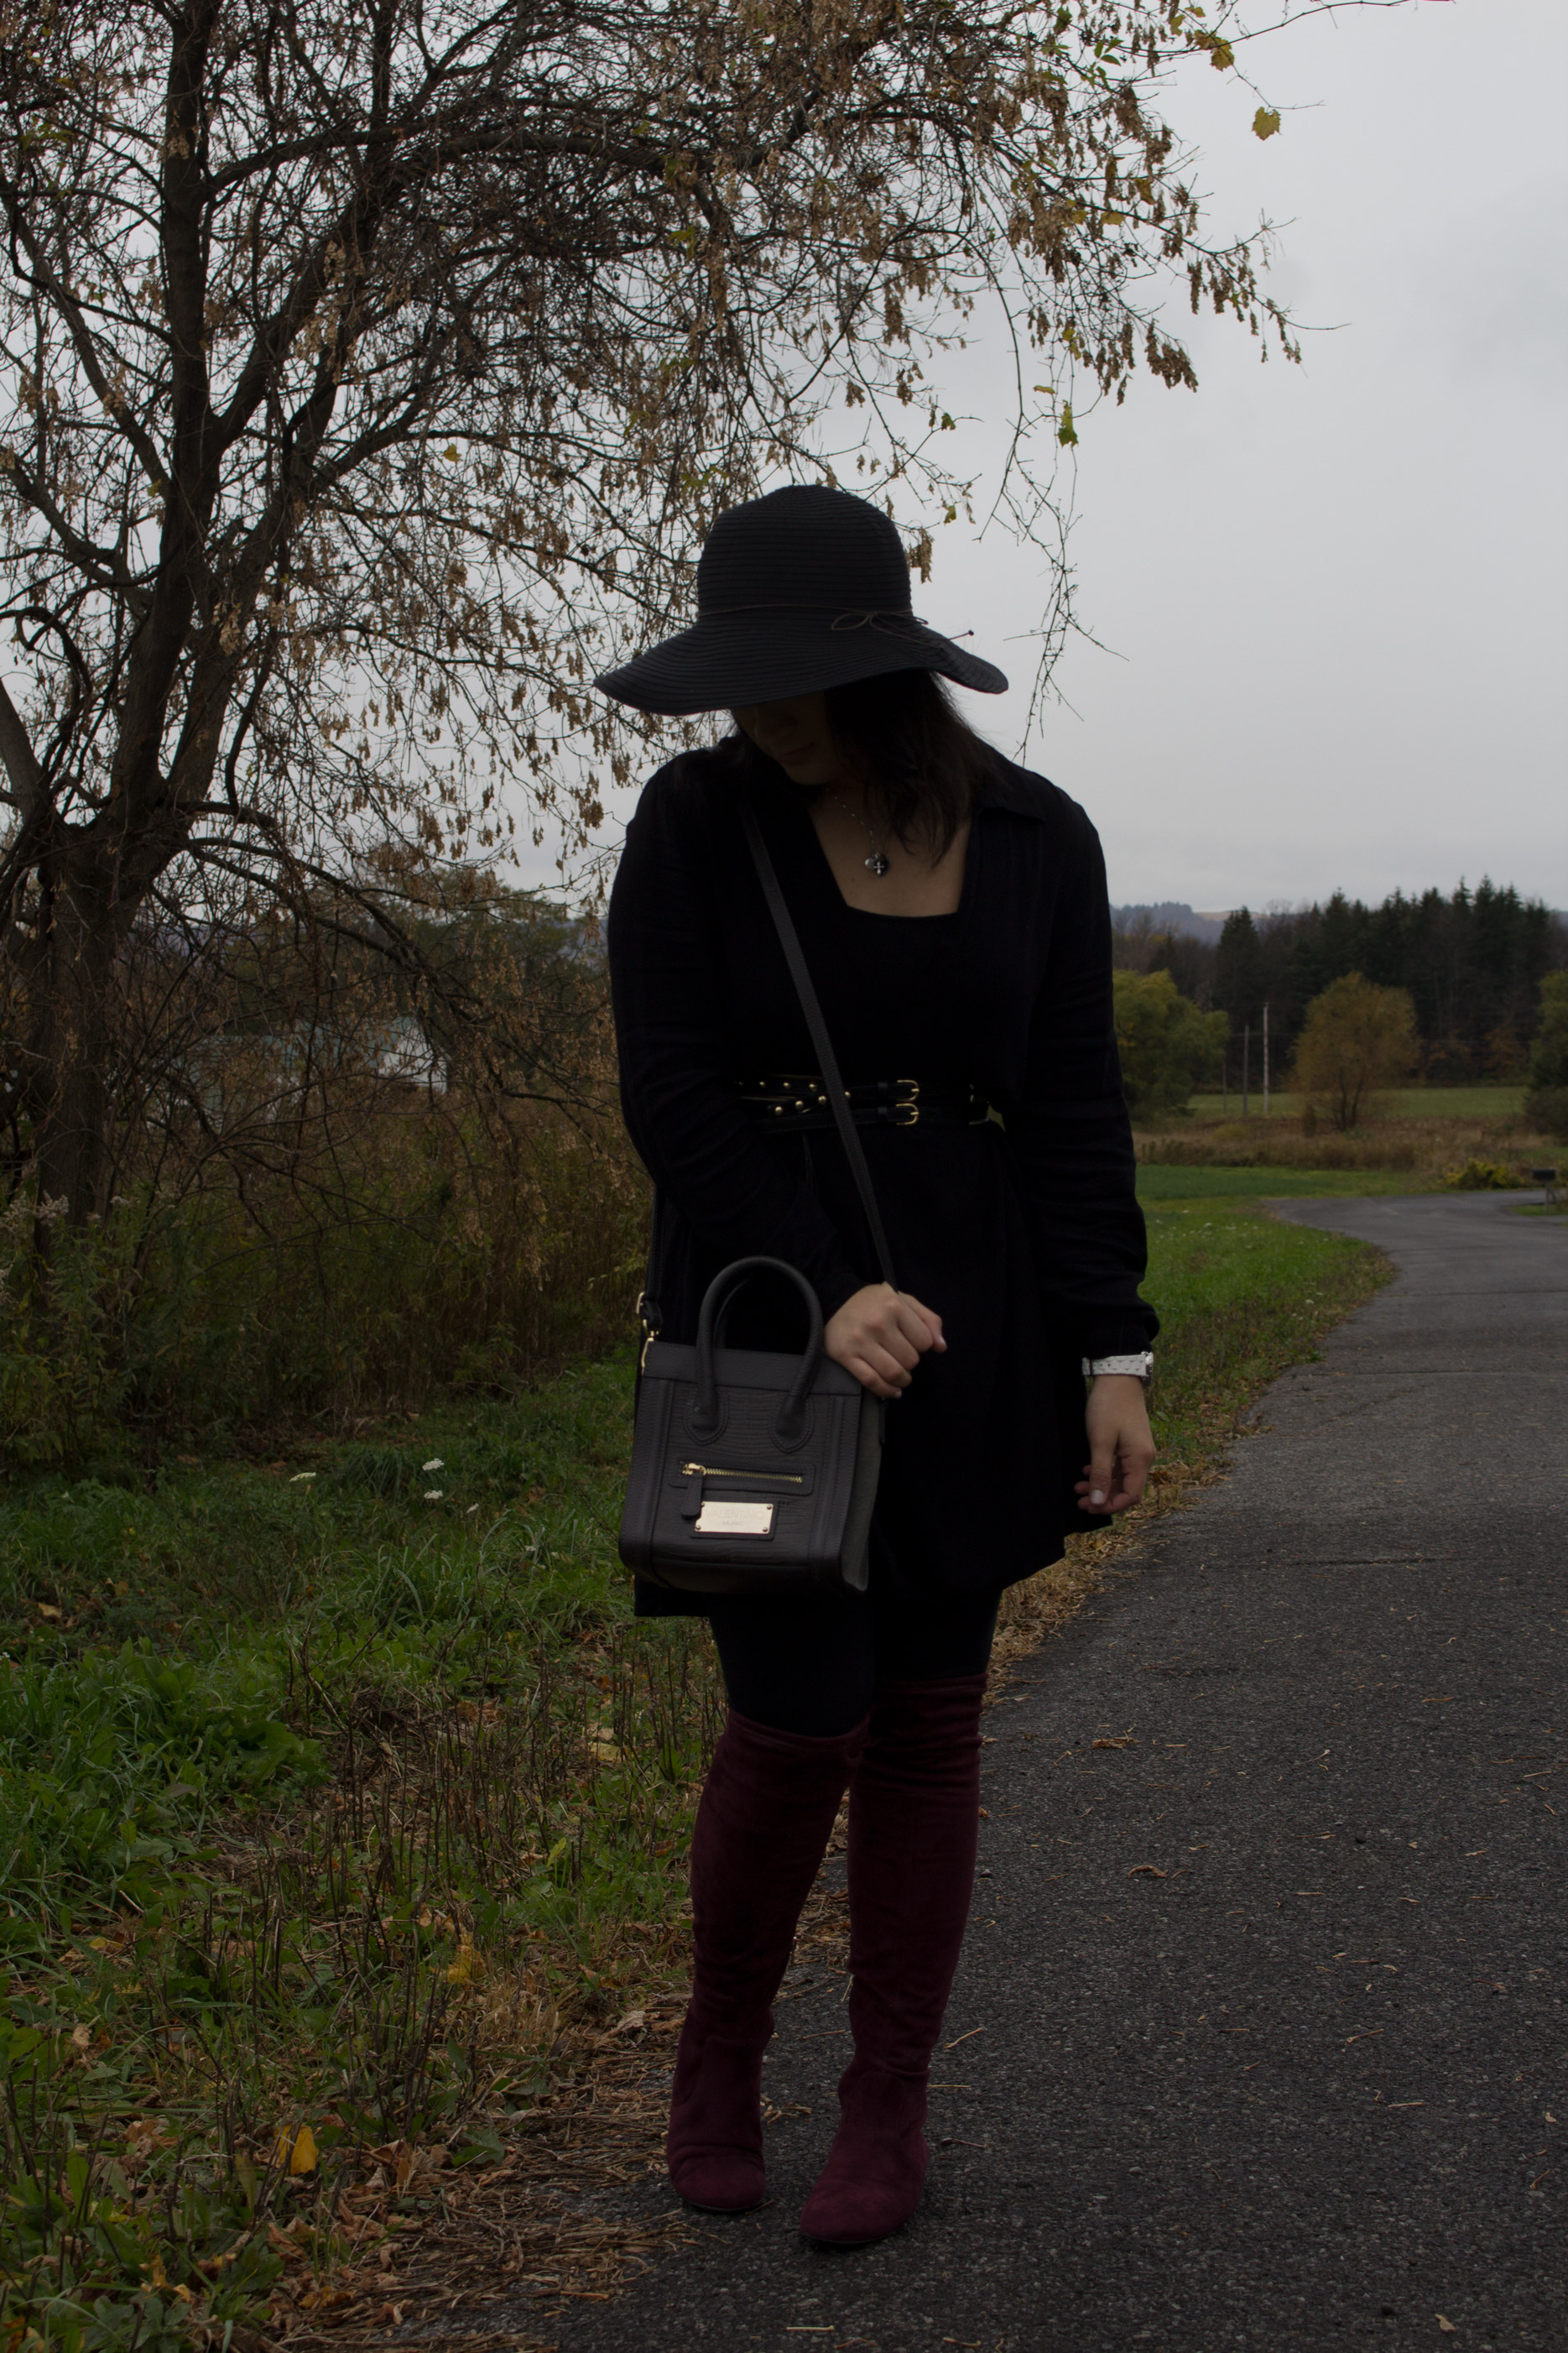
Usually, I will first edit the photo with Adobe Lightroom since this application has a LOT of editing options. Once I am happy with the Lightroom photo, I then export the photo out of Lightroom and import it into Photoshop. Once I am in Photoshop, I might do minor blemish removal and sharpen the image a little but other than that, I am done. Let me show you a set of before and after photos so you get the idea of what I’m talking about:
ORIGINAL UN-EDITED PHOTO
FINAL EDITED PHOTO
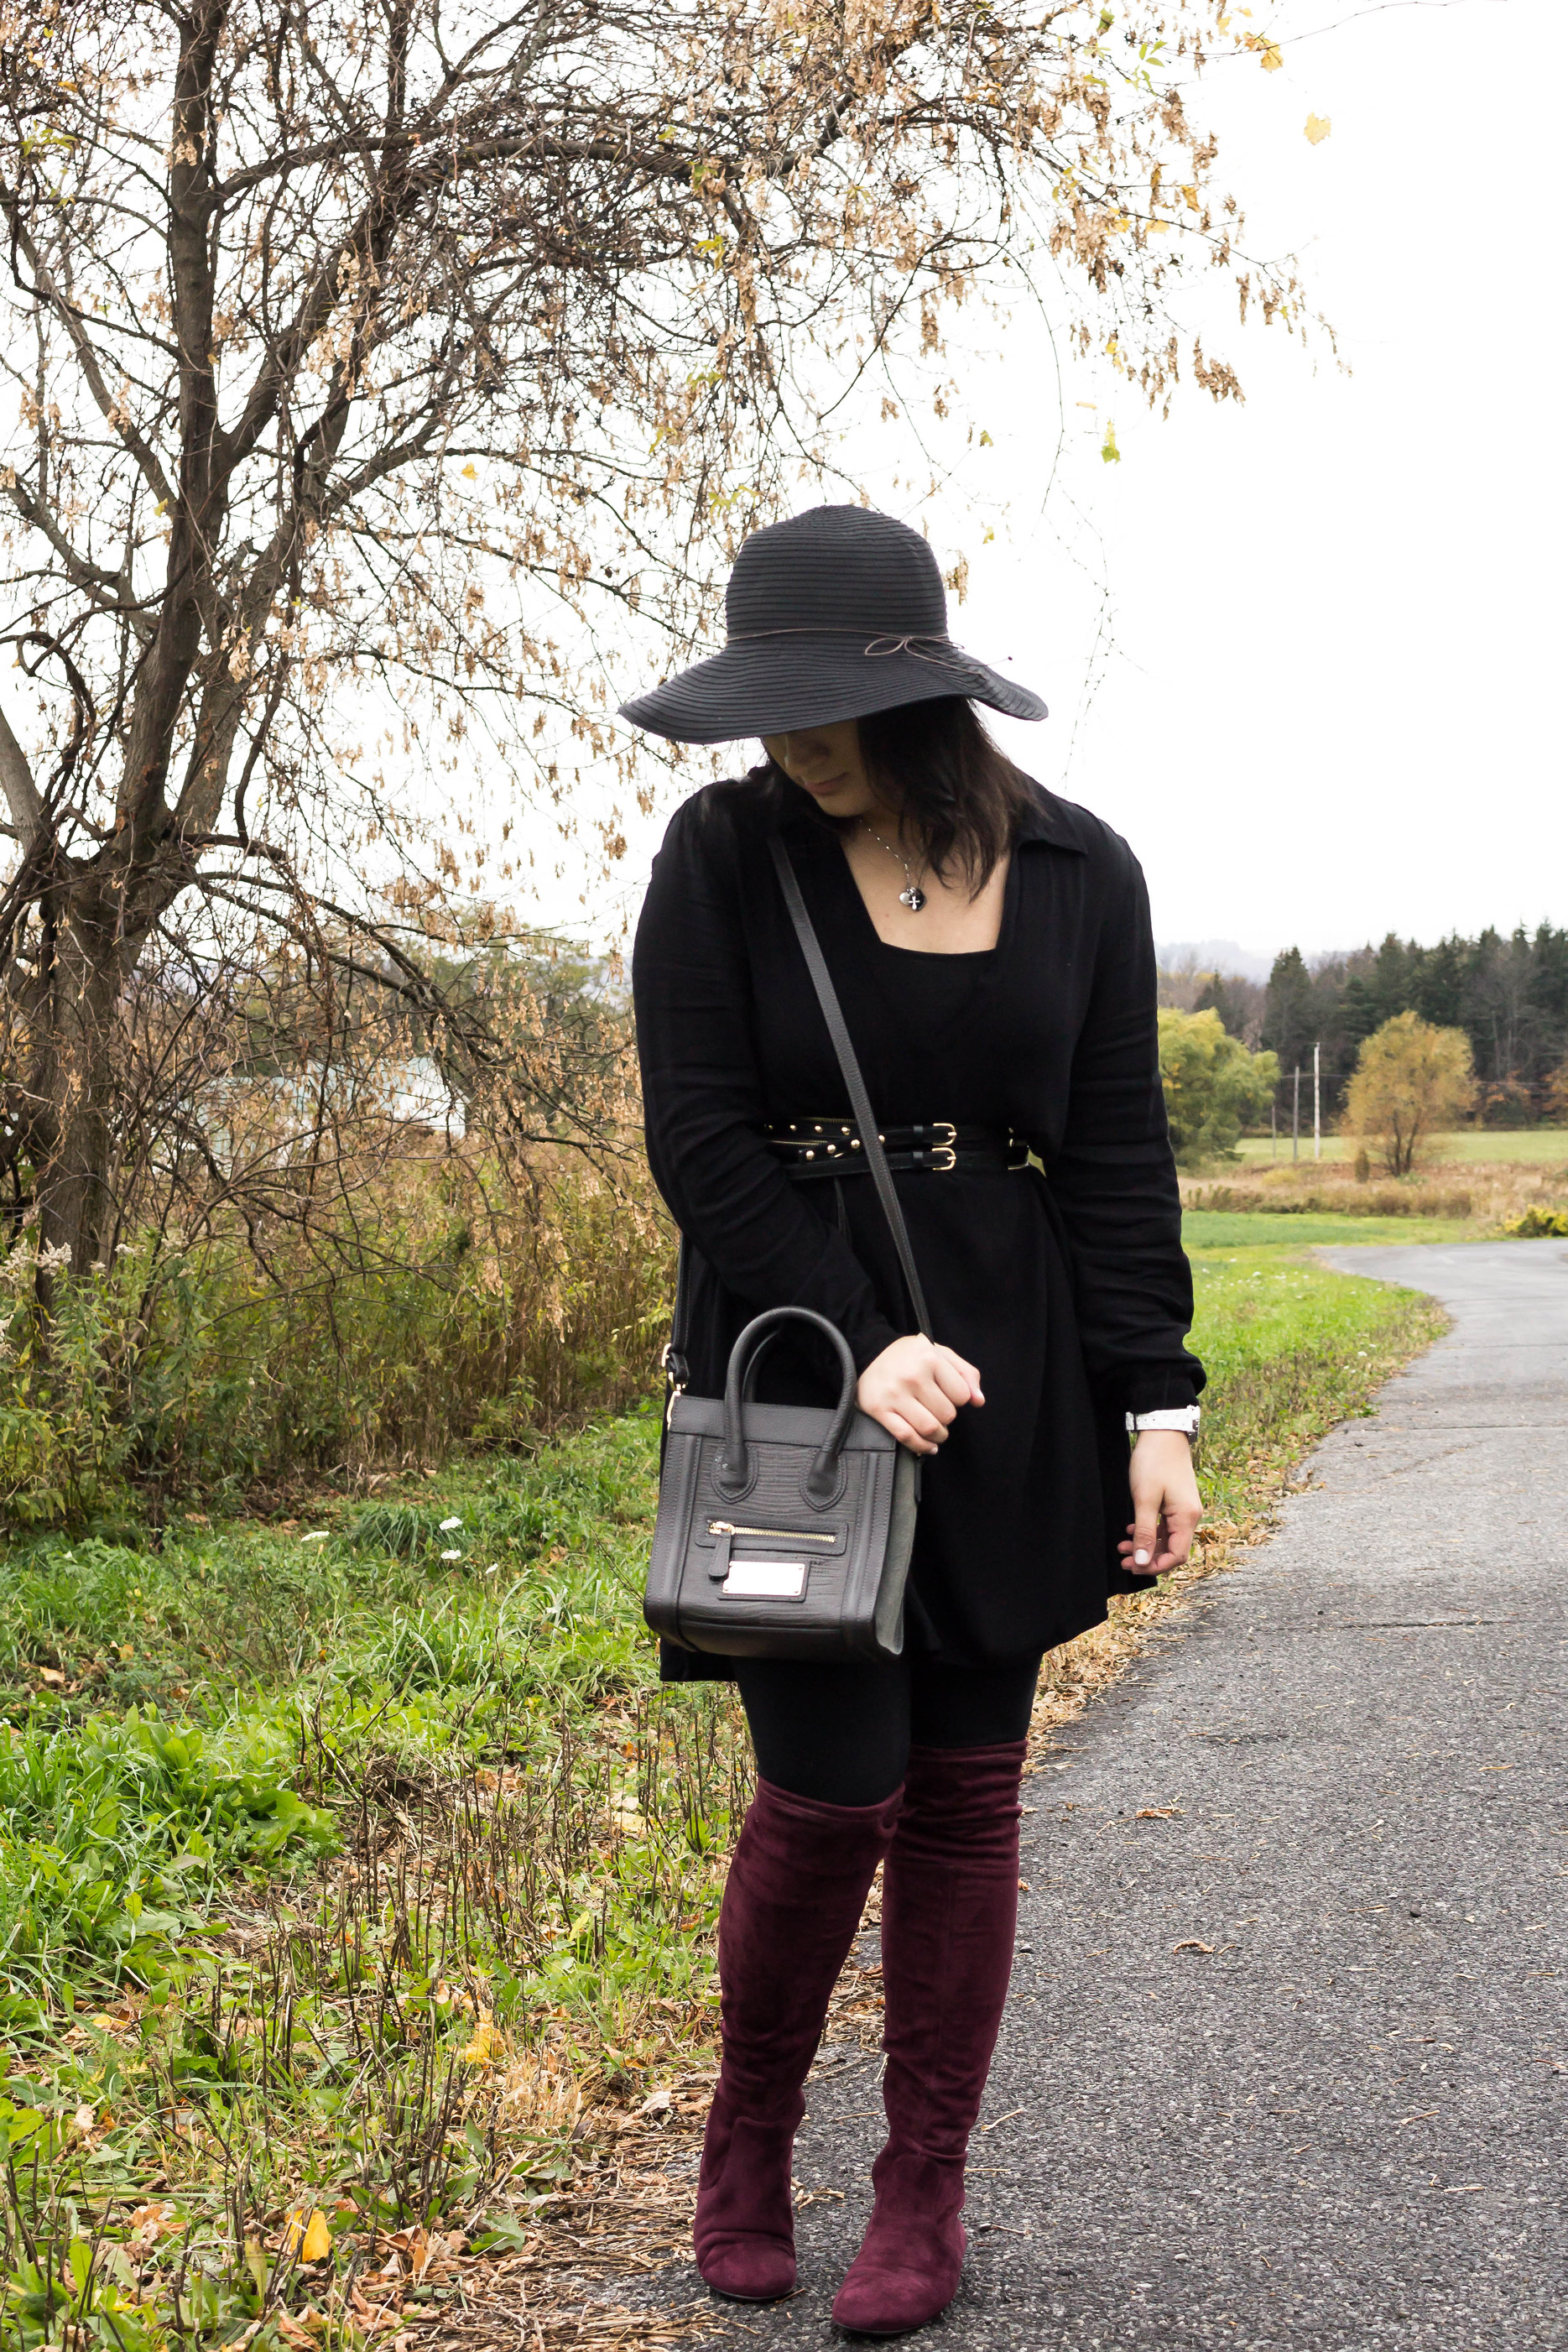 I’m sure that you notice that there is a drastic difference between the photos. In all honesty, the edited photo didn’t go through too much editing. All I did was adjust the exposure, contrast, and sharpness of the image. Through experience and experimentation, you will feel comfortable with both apps and develop a photography style that works best for you!
I hope that you enjoyed this article and that these tips will help you in being your own photographer!

Leave a Reply